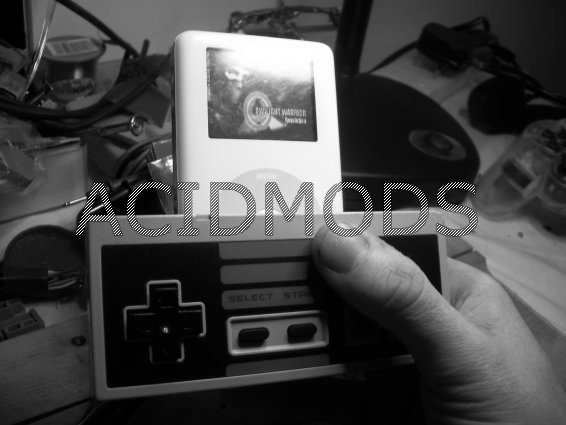
NES to iPod by F00 f00Introduction This little mod is so much easier than a lot of people think. Its was just a simple case of lateral thinking on my part.
The guys from iPodlinux.org are the true geniuses. All you need is basic soldering skills.
Be aware that the socket on mine sticks out by about 2mm, it may be possible to get it flush, but I only had a day to do it and thought the benefits out weighed the slight imperfection.
I am not responsible if you kill your iPod or if you loose all your music or if your anything else.
Be careful those things aren't cheap. Be sure to read ALL of this tutorial before opening up your iPod.
Note: This WILL void your warranties.
Parts Needed --iPod photo (It may be possible on other models, but I haven't tried it. You could probably figure it out for yourself). With iPodlinux installed. For this check out iPodlinux.org. If you like it make a donation. Those guys have worked very hard for free to create this amazing app.
--Magnet wire. I got mine from an old hobby motor.
--Kynar wire
--Mini usb socket
--Mini usb plug
Tools Needed --iPod tools (something to crack it open)
--iPod screwdriver. These are small star shaped drivers.
--Soldering iron. Any (apart from those massive gun type things).
--Cutting tool.
--Hot glue.
--Plastic enclosure.
--Super glue.
--Little bit of foam.
Average Time To Complete- About 60 Minutes
Difficulty Rating-4/5
Step By Step Tutorial-Adding the usb socket to your iPod.
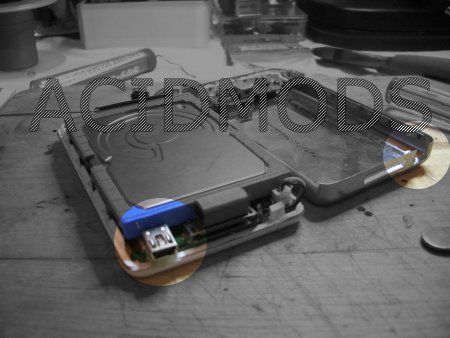
First you need to disassemble your iPod (with the tools mentioned above). I wont go into this too much as there are many tutorials for this available on the net. I left my battery unplugged while I was working on it.
Once you've got that part over with. You need to get your magnet wire. Cut 5 pieces about 20cm long. After its cut you need to scrape all the paint off both ends, then tin them with solder.
Next solder a piece of magnet wire to each of the points shown on the pic (red for live black for ground).

Route your wires carefully through the silver part that holds on the click wheel (its important to do this well or your buttons wont click properly). Once you've done that boot up Linux and start up doom. Now you can check your wiring. Touch each of the wires to the ground wire. You should start moving around a bit now. If nothing happens check your wiring.
Now for the scary part. Your gona need to cut a hole for the usb plug. I am no expert when it comes to this so I just cut a slot, but you may be able to cut a hole. Place the socket in the area its going to go and mark out the back plate accordingly. Then get your cutting tool on the go. Be careful to make this a good tight fit, it'll help stop the socket pulling out when you take the iPod out of the controller.
Then your gona have to take a piece out of the white part of the iPod again this will make some room for the socket. Its a tight fit but doable.
Now line up your socket in its correct place (you may want to unplug your hd at this point). Lay the wires out roughly where you want them. Then cut scrape and tin yore wires. Now solder the wires to the points on the socket (the housing is a solder point too, use that for the ground).
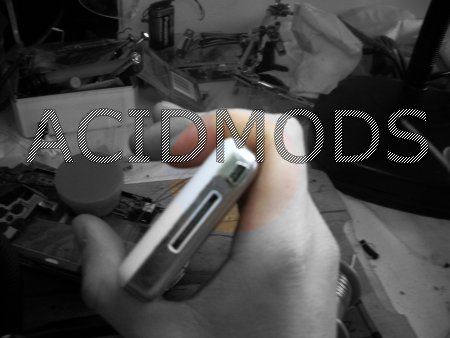
Now its time to see if your socket fits. Slowly put your iPod back together. Try to keep an eye on what's happening with the wires. Once its closed up boot up Linux again. Plug in your plug and use a bit of wire to check you've haven't pulled anything out or shorted anything. If every thing works you can add some glue to stop it moving around and fill in the gap. Congrats you can move on to the controller. If not get her open and re check everything (took me three goes).
Now its the controller. First get open it up and remove the controllers cable. Then solder a good length of wire to each of the points shown in the pic (there's now way to go backwards in iDoom so don't worry about that bit, down is fire).
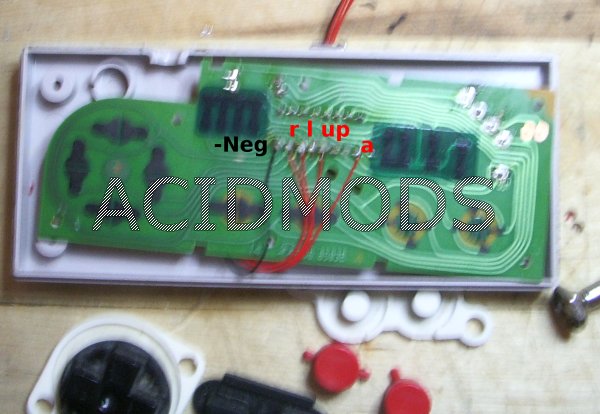
Now pop the pcb back in the front part of the case. Now drill a hole through the back part of the case and rout the wires through the back. Now solder the ground wire to the housing of your socket and plug it in to your iPod. Then check each of the wire by loading up doom and bushing the corresponding button and pressing the wire to the solder points. Make a not of which goes where. Then trim your wires down and solder them to the plug and assemble it. You can now play doom with your controller. Cool. (your probably wondering about the center button, I am coming to that)
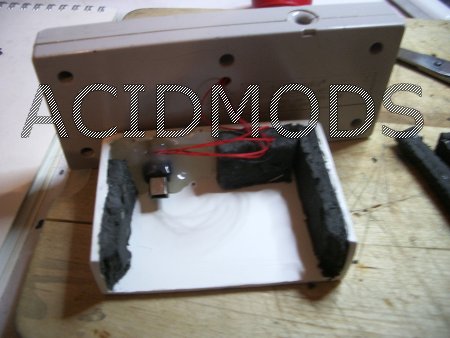
Now your gonna make the iPod holder. Cut up your plastic enclosure to the shape shown. Then plug the iPod in to the controller and lay it in the plastic back where you want it to fit. Now for some hot glue. Get loads on the plug (don't get it on your iPod). Let it dry then unplug the iPod (careful not to move the socket) and add more hot glue until you're sure its not gonna move.
Plug your iPod back in and glue some foam around it to make a nice snug fit. Then supper glue that to the back of your controller and let it dry.
You can now play doom.wads with your NES controller. Your cool or a geek or both who cares We think its cool eh?. . . Oh and to press the center button lightly squeeze the back of the controller (simple really).
Done!!