PS3 HDD Swap By Mattzani
Introduction*I know this has been done many times, but here is an AM Version, for the Wiki*
Seeing how the PSN Store gets better and better, and PlayTV being released soon, its time for an upgrade.
As always, read this atleast once before starting, and if need be print it out.
Parts Needed 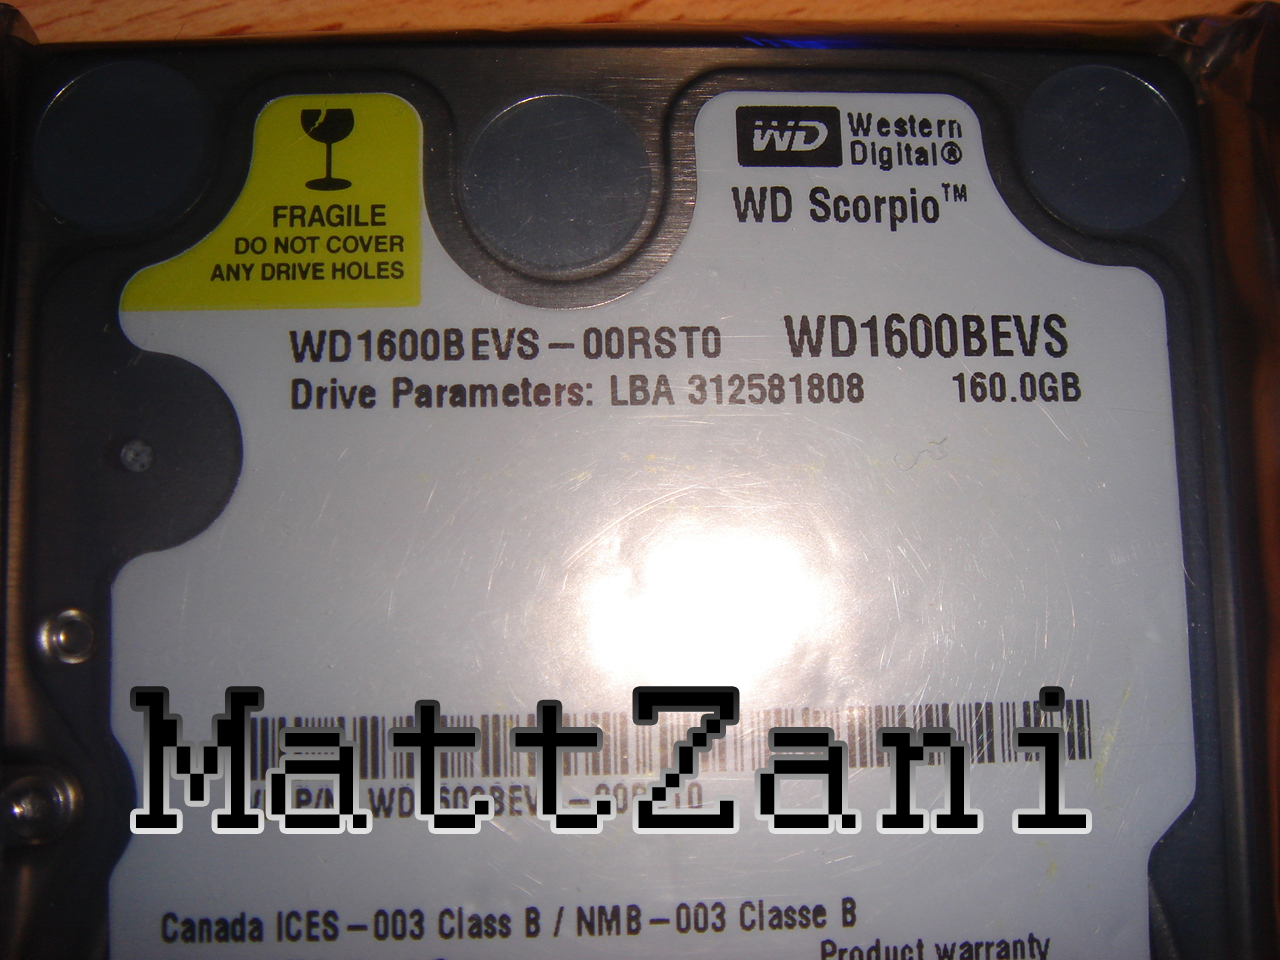
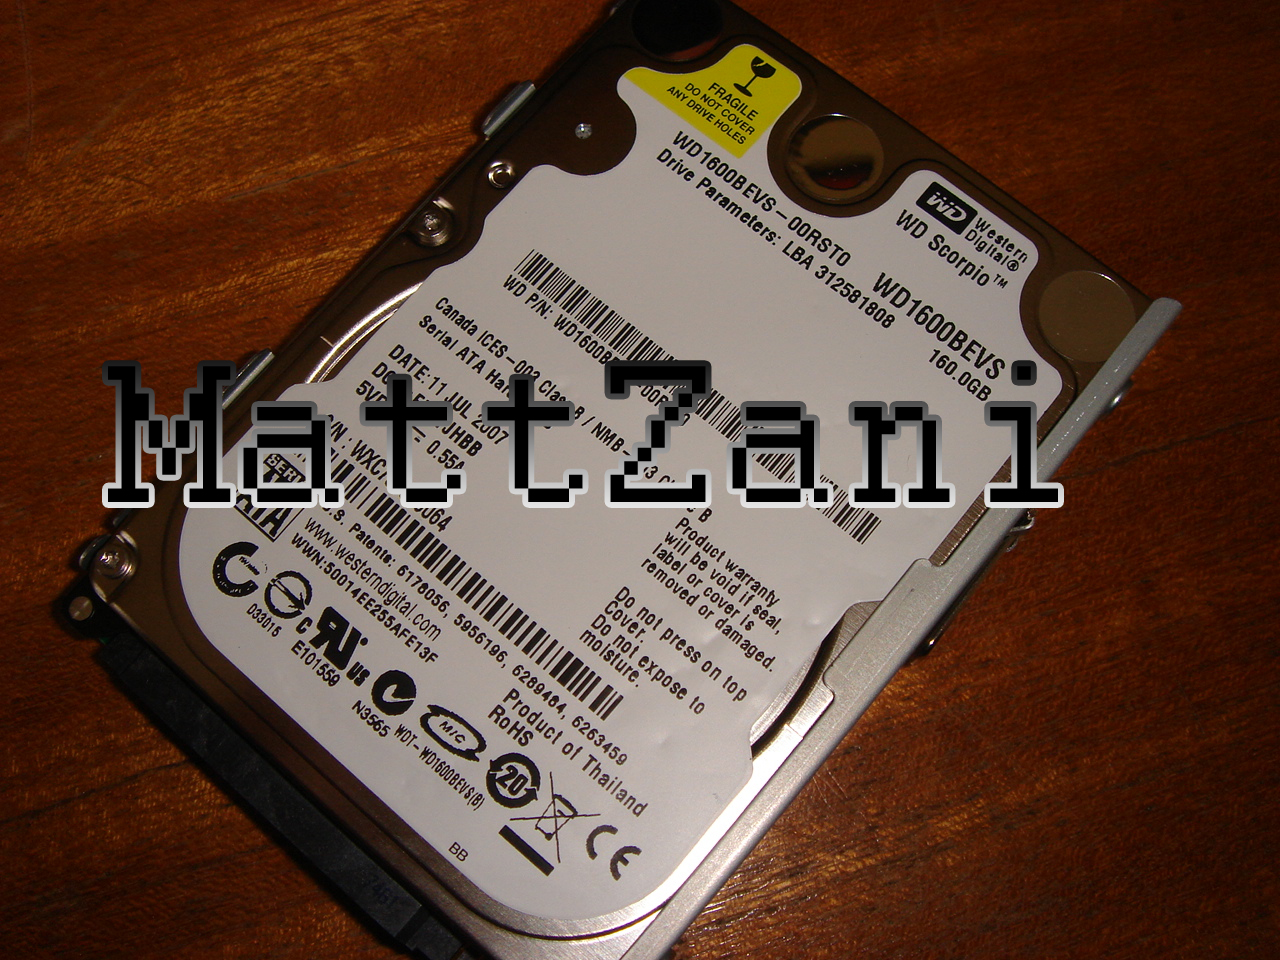
My Drive (£49 fr om Ebay)
Tools Needed Difficulty rating: 1/5
Average Time to Complete: 30-45mins
Notes: You will need a flat clear surface (NOT CARPET)
Step By Step TutorialGetting Started*SKIP THIS IF YOU ARE SWAPPING ON A NEW PS3, OR HAVE NOTHING YOU WANT TO KEEP*
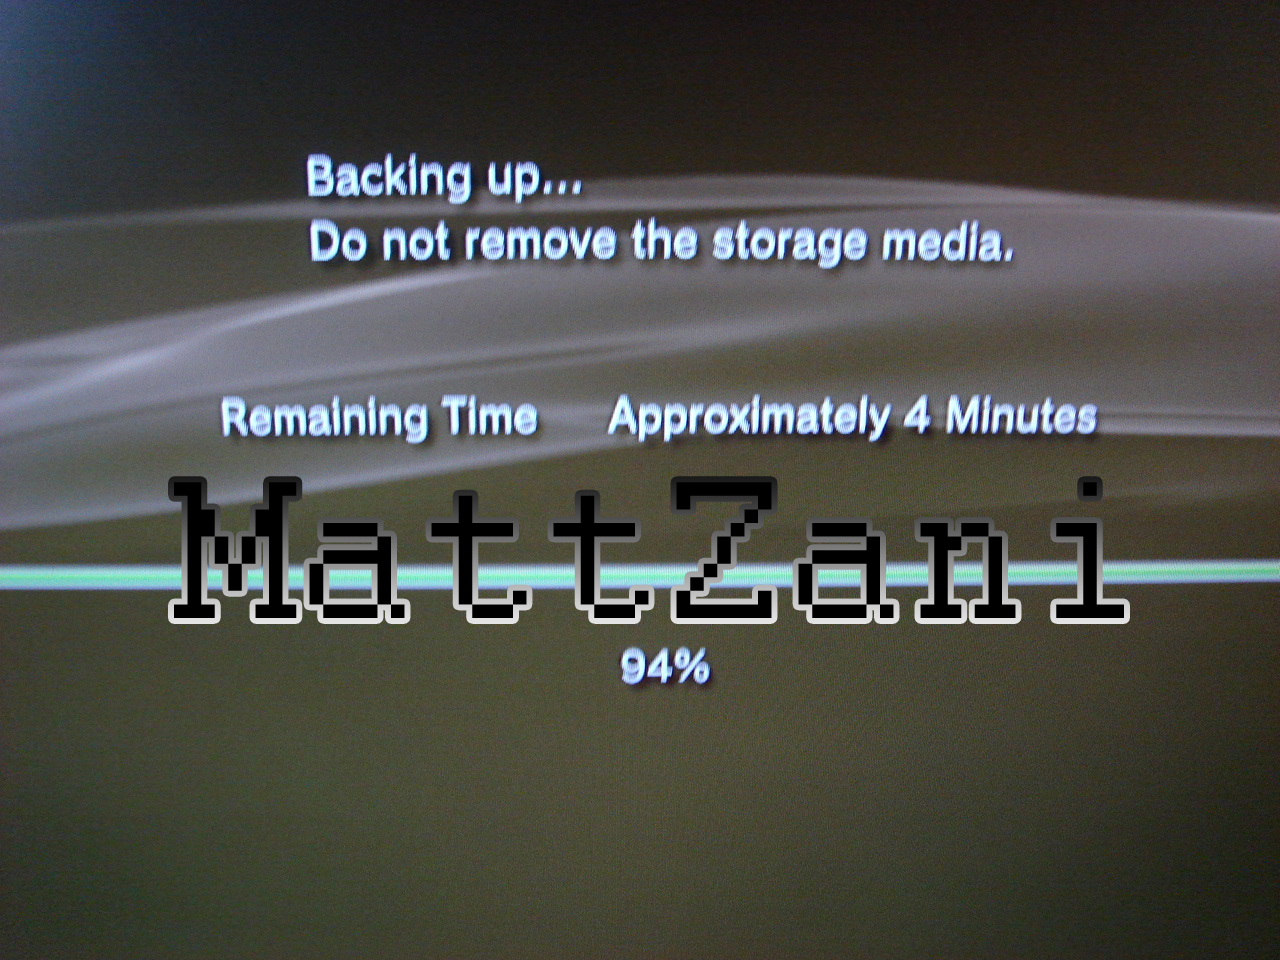
Firstly you will want to back up your Hard Drive, Go to Settings>System settings>BackUp Utility And then select your back up Device. I used a 60Gb iPod, but if your an early swapper, then a 2Gb USB Stick can hold saves and a couple Vids.
Depending on how much stuff you have depends on how long it will take, i had 16Gb left and it took me around 140 Minutes.
Almost Done
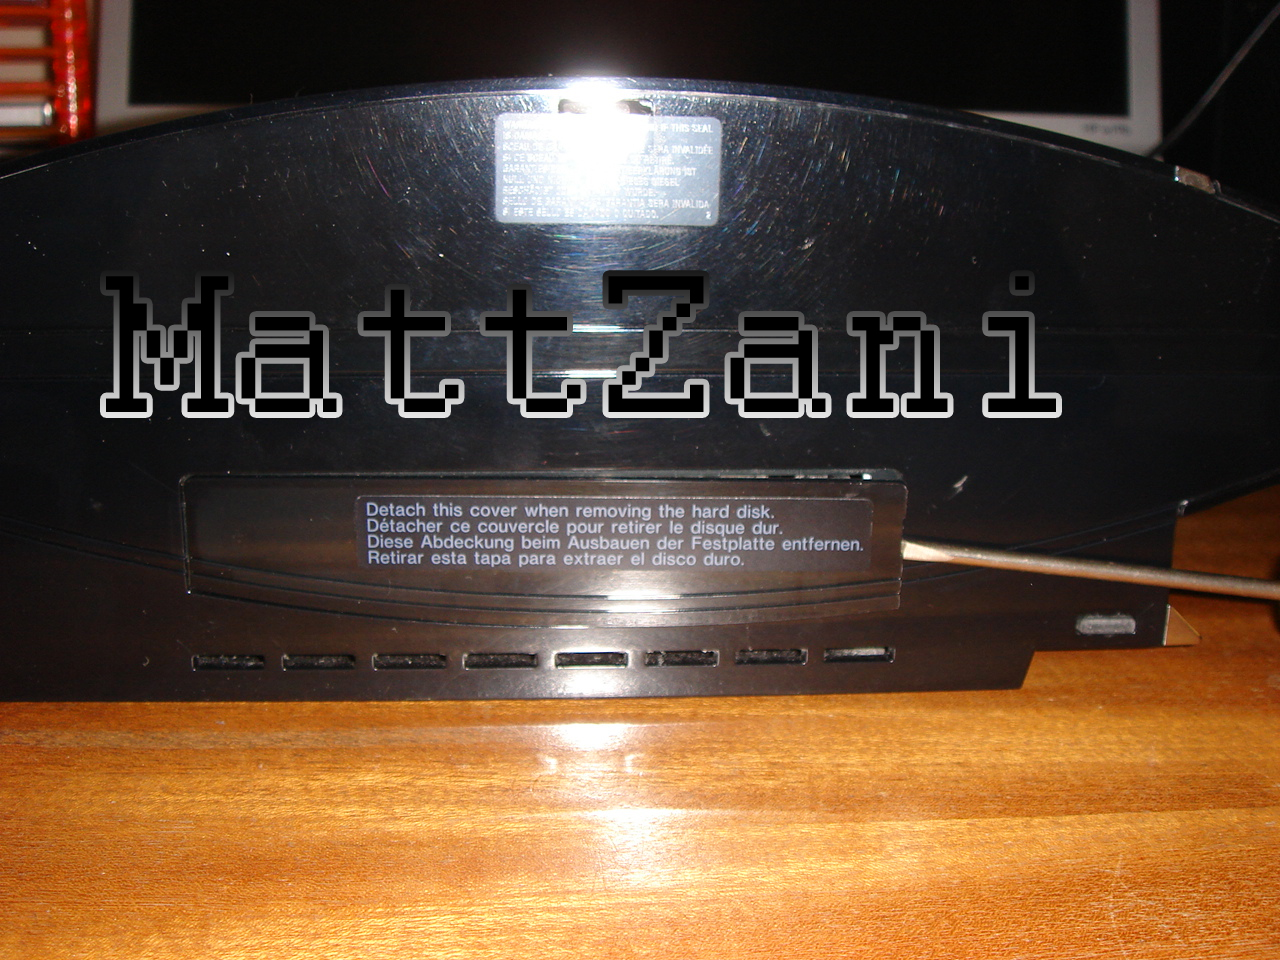
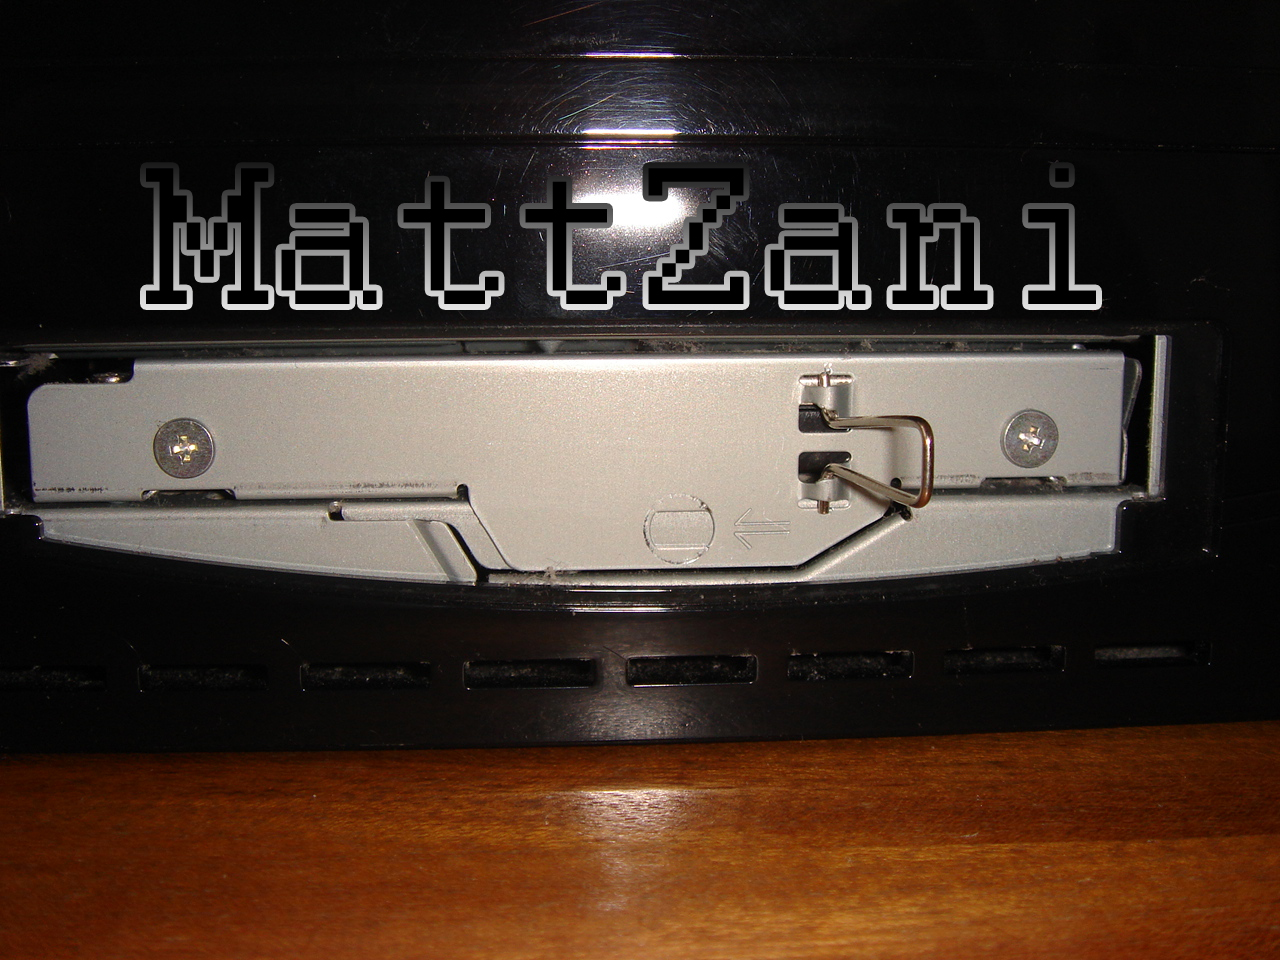
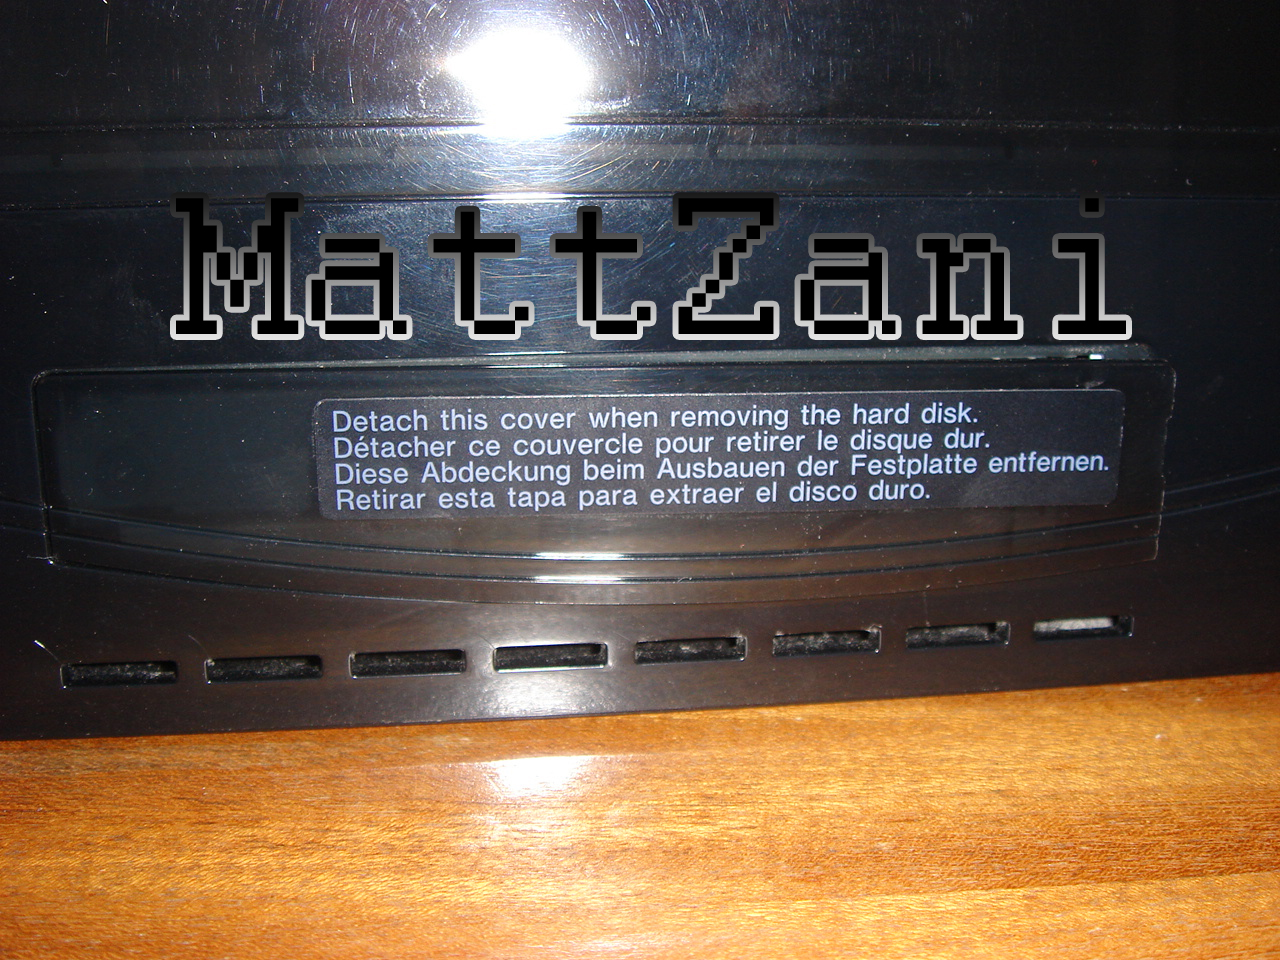
Removing the old DriveFirstly lay your PS3 on a flat clear surface, with all the wires disconnected. Move to the Bottom (MS Card/Power Plug End) And use a flat tip screwdriver to remove the HDD Plate.
Now you will see a Big Blue screw, using your large Philips Screwdriver slowly unscrew this, be careful as its quite a soft screw.
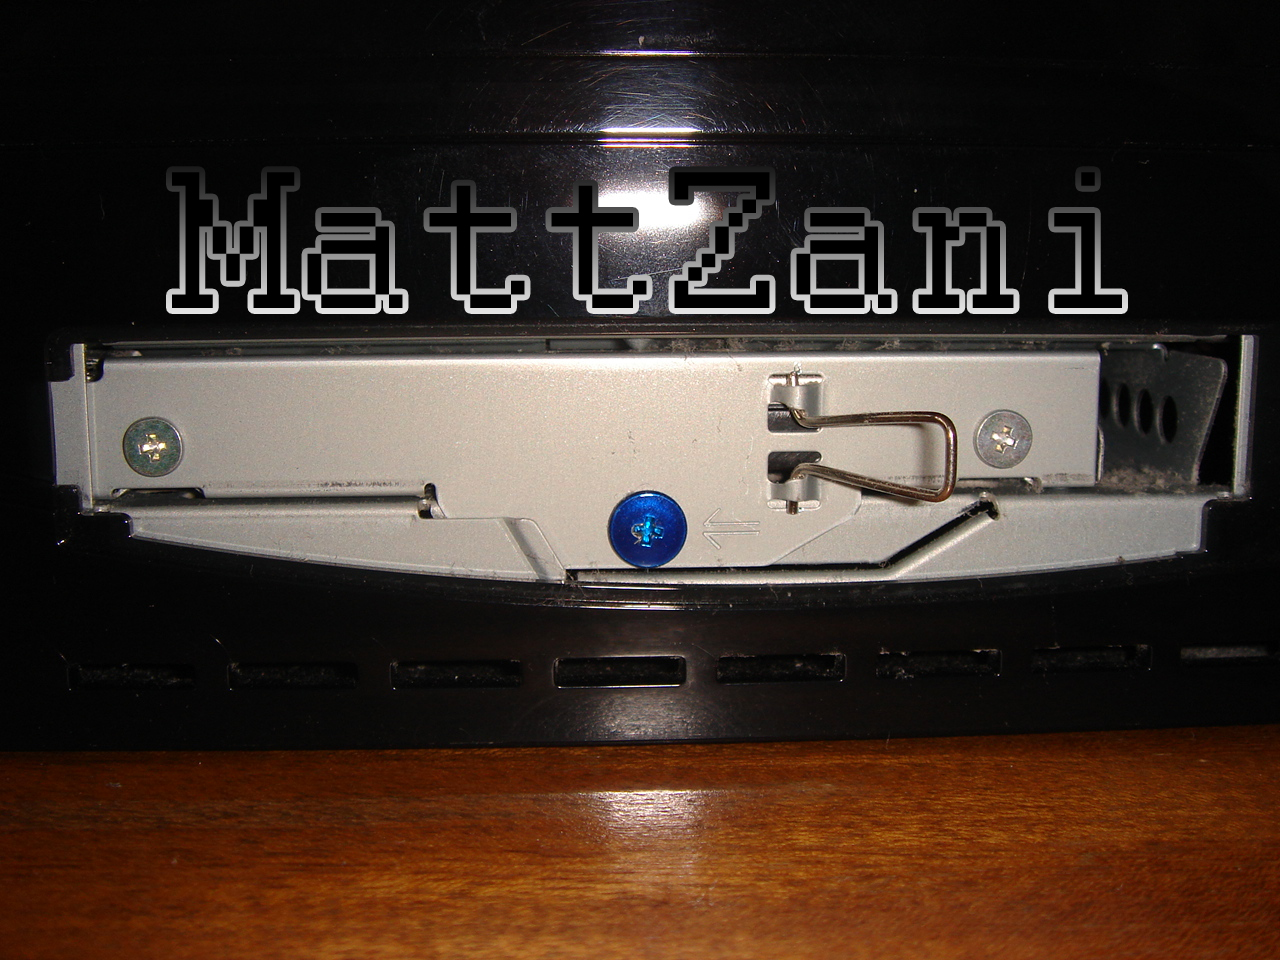
Now pull the Caddy to the Right, and flip up the handle and pull out.
Place the Caddy onto your surface.

Remove the 4 screws around the edge of the Caddy using your smaller Philips Screwdriver, Be very careful again, these screws are very tight and quite soft too.
Remove the OEM Drive, being careful to not touch the exposed PCB Bottom and put it somewhere safe (in the container of your new drive etc.)
Installing the New DrivePlace your new drive in the Caddy, again being careful not to touch the bottom, and make sure the SATA Connector is to the left of the Caddy (its a good idea to remove the caddy fr om the PS3, and leave it below the PS3, the exact way you removed it so you dont forget how it goes back in)
Re-Screw the 4 smaller screws back into the Holes around the Caddy's edge.
Place the Drive and Caddy back into the PS3, push the caddy firmly to the left.
Re-Screw the large blue screw.

Pop the HDD Plate back on.
Plug your PS3 back in.
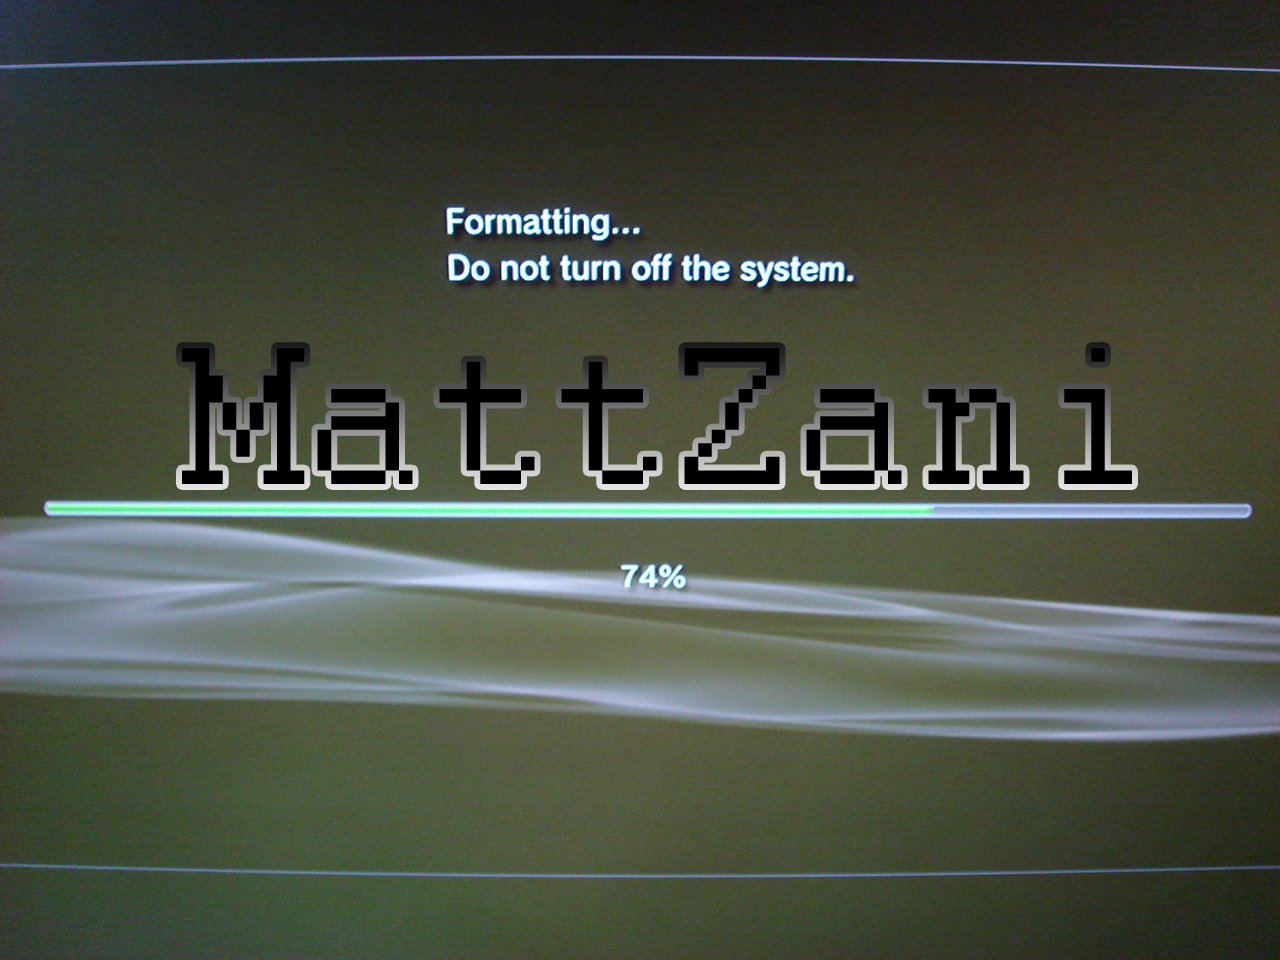
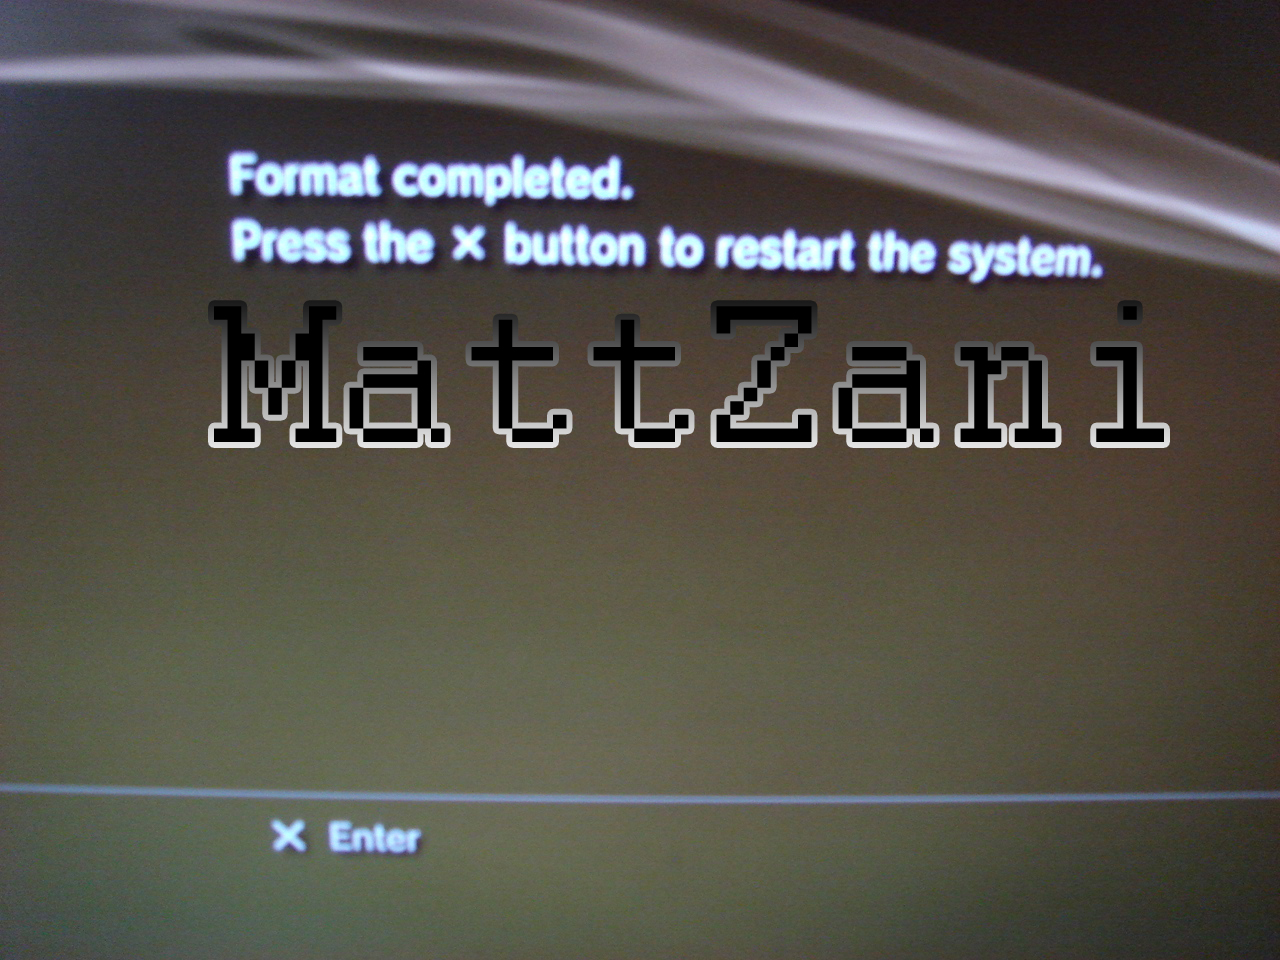
The PS3 will ask you to format the drive, click ok.
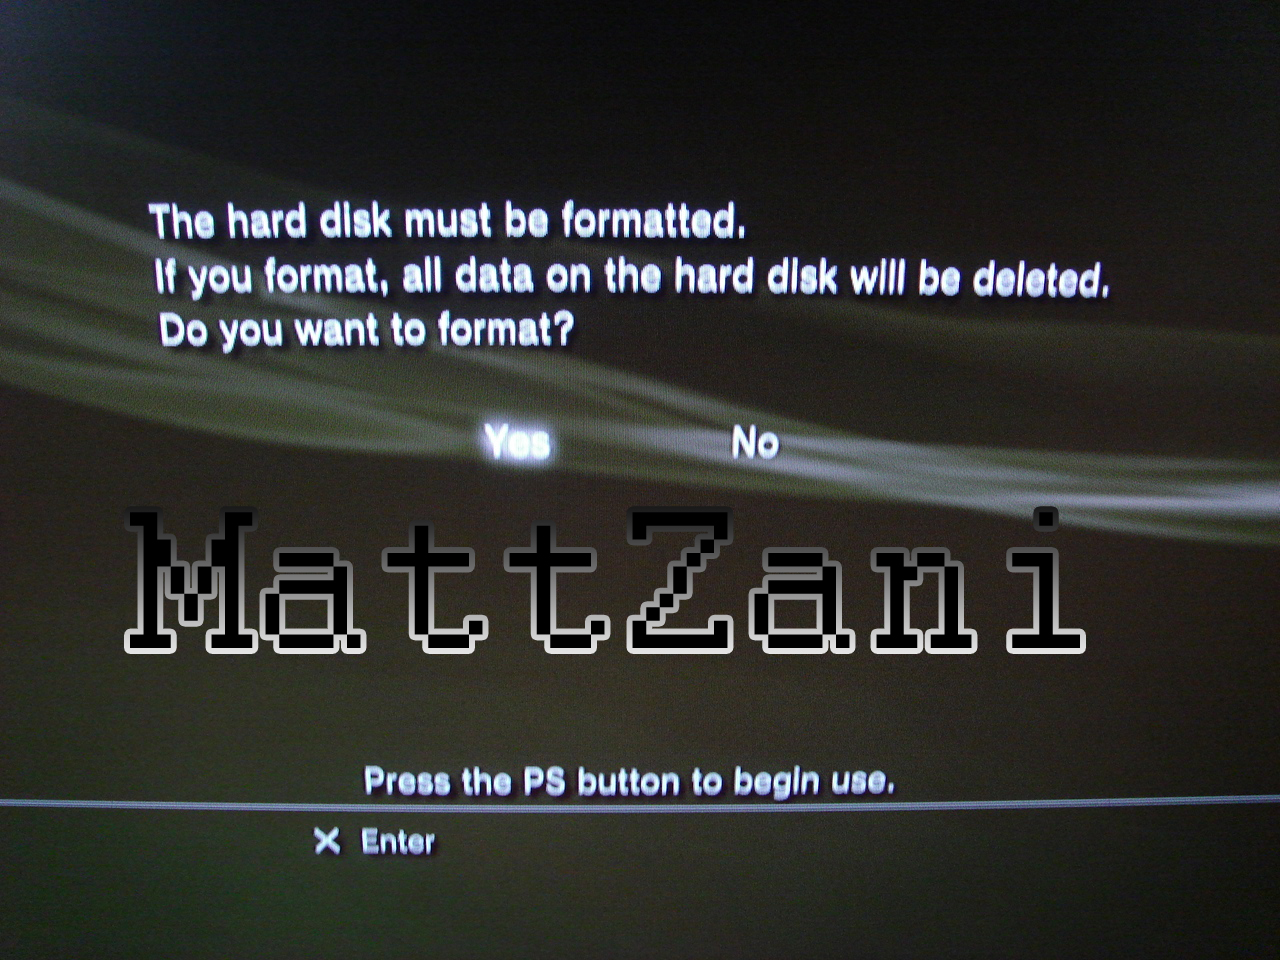
It will then ask you to restart the PS3
*SKIP IF YOU HAD NOTHING BACKED UP*
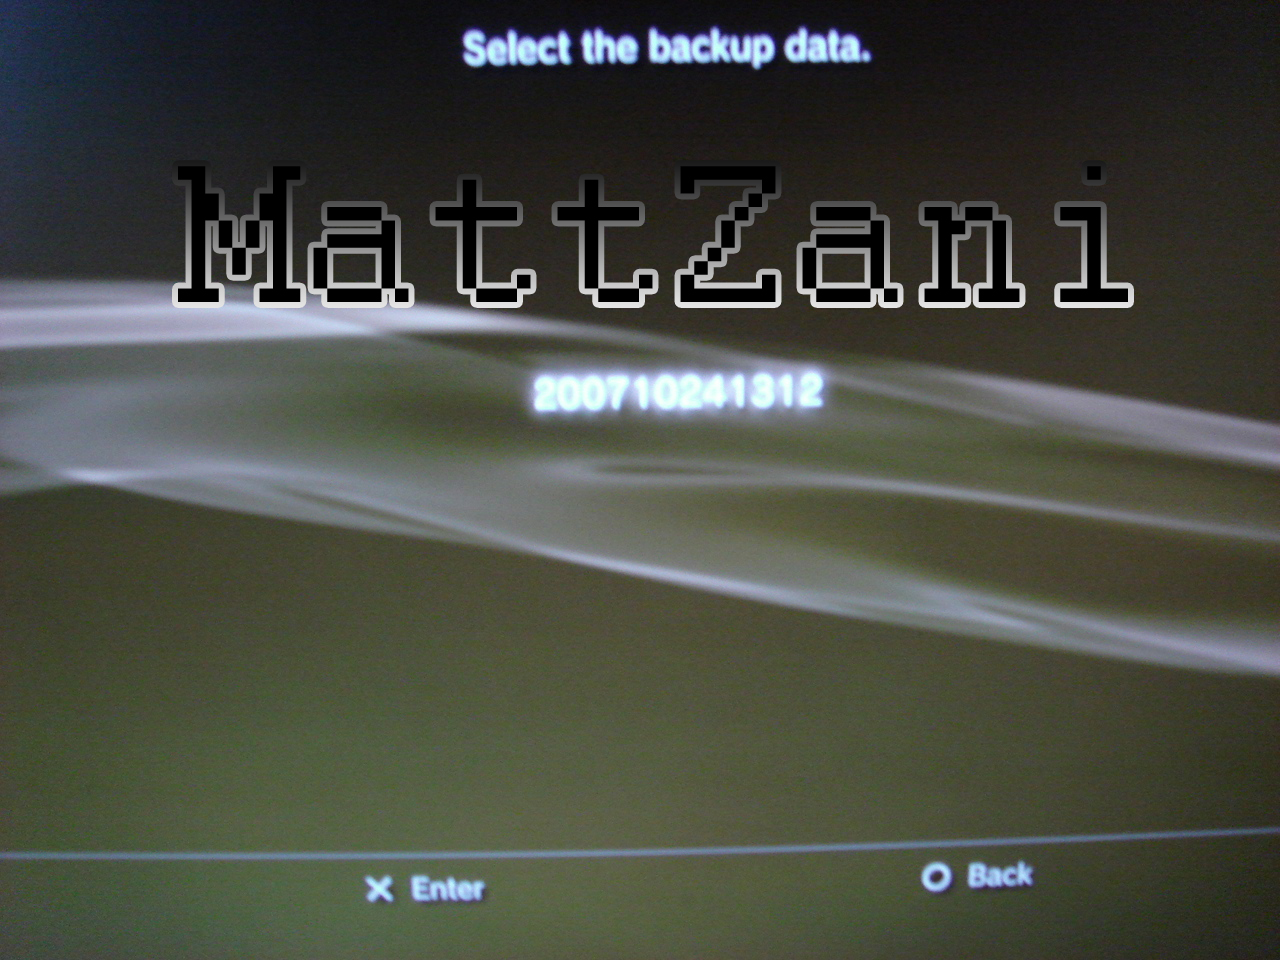
Now go back to Settings>System Settings>BackUp Utility and click restore and choose the device with your back up on, and choose the back up (you should only have 1)
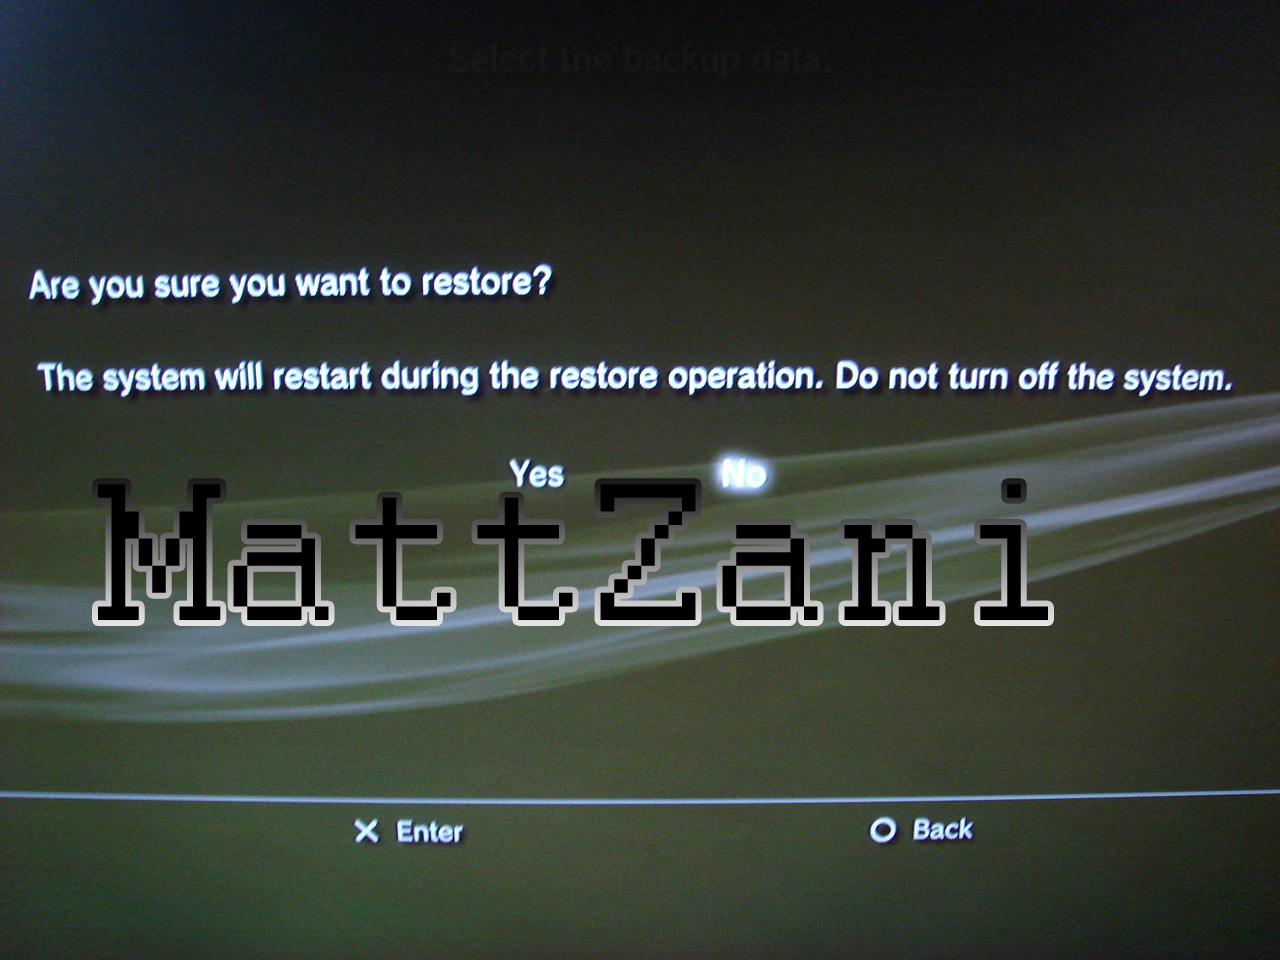
The PS3 will then ask if you are sure, choose yes.
The Drive will be formatted again

Then the PS3 will restart, and you have to press the PS Button. Then the restore will begin.
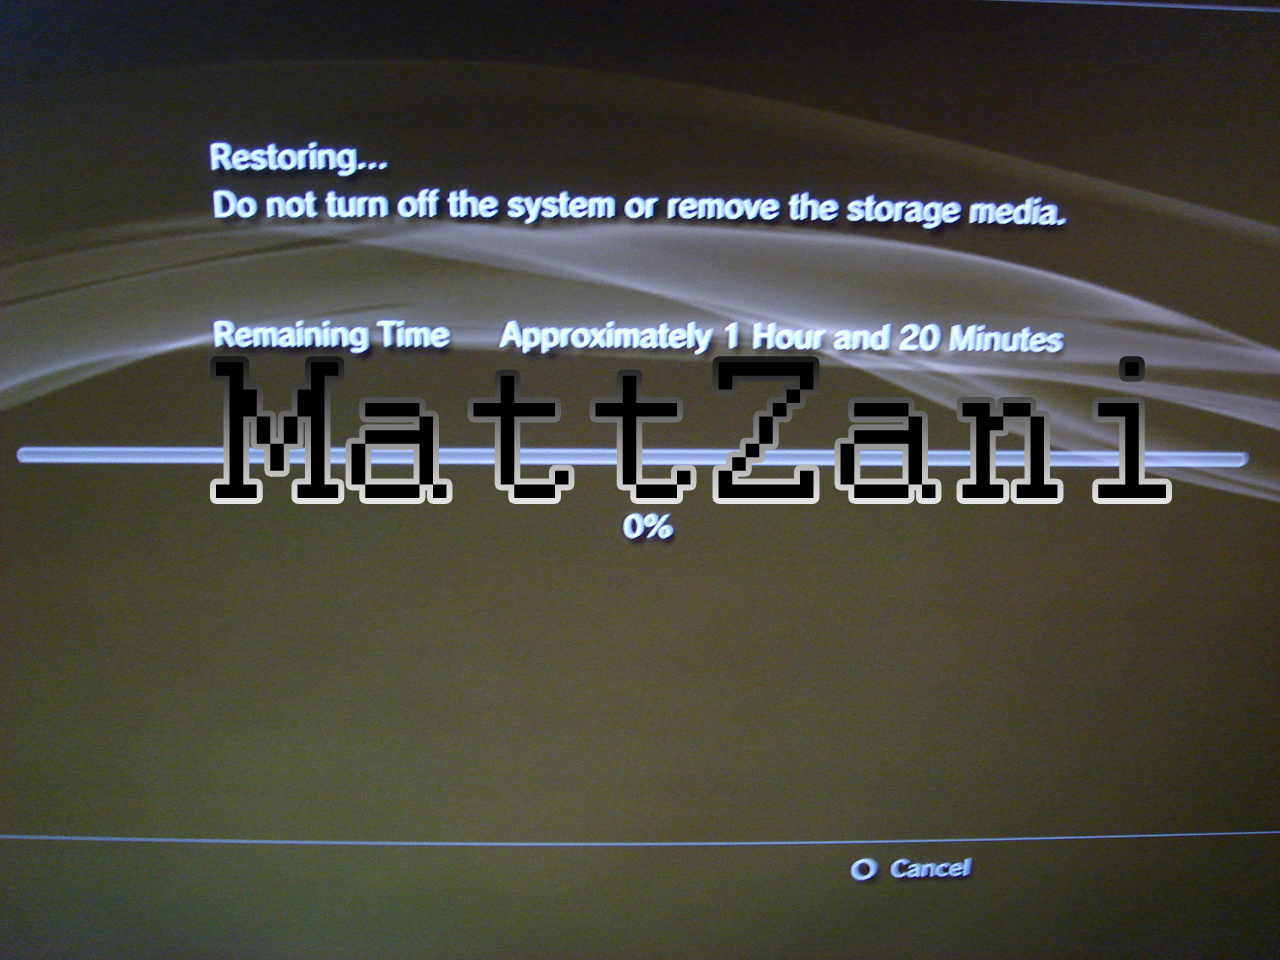
Once again this will take different times depending on how much Data you had.
FinishNow go into Settings>System Settings>System Info and check your drive space, it should be around 5Gb Less than the drive you installed. I had 130Gb/149Gb fr om a 160Gb HDD, so im not sure what the 19Gb was, or why i lost 11Gb fr om Formatting.
I stripped one of the Silver screws on the HDD Caddy, so i took a 3mm drill bit and drilled it out, the screw was stuck in the old Drive, but it could be removed and 3 should be fine.
FAQ/ Troubleshooting- If your still seeing the same amount as before, check you installed the right drive, and if you have try a reformat. If that still doesnt work then there maybe something wrong with your drive.
Thanks to Mattzani For Providing this informative tut


