xbox 360 tear down
Introductionin this tutorial we will open the xbox 360 so leds nd fans and such can be installed. it will also serve as the first part in the xclamp tut.
Parts Needed Tools Needed - 3-6 inch 1.8 diamiter poker
- small flat head screwdriver
- #10 torx bit
Difficulty rating: 2/5
Average Time to Complete: 30-45mins
Notes: dont force anything, slight preasure is all that should be needed.
Step By Step Tutorial1. start with removing face plate,

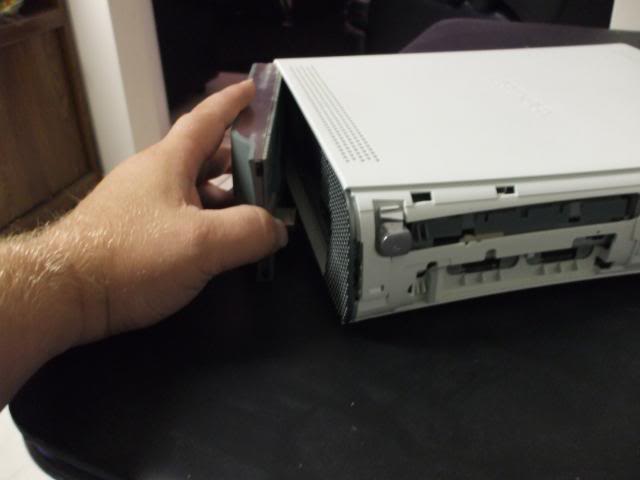
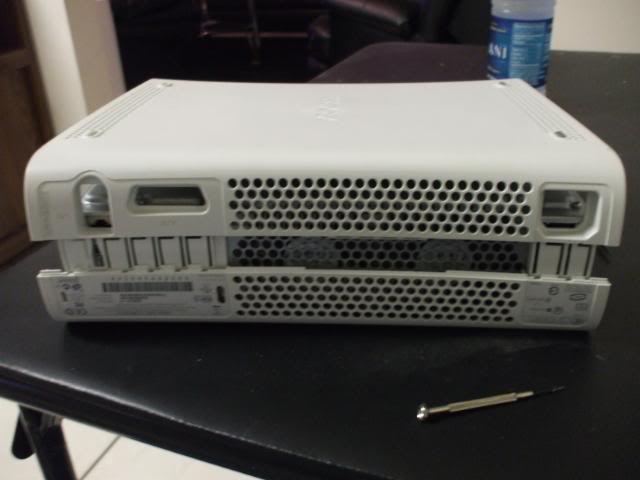
2. next remove hard drive
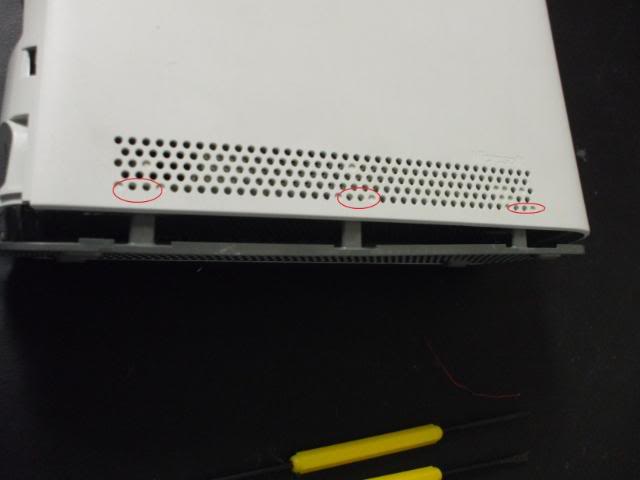
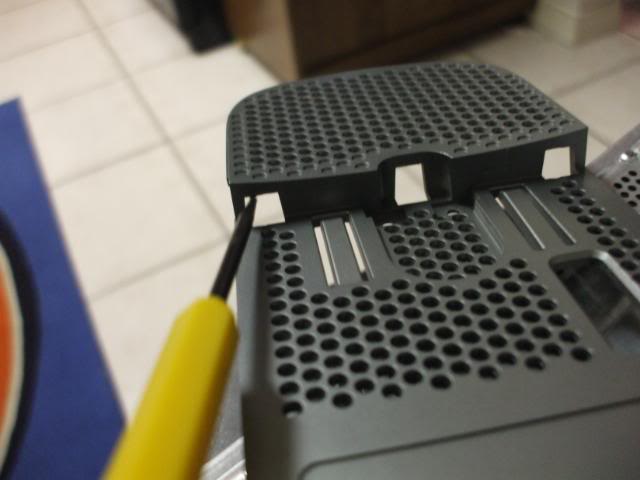
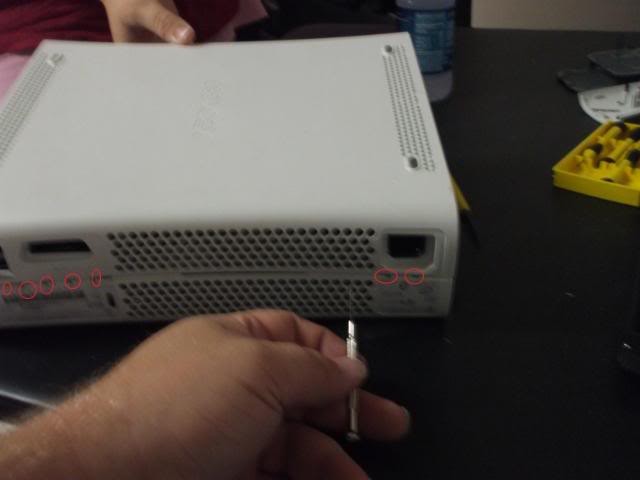
3. remove left grey grill piece, looking at the top of the xbox, the white part, along the last line of dots, you will see a series of dots that are one filled, two open dots, one filled dot. you see this sequence three times across the right hand side of the xbox, top and bottom, thee are the release points, starting in the front use a poker to press the tab in slowly working it in the two open holes. repeat this process until you have all tabs released I do the top three then the bottom three.
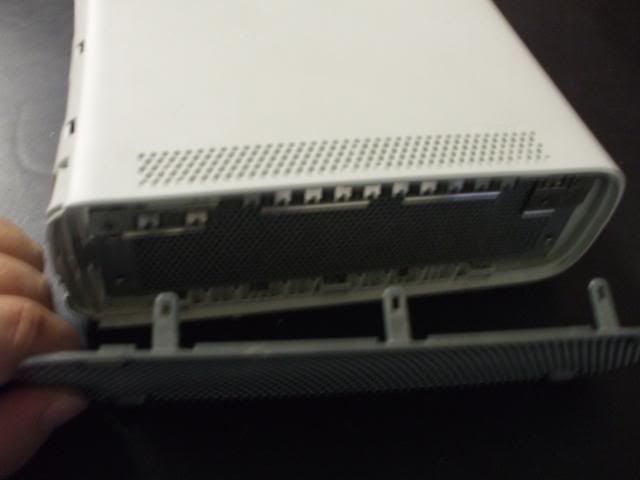
now for the left grey grill piece, this one is a bit tougher than the right, but removes using the same method, the biggest difference is the release holes are harder to find, the first two releases need to be pushed with a long shaft top and bottom of where the HDD latches, the second and third top tab, and the center bottom tab are locatable the using the same hole pattern we described above, however, the for the last hole you need to remove the rubber foot in the back to expose the release hole.

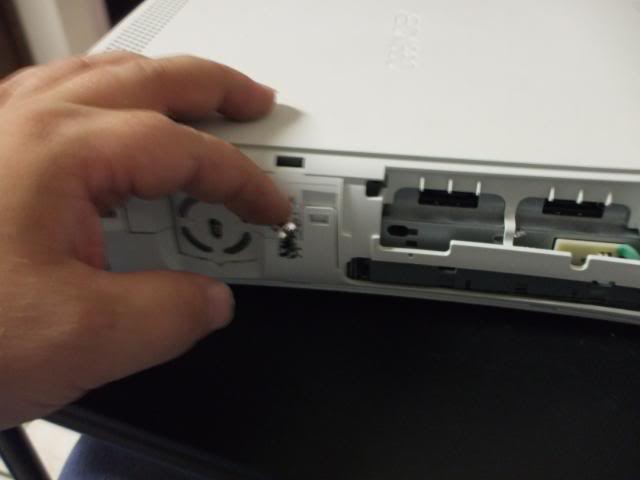
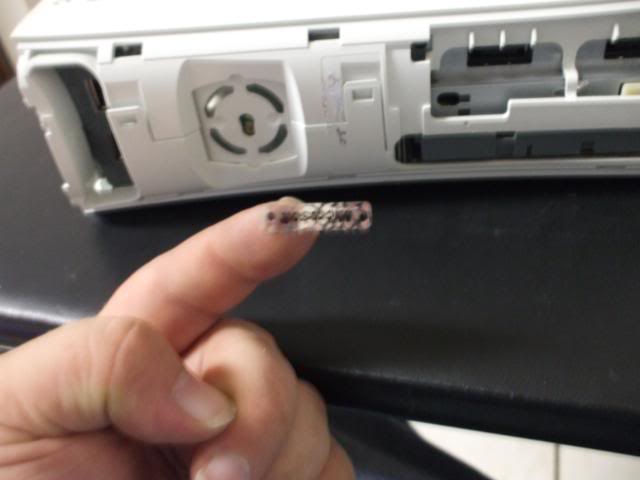
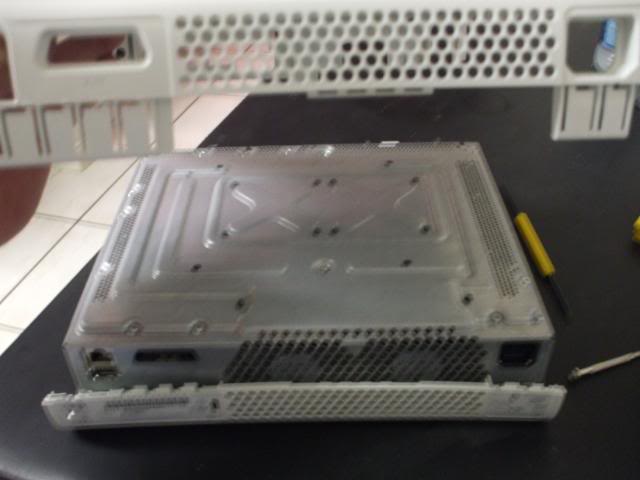
4. now that the sides are removed, go back to the front of the xbox, turn it upside down, at this point you must remove the warranty sticker. Make sure this is what you want to do, there is no going back.
5. If you chose to proceed, there are three main plastic tabs and one small hook tab holding the top to the bottom, start on the side at the eject button, with one hand lift up on the shell, with the other gently pry these clips loose in order as you lift the shell, you should only need to lift the shell a half inch or so to pop all the tabs loose.
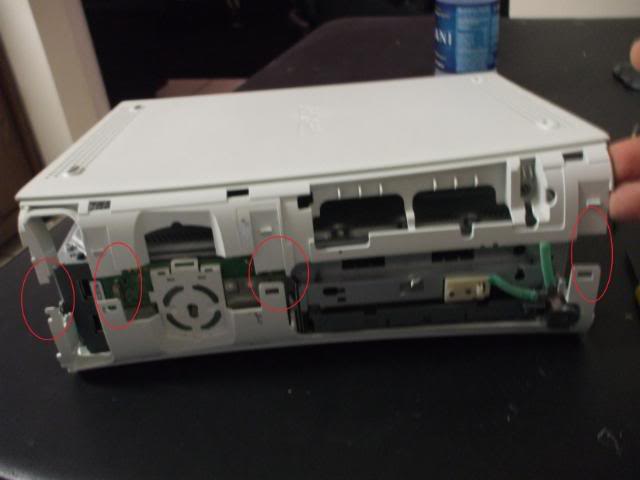
Once loose, place a tool or wedge in between the shell and the steel case to hold the front wedged open
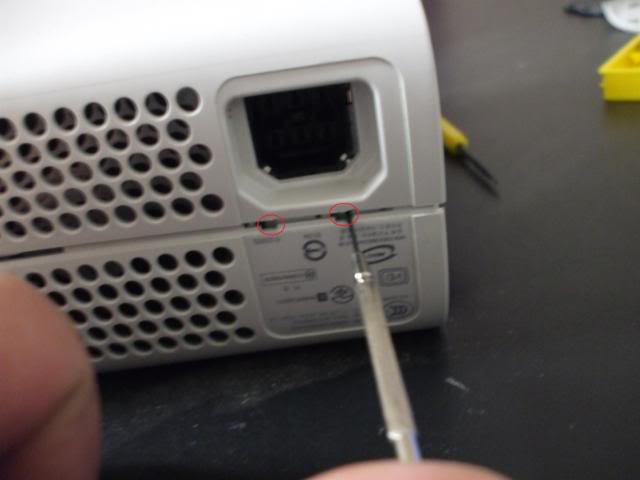
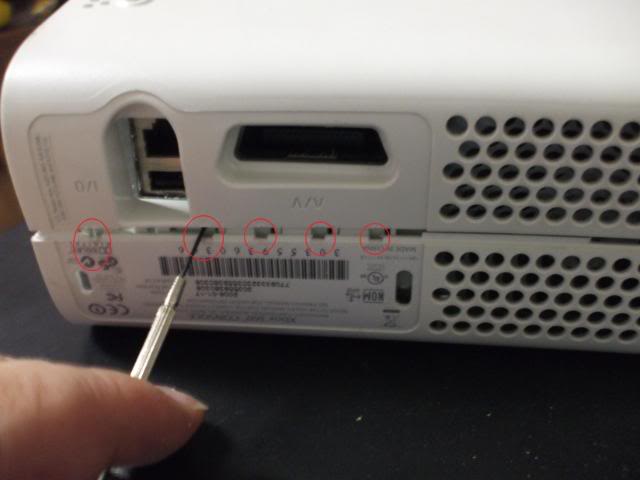
6. now go to the back of the xbox, this si the scary part, I like to have help, with the front wedged up, or your lovely wife (if avail) is lifting the front, insert a very small flat head screw drive, the smallest one in the set, into the 7 rectangular holes to release the tabs, this requires a bit of pressure, and you should start at one end and work to the other, you will hear a loud pop at each release point if this is done correctly, dont worry this is normal, you may have to start back over, as these tabs have a tendency of relocking, lifting the front as you pop them loose helps keep them from doing so, eventually, the bottom shell will pop loose and be able to be removed.
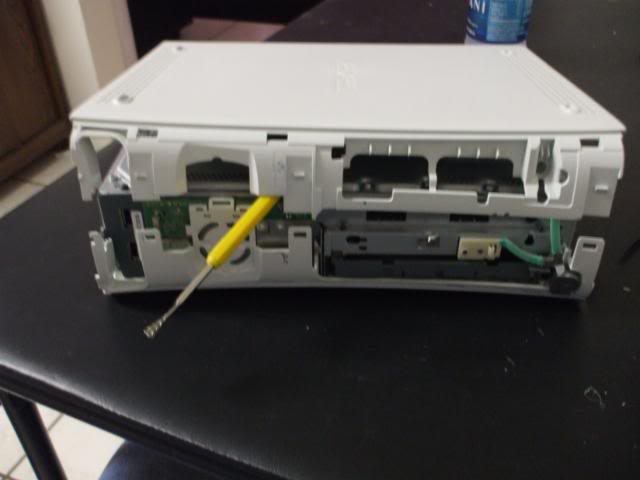
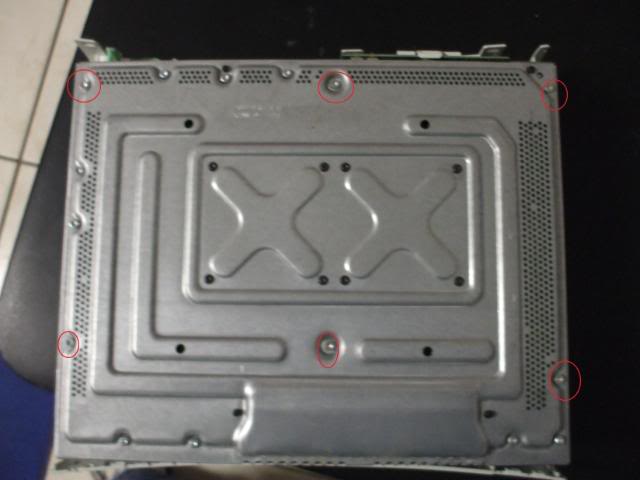
8. now, you have exposed the bottom chasis
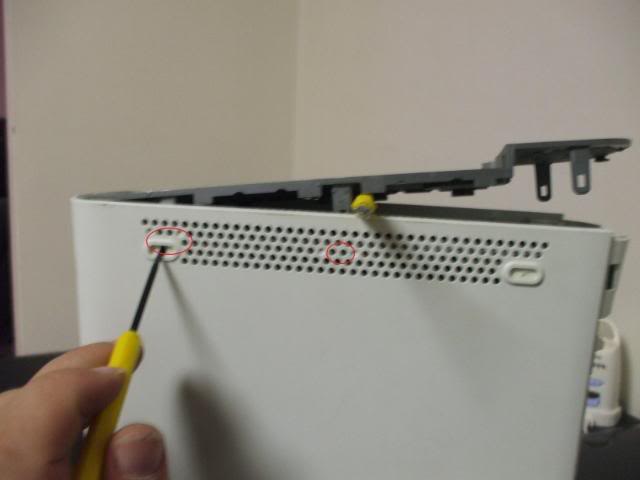
using a torx #10 screwdriver, remove these six screws
9. now flip the xbox over (right side up, holding the lid tight) gently pry the eject button out and lift the lid off the xbox..
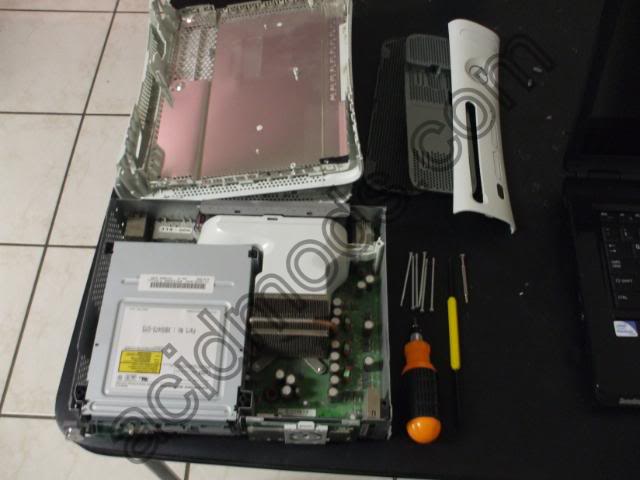
congrats you now have full access to the inside of the xbox
modded matt
FAQ/ Troubleshooting- the back tabs like to re latch having someone lift up on the shell helps
- the eject button can be a pain, dont break it


