Acidmods X clamp fix
Introductionthis is the acidmods clamp mod tutorial, please see the official acidmods tear own tutorial, to get the xbox out of itsz shell and down to the chassis, which is where we will begin
Parts Needed - 8-hex head cap screws M5x12mm lowes part #880645
- 32-steel washers 5MMx 1mm lowes part #880765
- 16-nylon washers 5MM x 1mm lowes part #881544
- small tube of thermal past from radio shack
Tools Needed - #10 hex screw driver
- #6 hex screw driver
- 13/64 drill bit
- drill
- small flat screwdriver
Difficulty rating: 4/5
Average Time to Complete: 1-2 hrs
Notes: -make sure to clean the processors completly
-use a good thermal paste artic silver is recomended
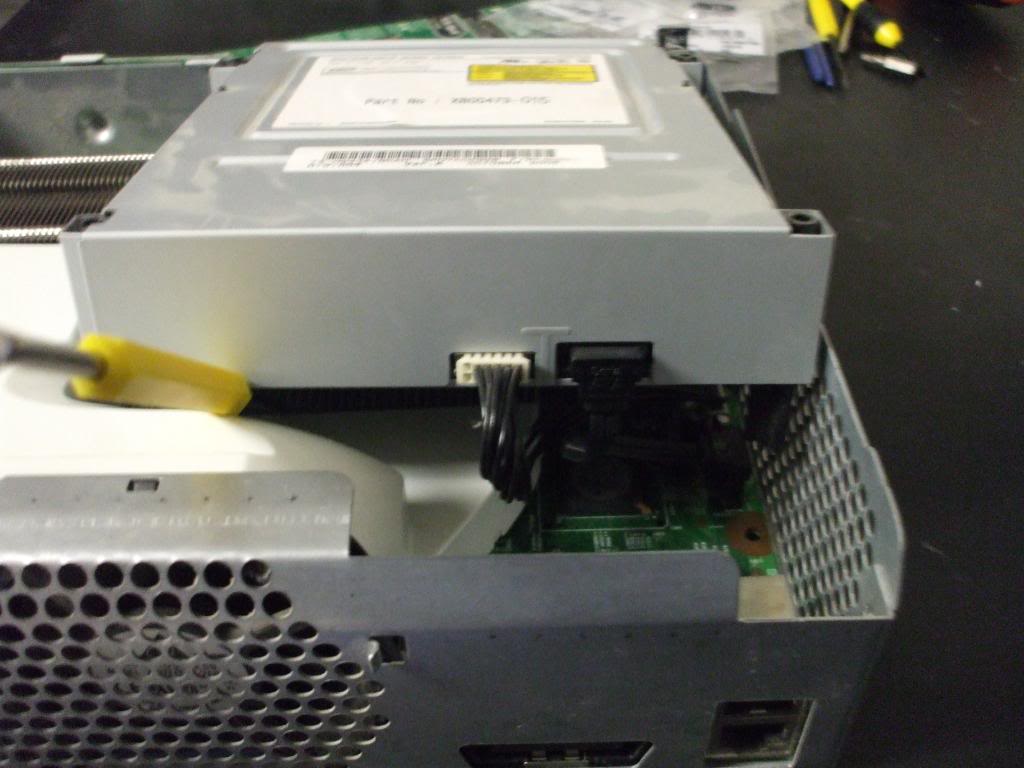
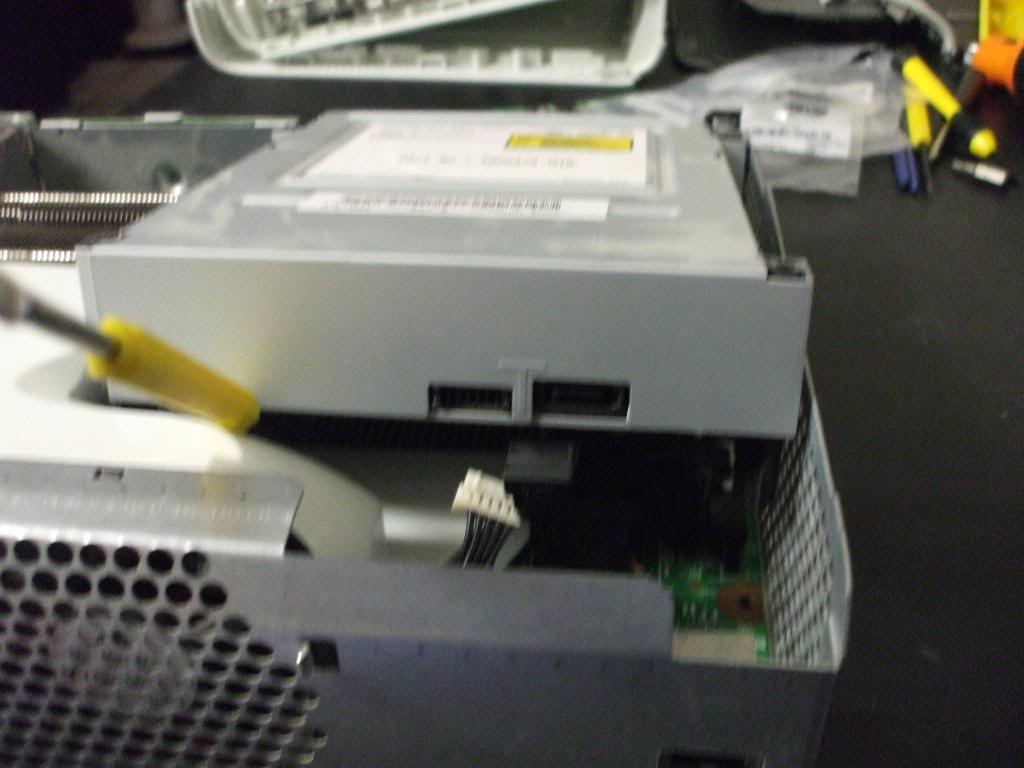
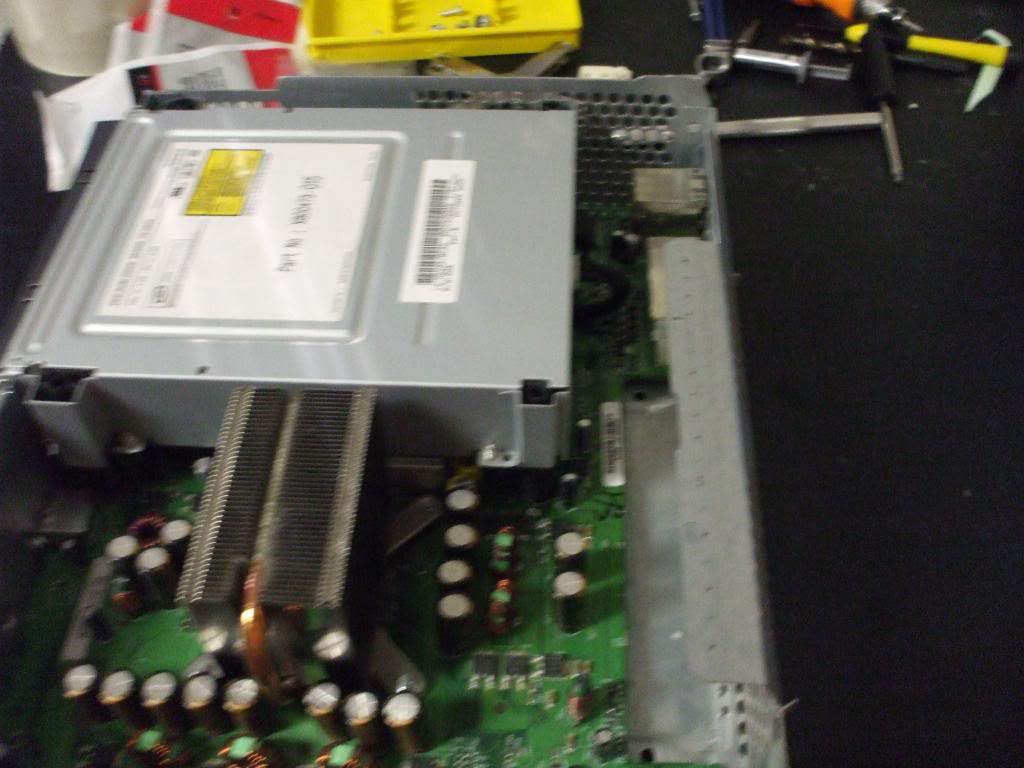
Step By Step Tutorial1: lift back of dvd drive and unplug both plugs and lift dvd drive straight up and out of the chassis you can remove the eject button by just pulling it off, or leave it attached to the drive, if you leave it, be sure not to snag it on the metal casing when removing the drive:
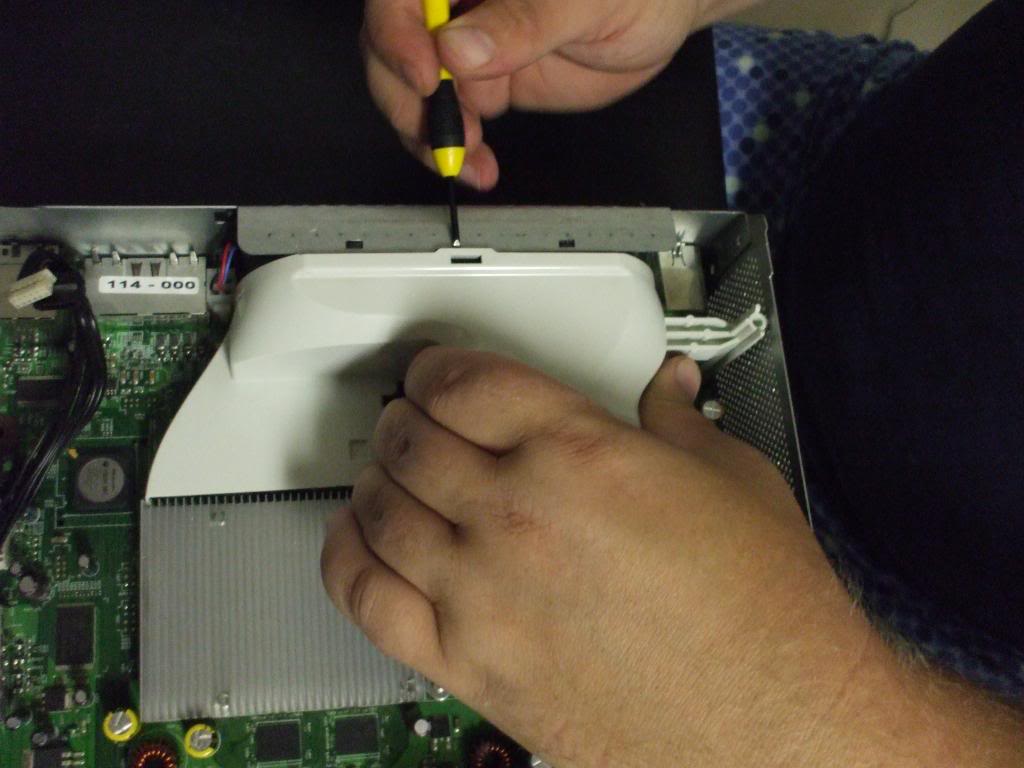
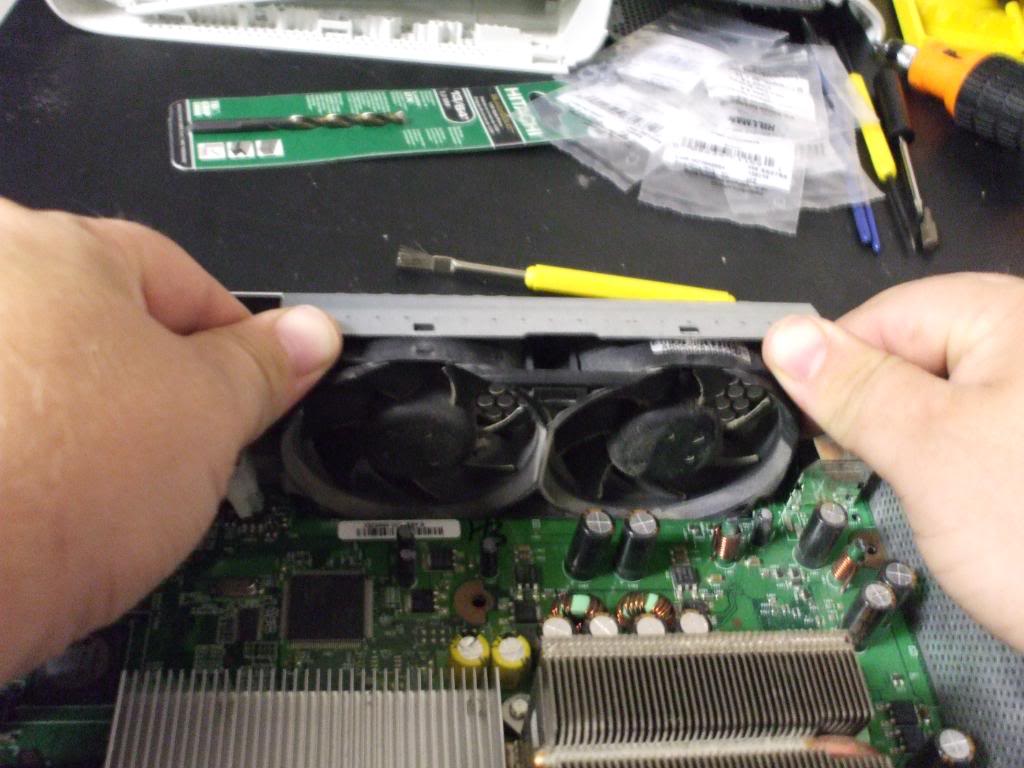
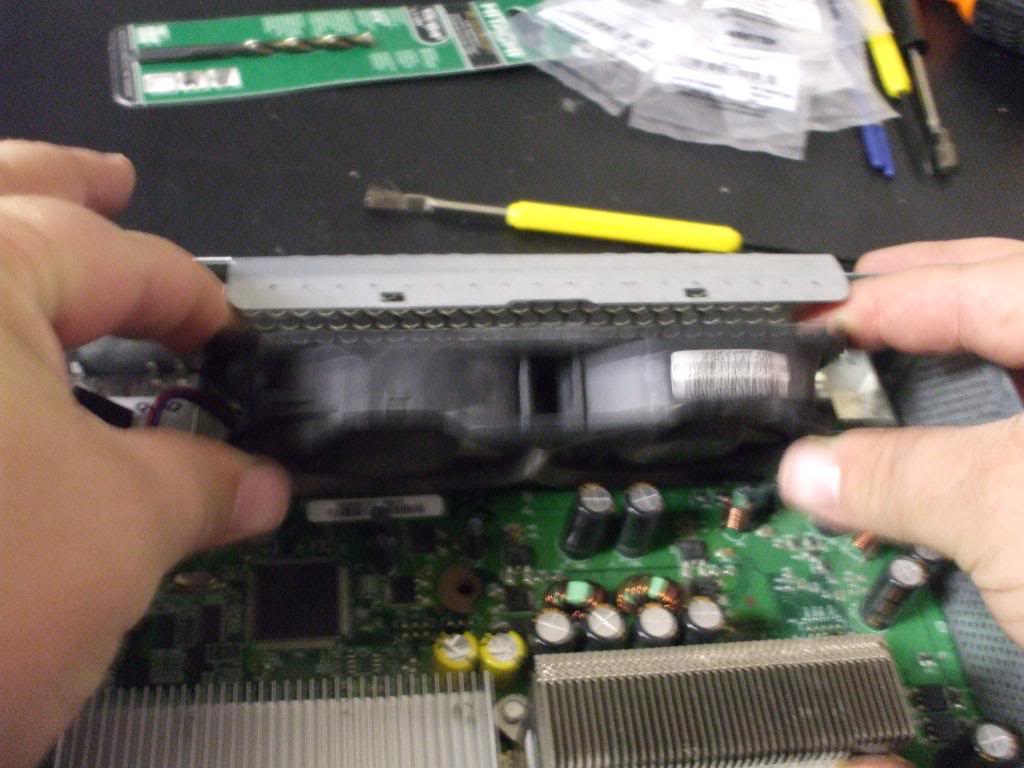
2:using small screw driver at center point slightly bend back the metal casing holding the fan and fan shroud, so you can unhook and lift the fan shroud off the fan.
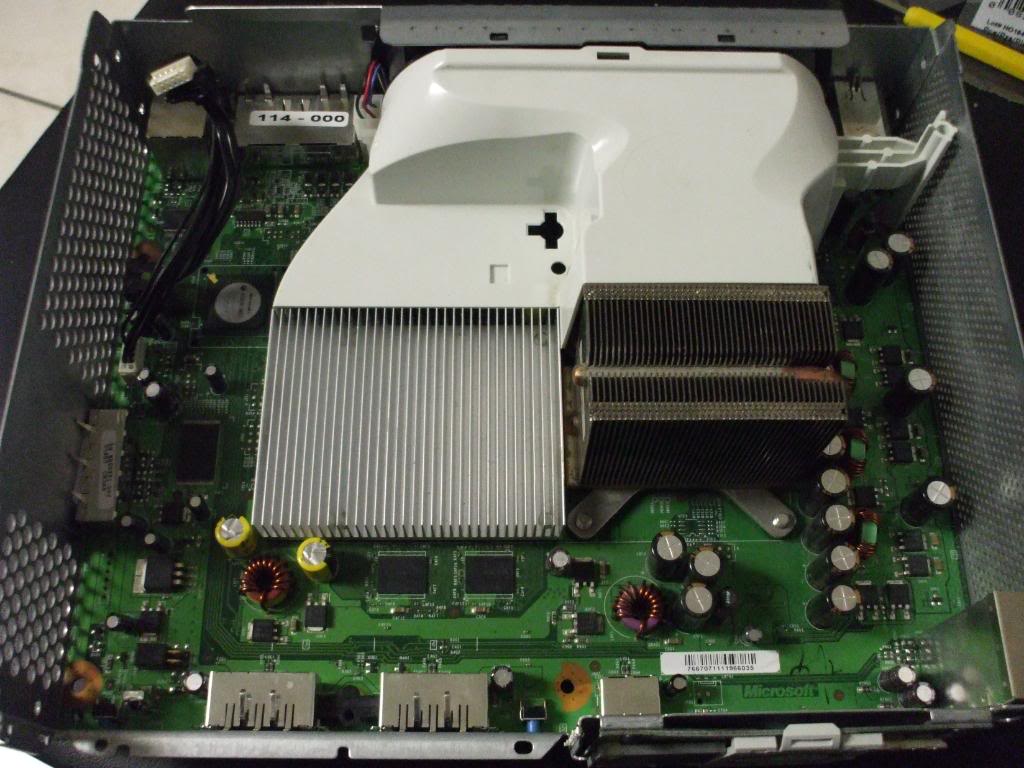
3. disconnect fan plug using both hands on each side of the fan lift the metal retainer, and lean fan toward the front so the fan can be lifted out
4. remove the xbox rol from the front using the #6 tox screw driver. there are two exposed screws and one under the white diffuser, unclip the white led diffuser starting at the bottom and remove all three screws. pull the ROL board off the chassis, pull from the bottom left corner where it is plugged into the mobo.

5. now flip the chassis over and remove all the screws from the bottom, remove the 9 silver screws then the eight black screws.
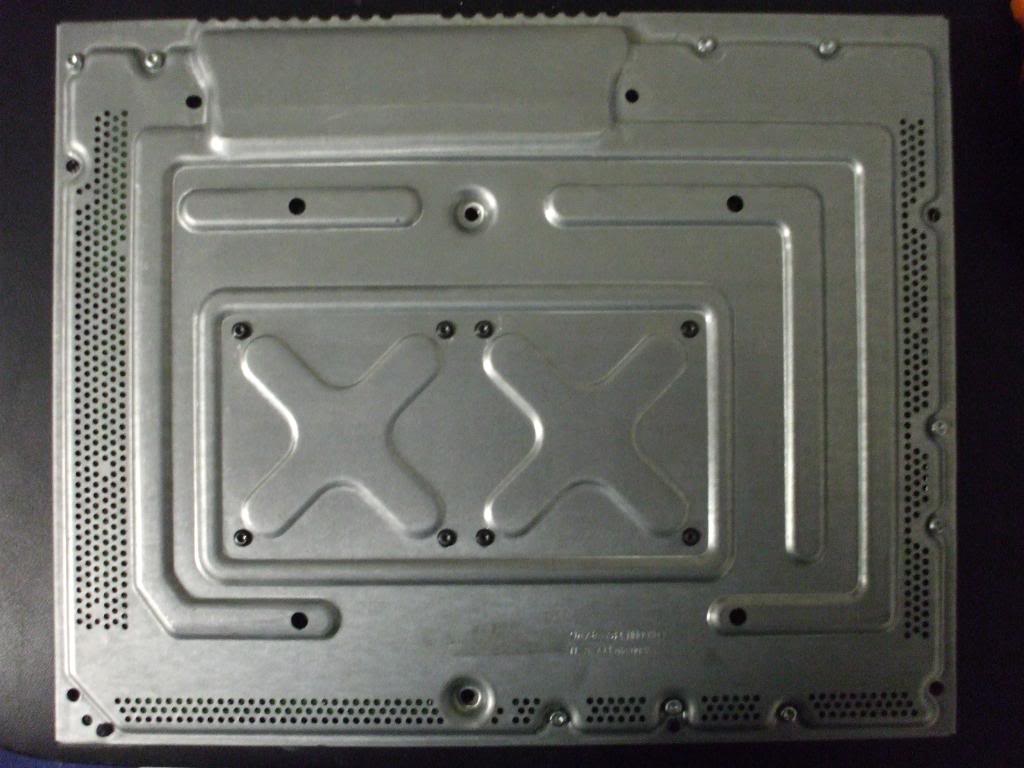
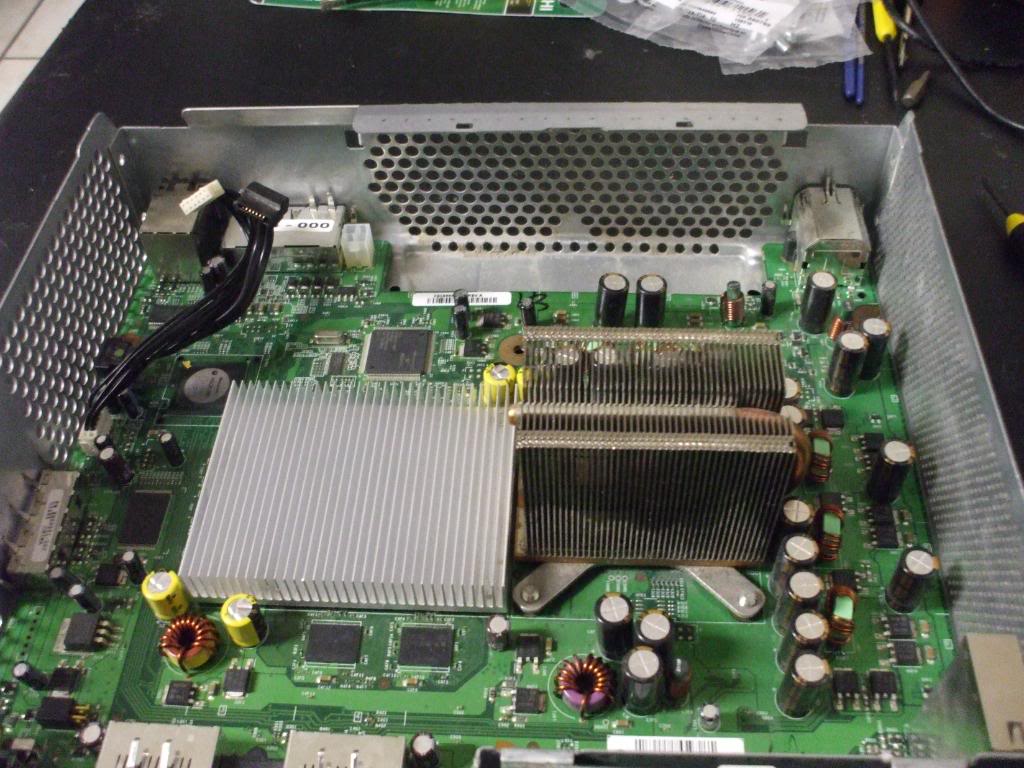
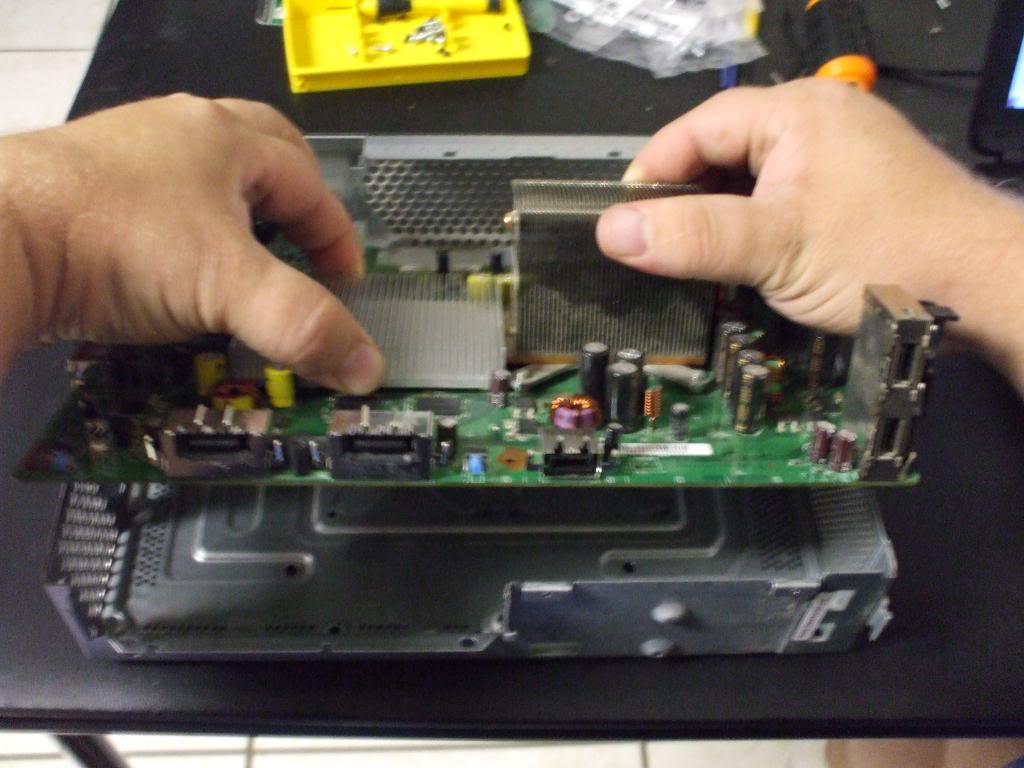
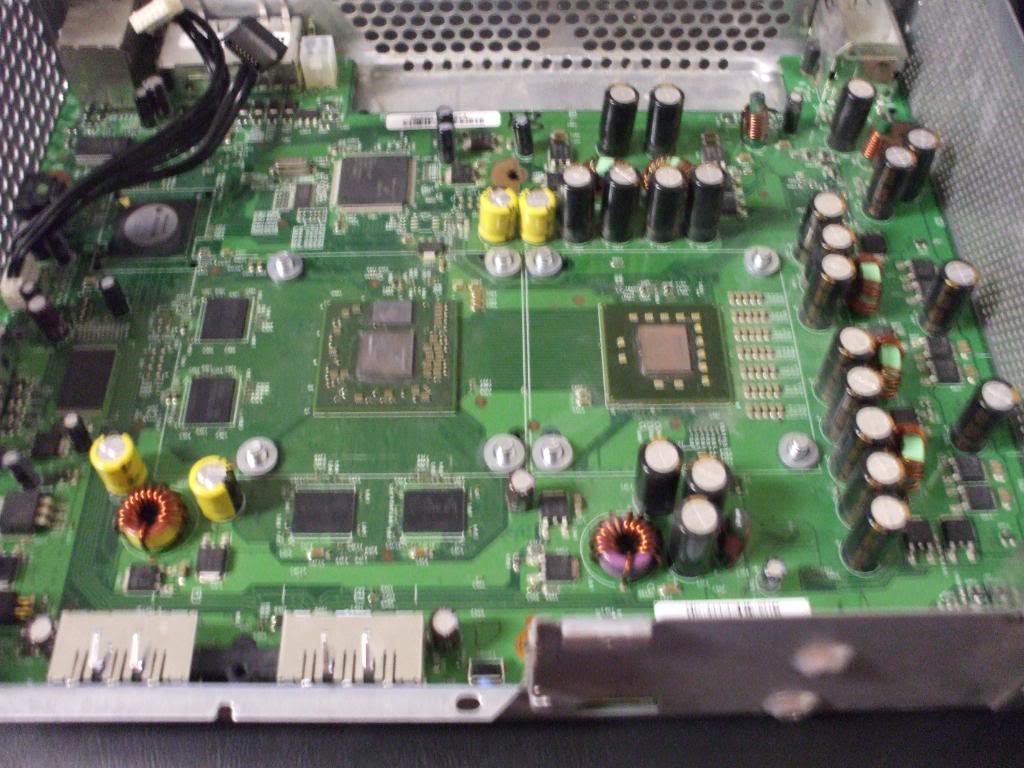
6. now the mobo is no longer connected to the chassis, slide one hand under the xbox heat sync, and with the other hand on the top/bottom of the chassis, flip the unit right side up .now lift from the tall heat sink and gently work the mobo out of the chassis. set the metal chassis out of the way.
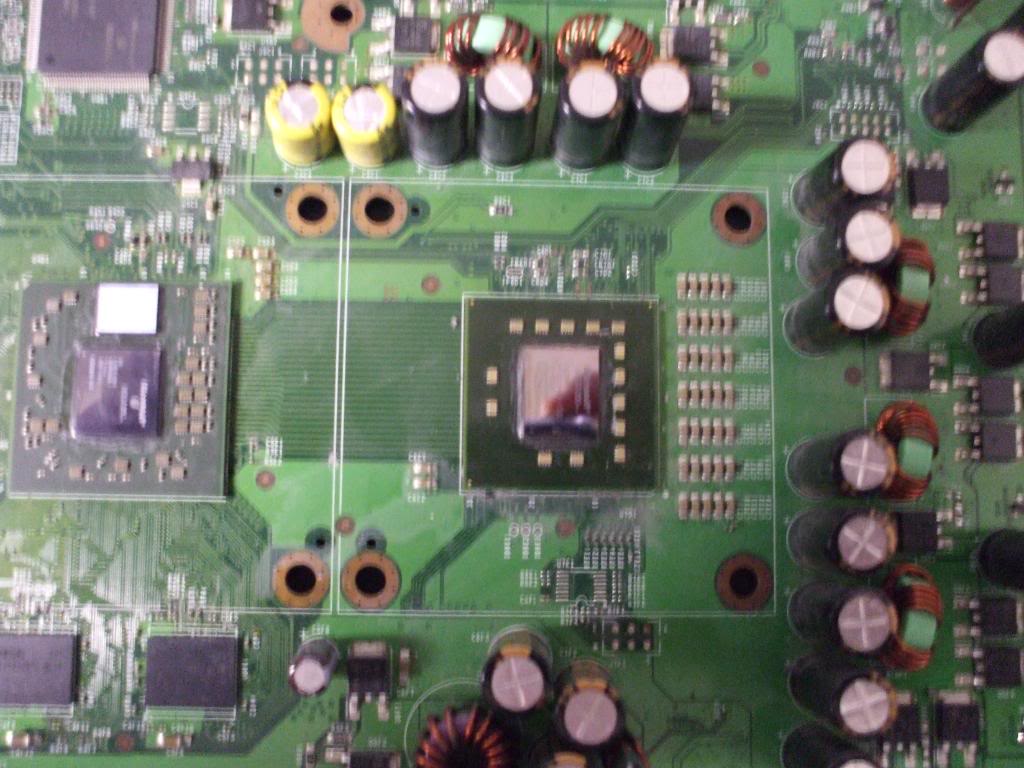
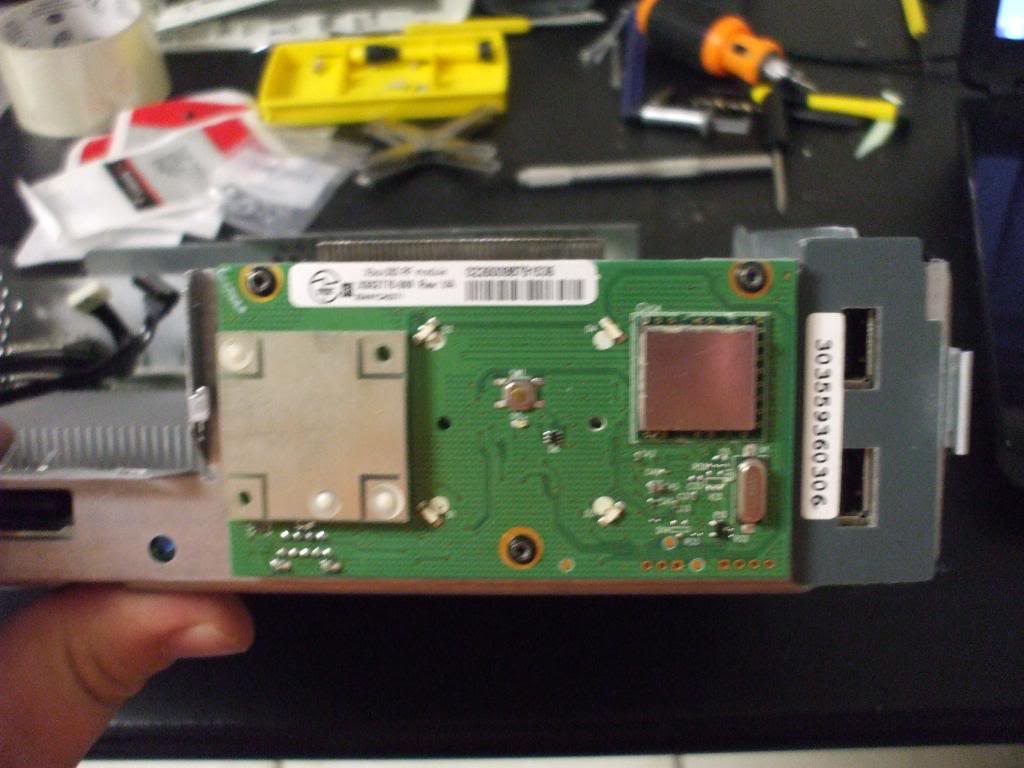
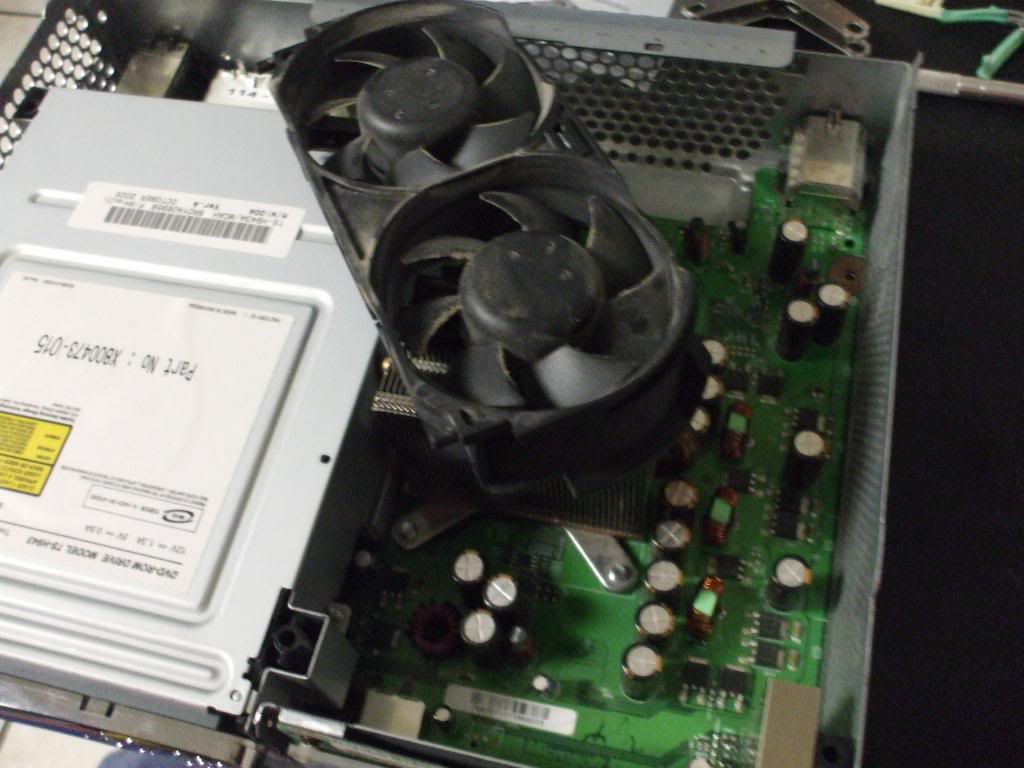
7.now you have access to both sides of the mobo and now looking at the bottom of the mobo, you can see why we call this the xclamp fix lol
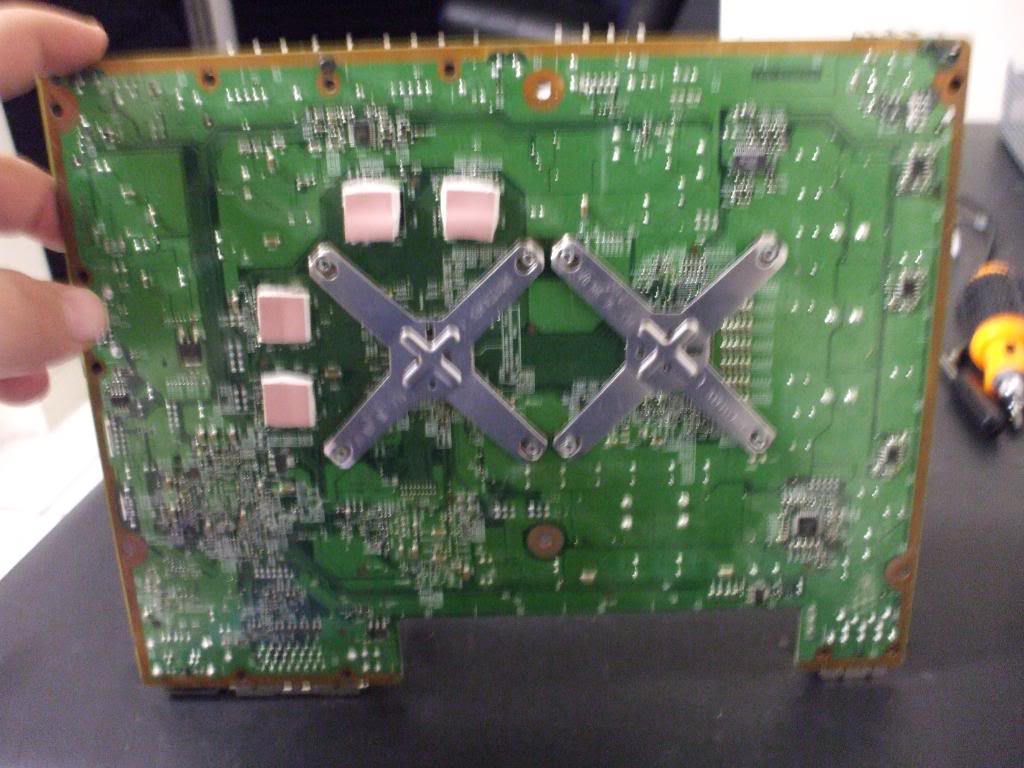
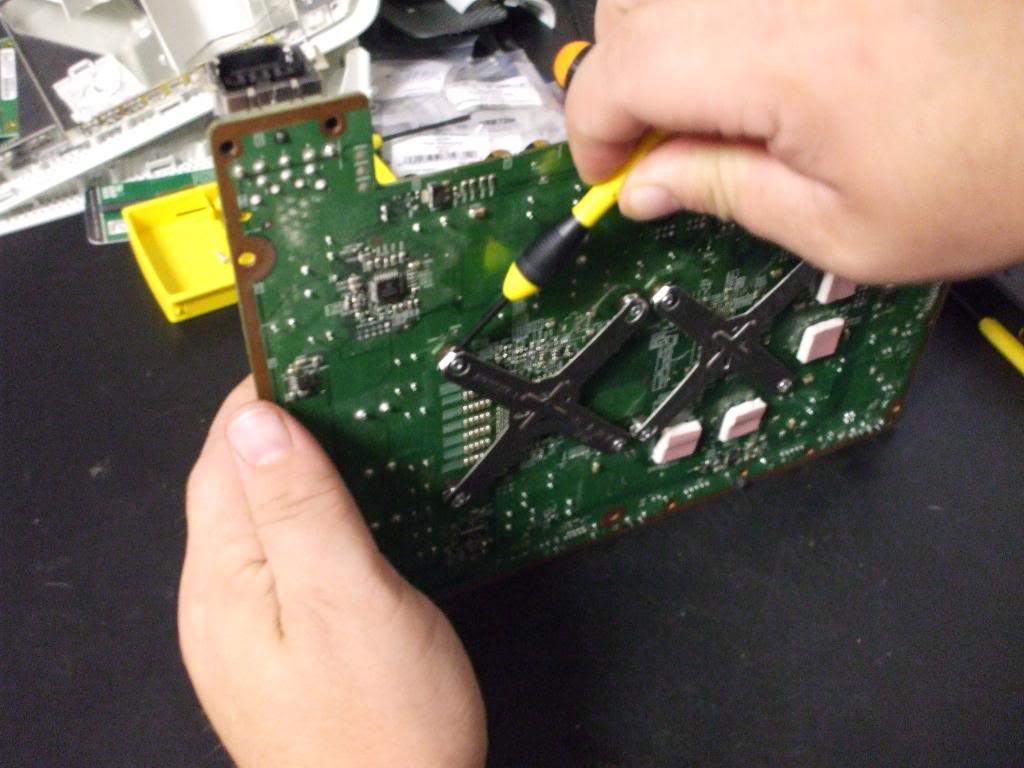
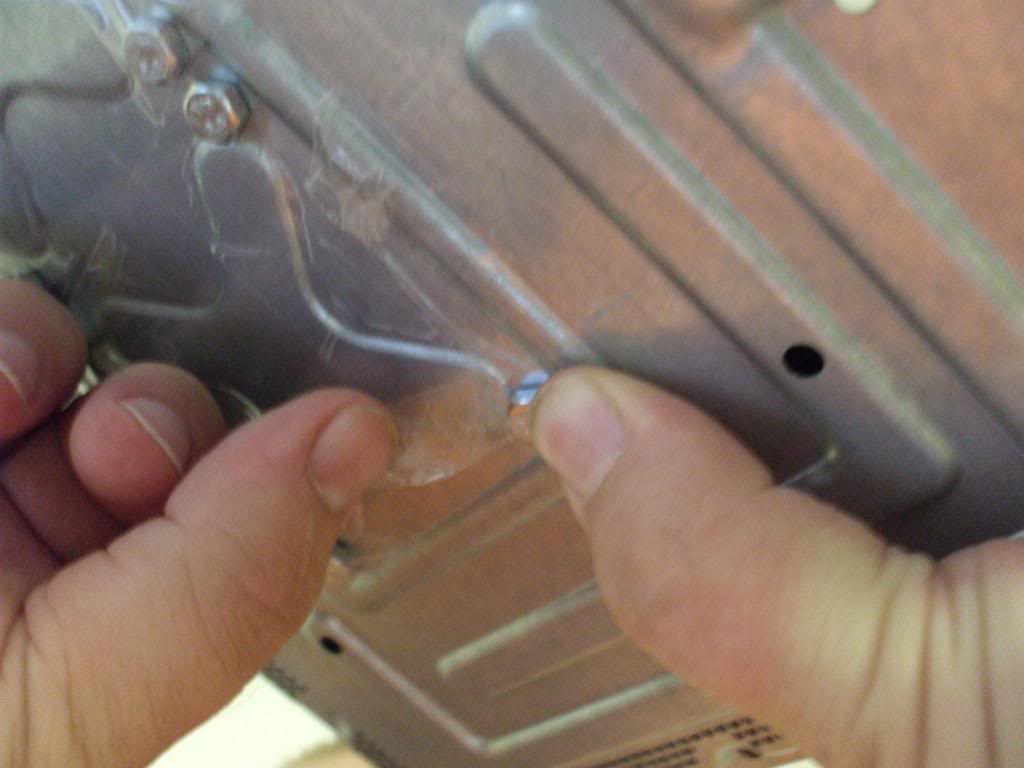
8. now to remove the xclamps take a small flat head screwdriver and carefully pry the clamp off the studs the first one is the toughest, the last one will fall off.
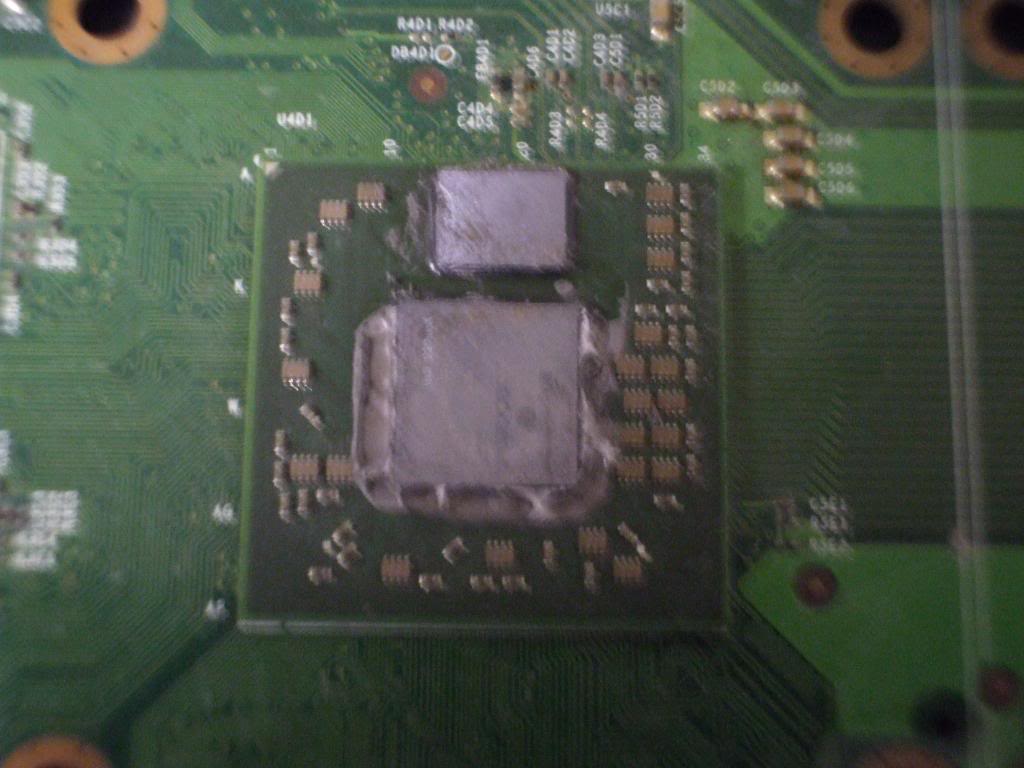
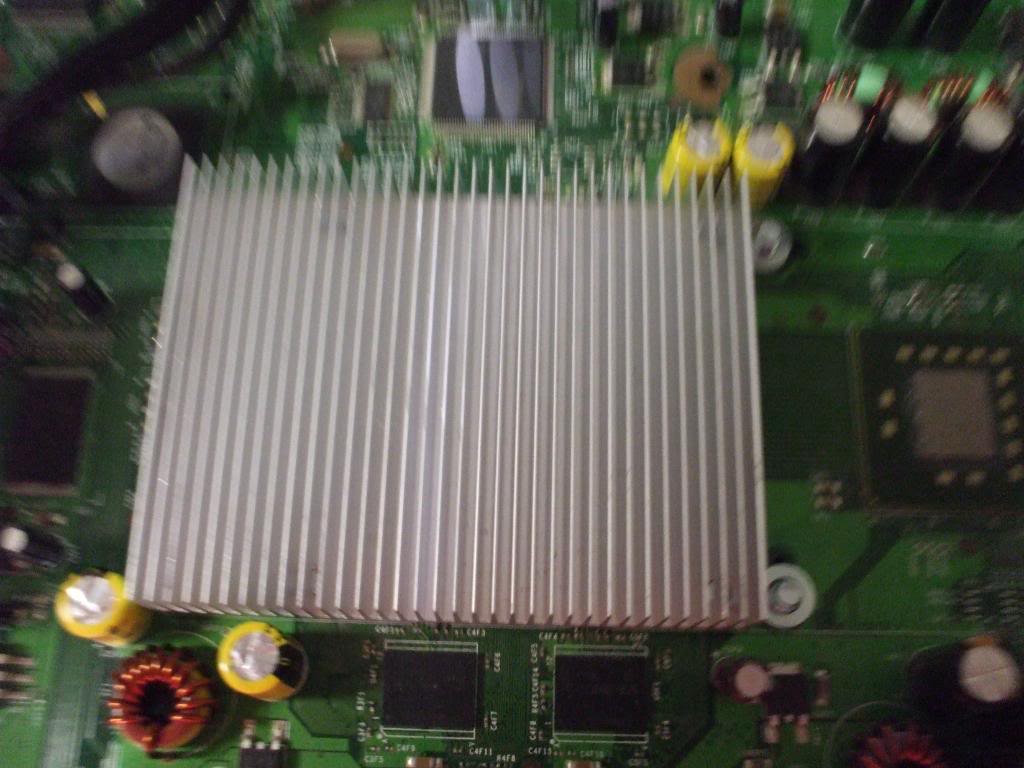
9. now that the xclamps are removed, lay the mobo back down and lift the heat sinks off the processors, they may be stuck or they may fall off depending on what’s left of the thermal paste.

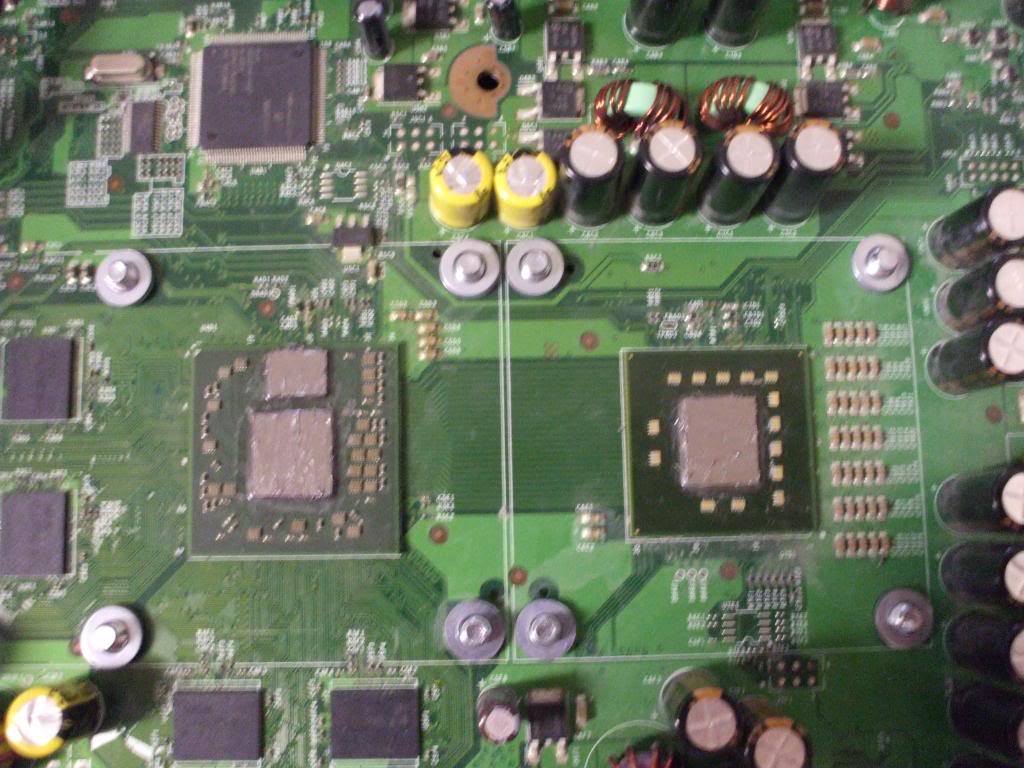
10. now that the heat sinks have been removed, you need to clean all the old paste off both the heat sinks and the processors, this can be done with artic cleaner, or in a pinch alcohol can be used, even if you use artic clean, I suggest a final cleaning with alcohol to make sure there is no leftover resedue. when done they should be shinny
11. now that the processors are clean, set the mobo away, now we need to prepare the the heat sinks, to do so, we will clean all remaining thermal paste residue off the heat sinks, and using a pair of players, we will remove the 8 retaining studs. and set them aside for now

12. now to prep the chassis, here you will need the drill and 13/64 bit, use the eight holes from the small black screws as guides, and drill them out larger to accept the 5mm bolts, be sure to clean up all metal shavings, and not leave any burs around the new holes as spacing is everything here.

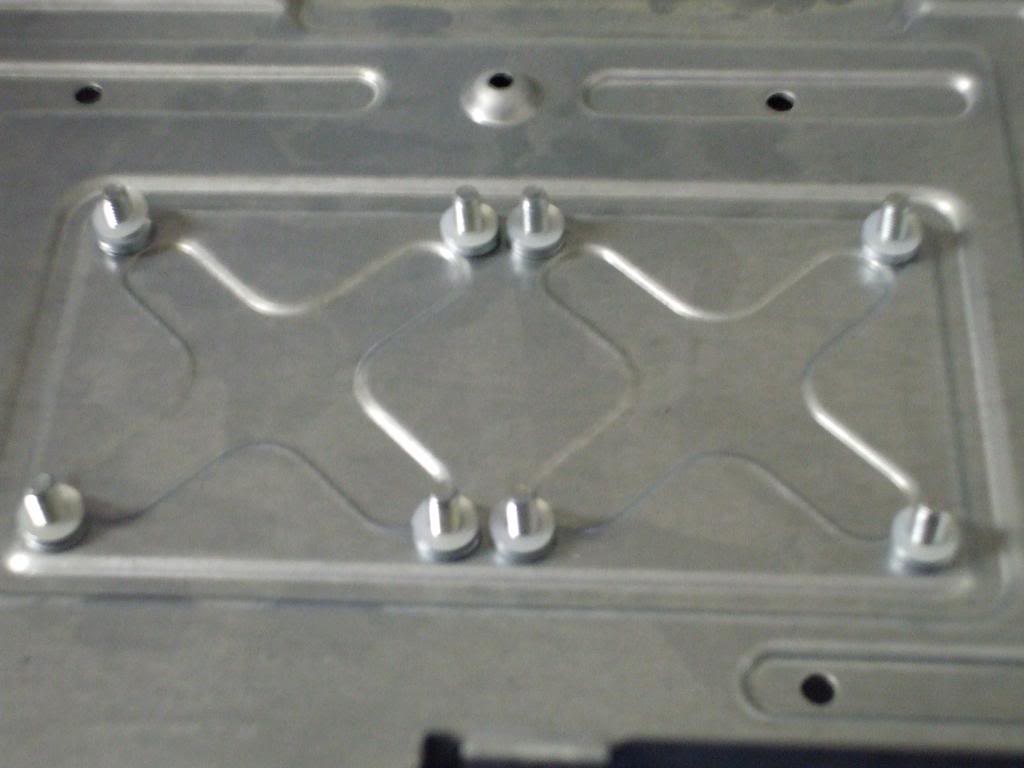
13. everything is now ready for reassembly, insert the 8 bolts from the bottom, for ease of installation, put a small piece of tape over each hole to keep the bolt from falling out as you place the spacers and mobo.
14. now flip the chassis back over, and stack three metal washers and one nylon on the new bolts
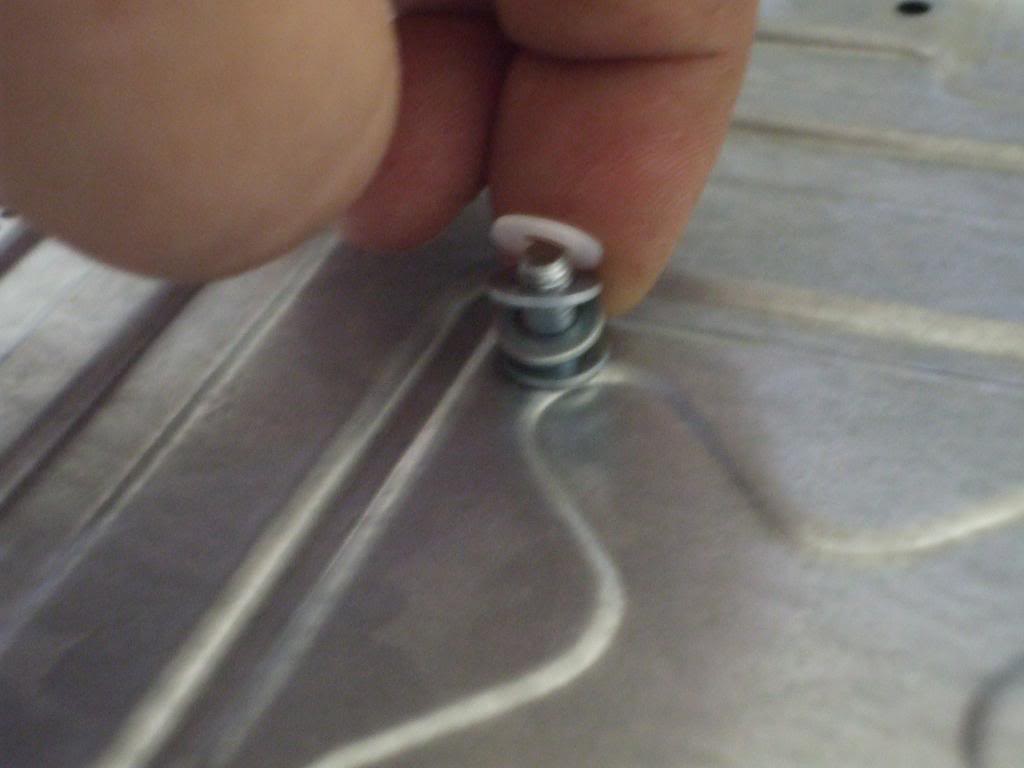
15. now place the mobo onto the new bolts and place a nylon washer followed by a steel washer
16.next we are going to apply a SMALL amount of thermal compound to the processors. just a skim coat, dont over do it.
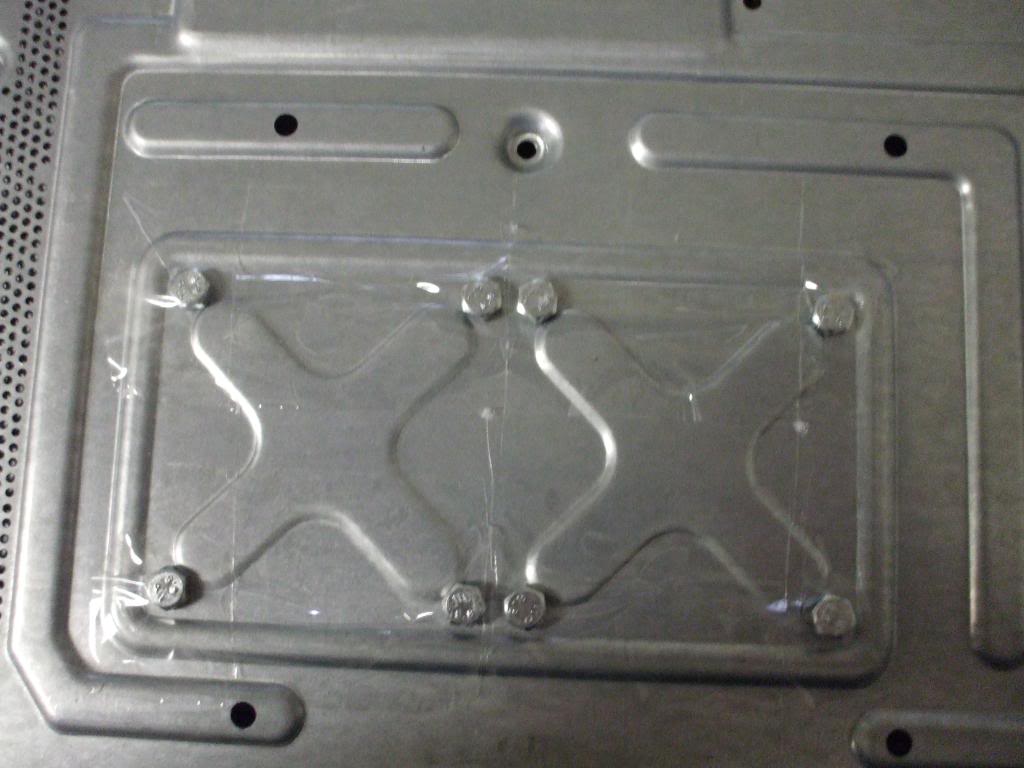
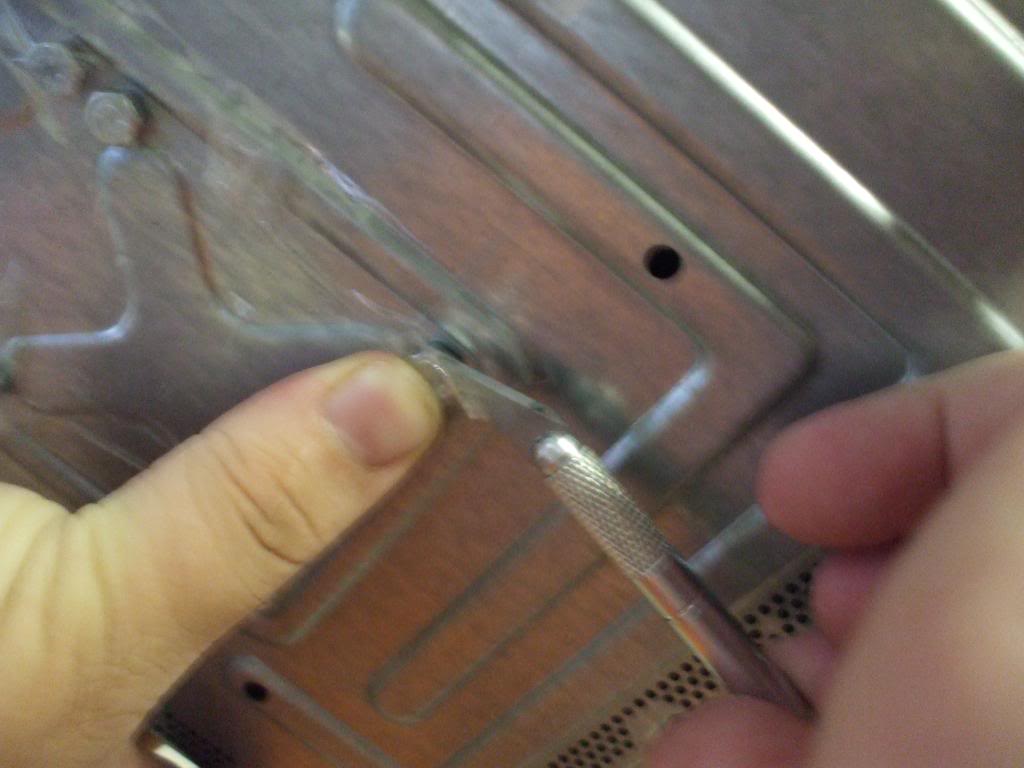
17. now for the tricky part, we are going to do one heat sink then the other, I start with the flat one. place the heat sink over the new bolts. lift the whole xbox up so you can see your new bolts and the tape holding them in place, take an exacto knife or like object to cut the bolt head out of the tape (we don’t want to pull off all the tape, do one bolt at a time) DO NOT LET THE BOLT SLIP OUT if you do, you will be starting over. when you have it cut free of the rest of the tape, use one finger to hold the bolt, and the other to carefully remove the tape so you can turn it, we just want a few twists, don’t tighten until we get all four started once all four are started do a criss cross pattern to tighten them all hand tight then use a wrench and tighten them good and snug, remember not to just do one side then the other, we want to apply even pressure.
18. now take a break to prepare to do this again with the second heat sink. same process as before. Remember to tighten the bolts in a criss cross manner to apply even pressure.
19. now that all the bolts are tight you can freely move the xbox again, remove all remnants of tape.
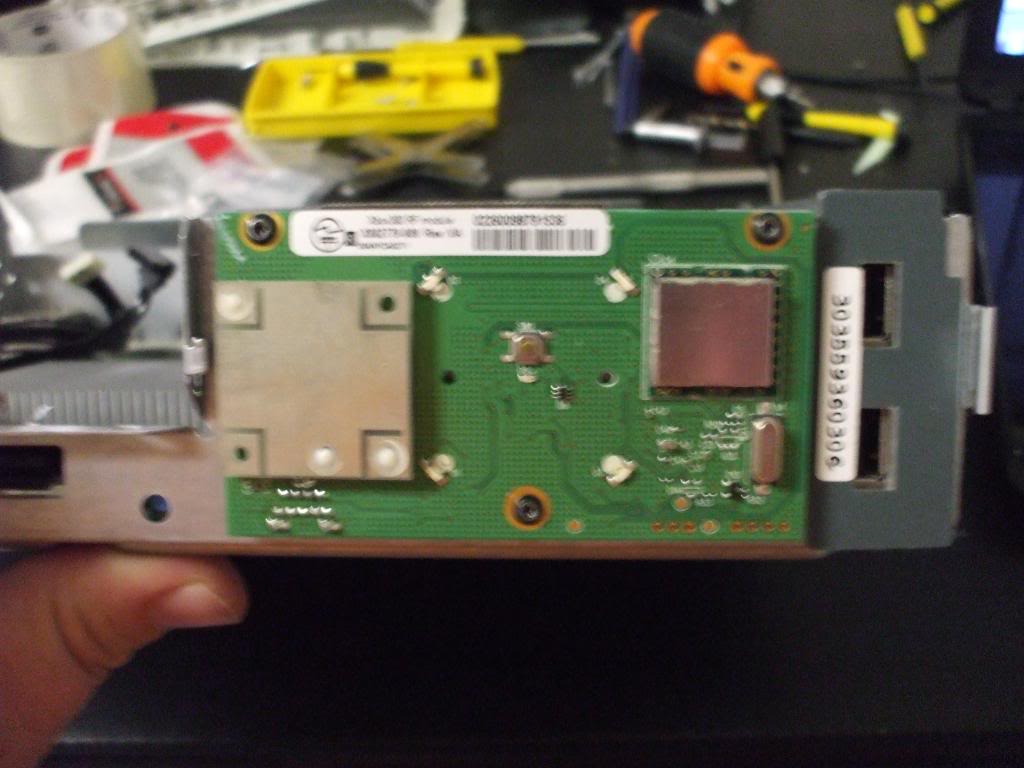
20. now reinstall the rol board
21. reinstall the disk drive.
22. plug the fan back in but don’t put it in its original position, instead place it on top of the large heat sink (the cpu)
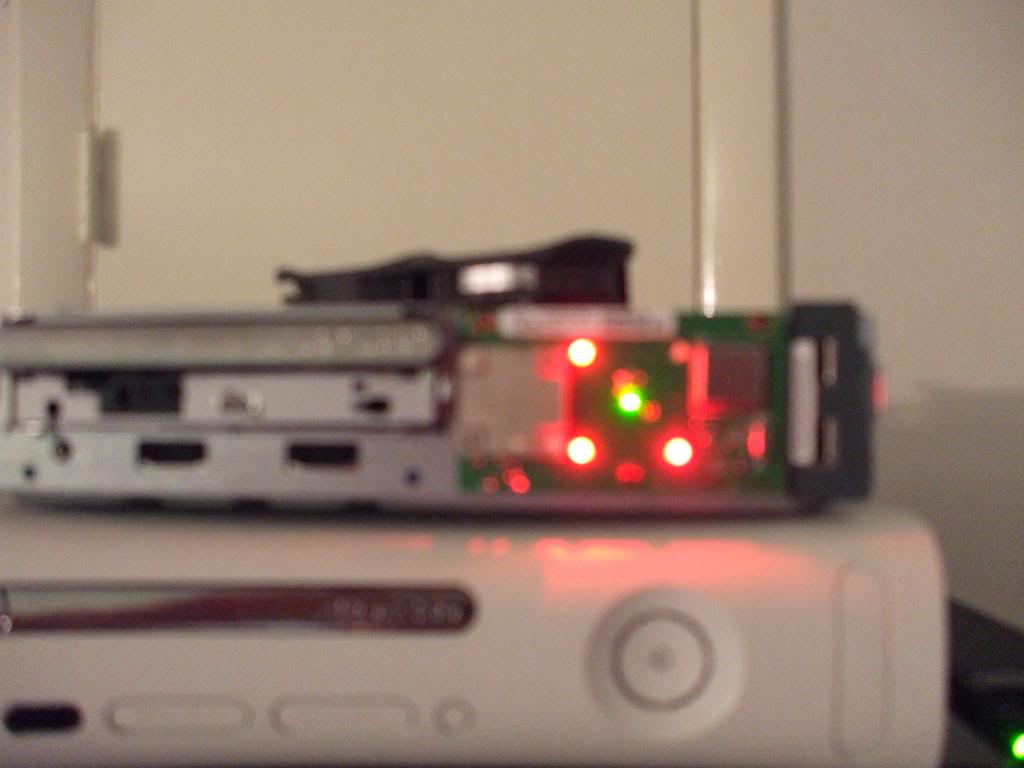
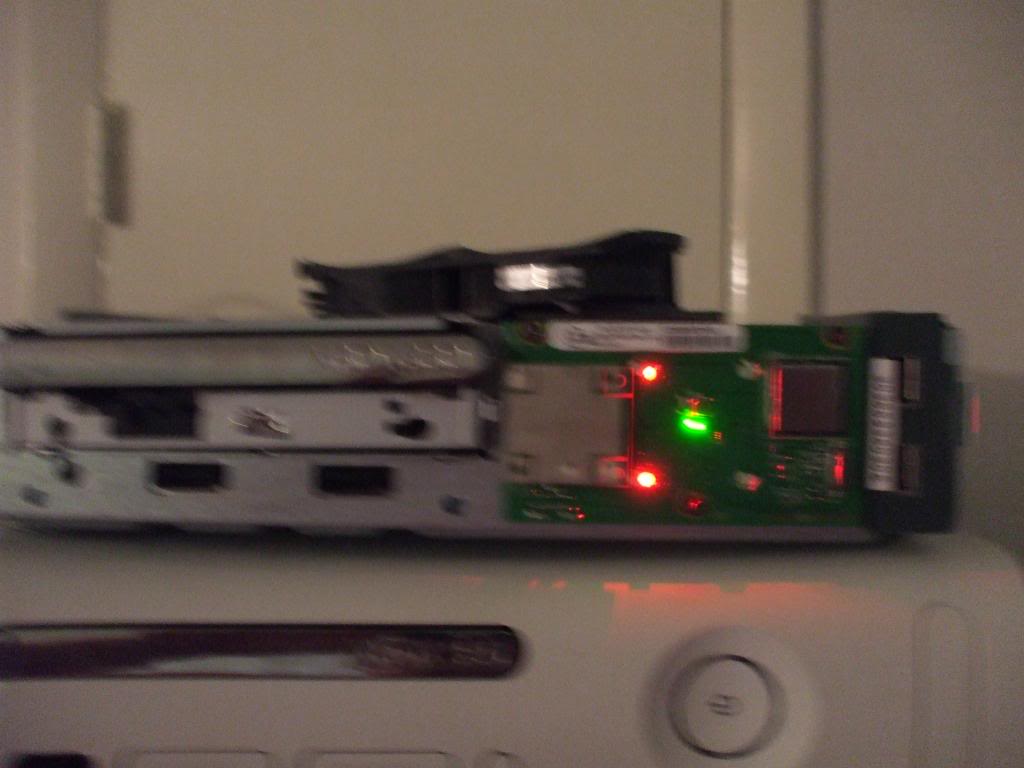
23. now plug in the power and the av cable and power up the system. at this point the RROD may be gone, but please continue the process to ensure a lasting effect. We want to let the system run in this condition for about a half hour to ensure a proper reflow of the chips. during this time it is important to keep an eye on the system once it presents the two red lights (#1 and #3) shut it down, retighten the bolts, and let it cool completely.
finished
replace the fan to its proper position, PUT THE FAN SHROUD BACK IN. and test the system, it should be ready to play.
FAQ/ Troubleshooting- if it dont work the first time, tighten the bolts and try to over heat again
- overheat the system even if you get green power up to ensure a lasting fix
- hopefully this fixed it, but it will most likely only prolong life, and not fix forever.
acidmods.com


