Well i finally bought a Dreamcast. After numerous attempts with emulators i just gave up and decided to buy a console instead. Being prepared, i had bought some stuff to fight the aging yellowing that comes with console such as the Dreamcast, snes, gameboy and PlayStation. Surprisingly, the console i purchased showed very little yellowing which was good for me(less work). But i went ahead anyway to see if i can somewhat get that original color back.
Anyway here are some pictures of the color restoration process.
Console:
Here is the bare console.

Disassembled and wrapped and ready for the oven!
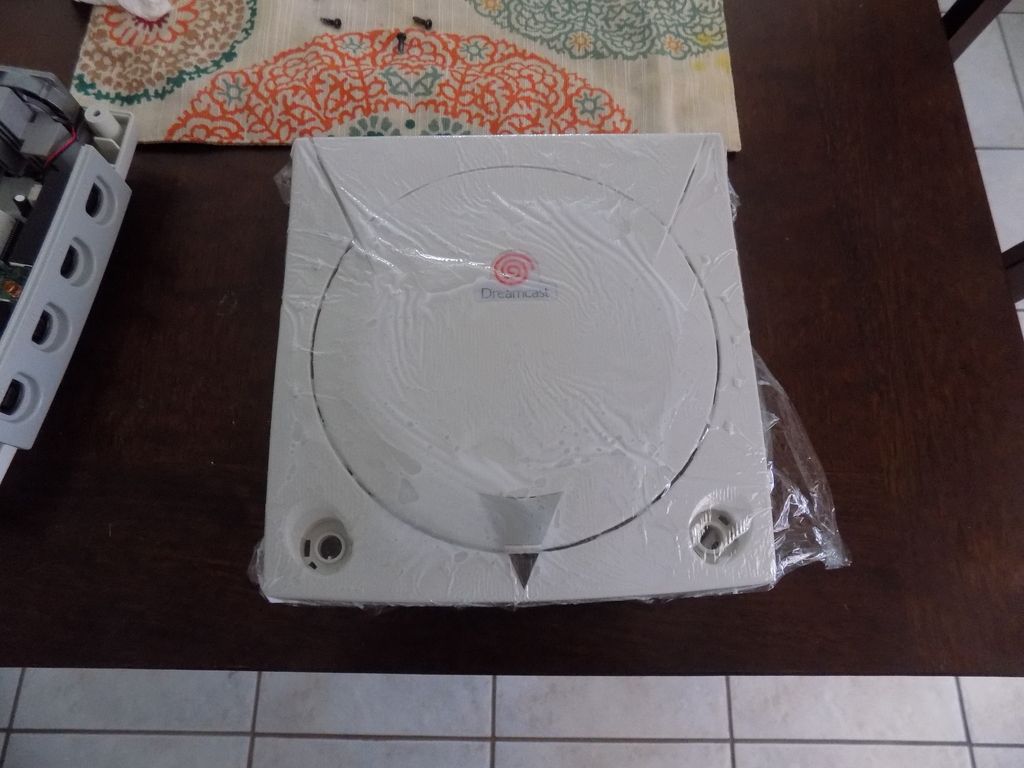
In the Oven and baking!

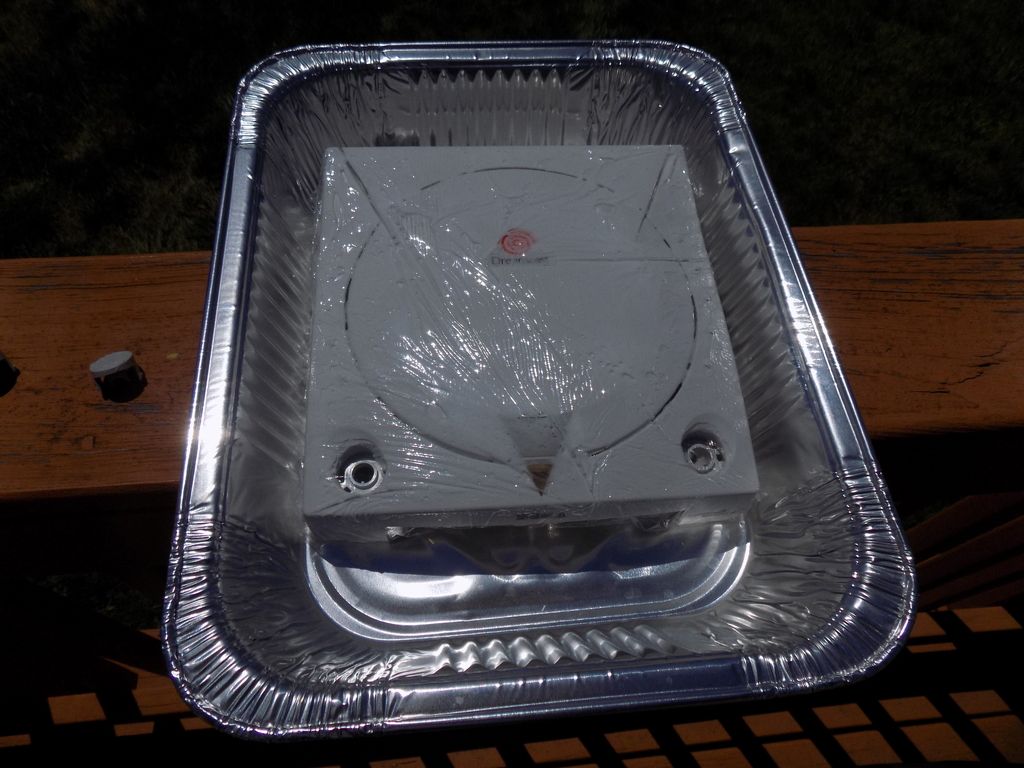
Finished product
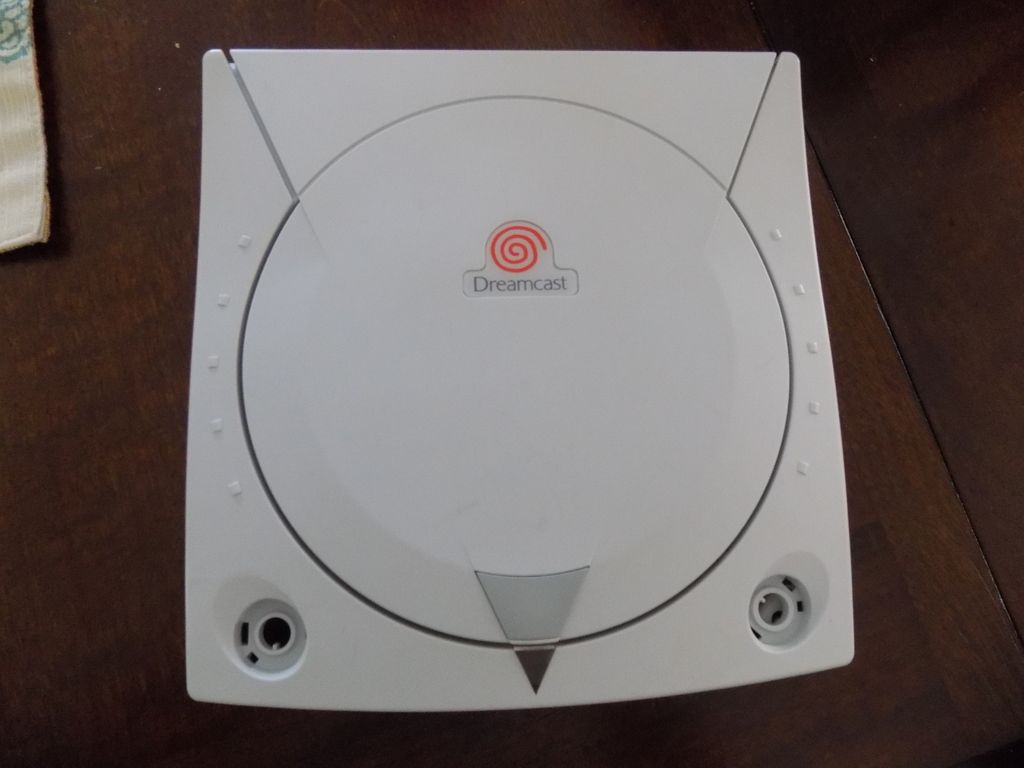
Redid the Power and Open buttons and added a little color to it.

Fully Assembled

Before and After(sort of)
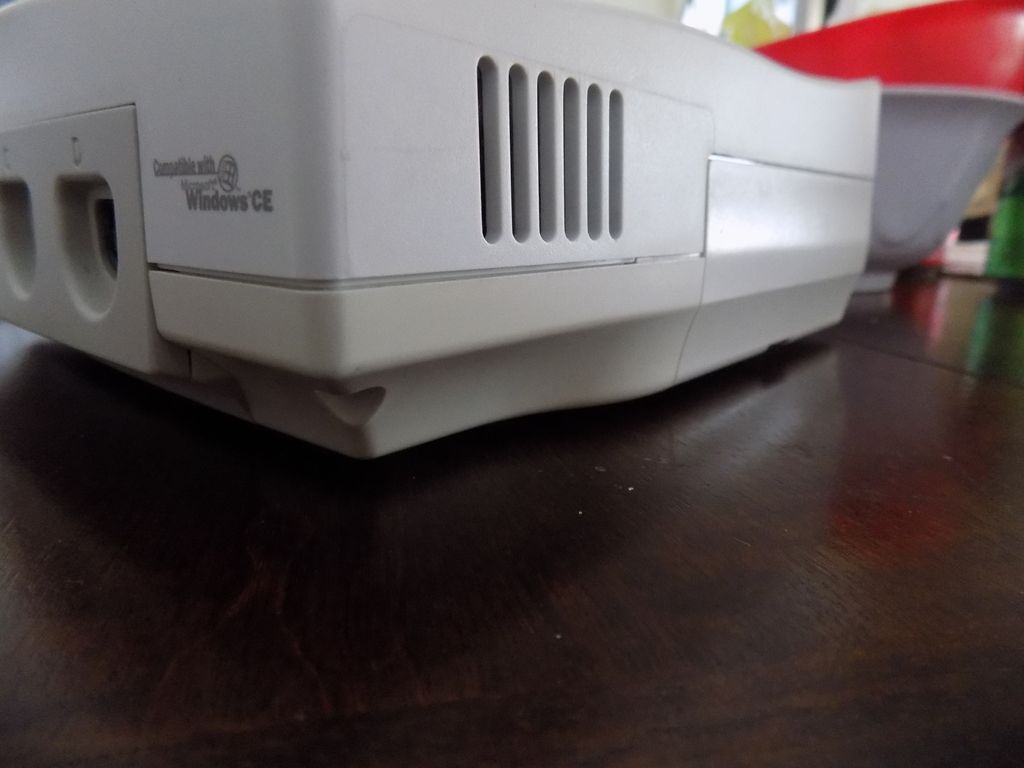
The bottom half color was the original color when i bought the Dreamcast.
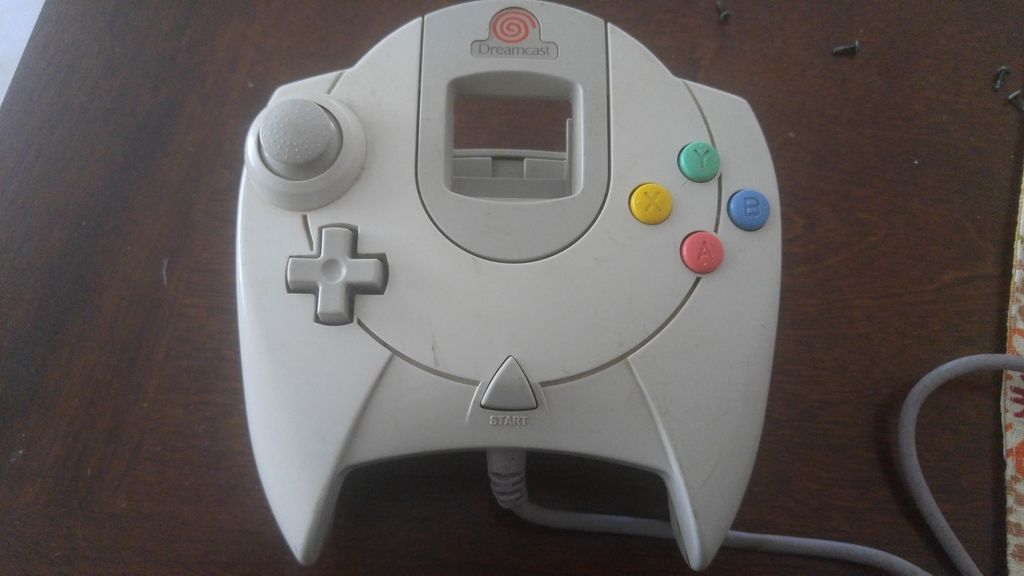
Controllers:
Picture showed controller to be much cleaner and white than it really was.
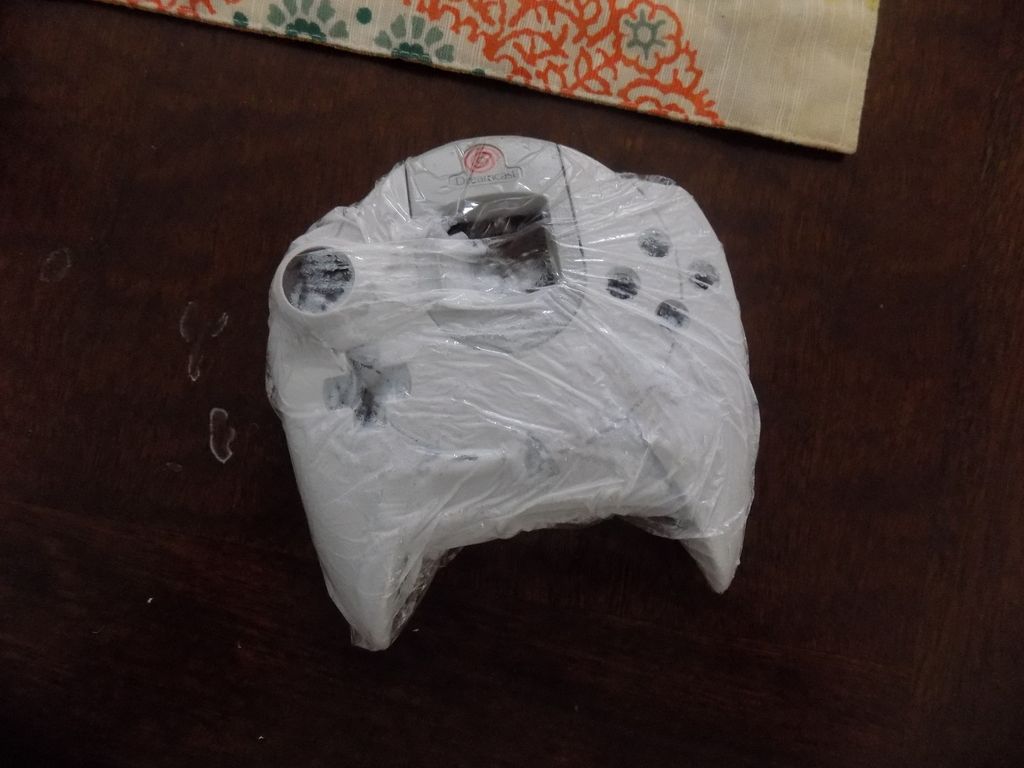
Cleaned, Disassembled and wrapped for the oven.
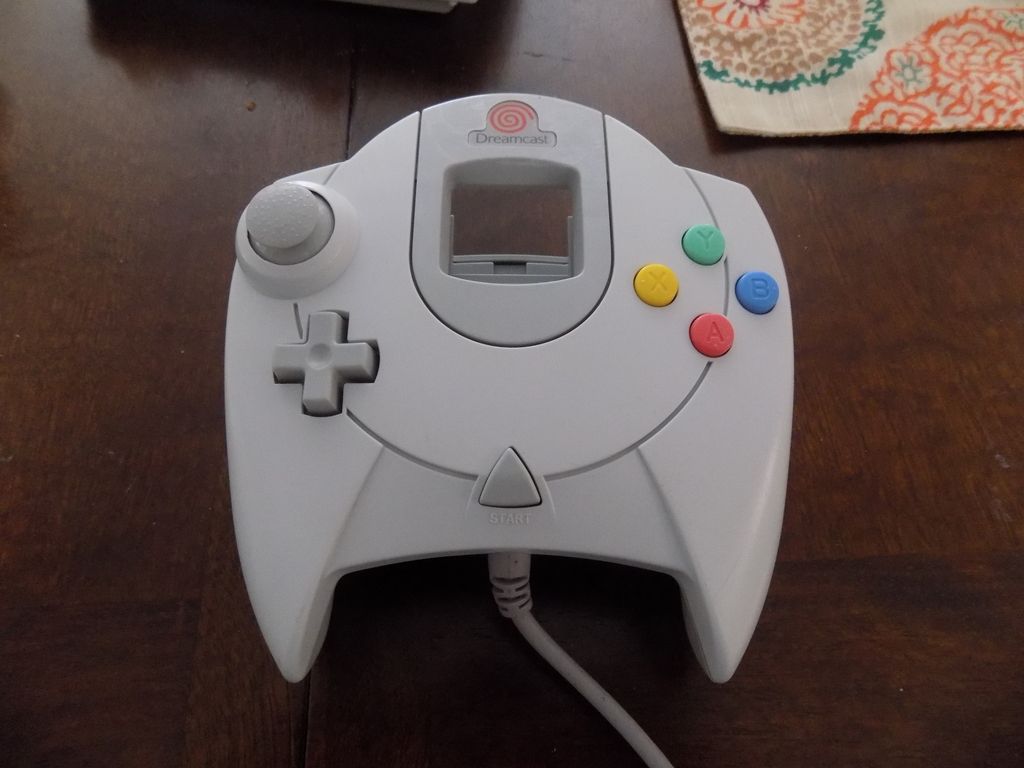
Again, picture doesn't do this any justice and the controller's color looks brand new.
Also, i had lubed the lens gears and rails to reduce noise. If you have ever

a Dreamcast then you'll know what I'm talking about.
Lens flipped over, you can see where the gears and rails are. Dry like a desert.

Edit: Pictures are up and done. I will complete the bottom half of the console once i receive all my parts in to mod the dreamcast for HDD.