RAZOR/ELASTIC NUB TUT BY ANTHONYTA
IntroductionHey guys im making this topic just to show you how i made my razer/elastic nub since people asked me to

(i hope these pictures don't bug, i made them smaller so you dont have to scroll around to see it)
Parts Needed - Radio shacks pcb making kit ( + plastic bottle (suggesting Gatorade bottles so you can fit the razer in)
- Round Razer print out found on this dual nub section shown Here
- Water balloons
- Analogue axle
- Analogue TOP cage (where the spring lies under)
- Aluminum sheet
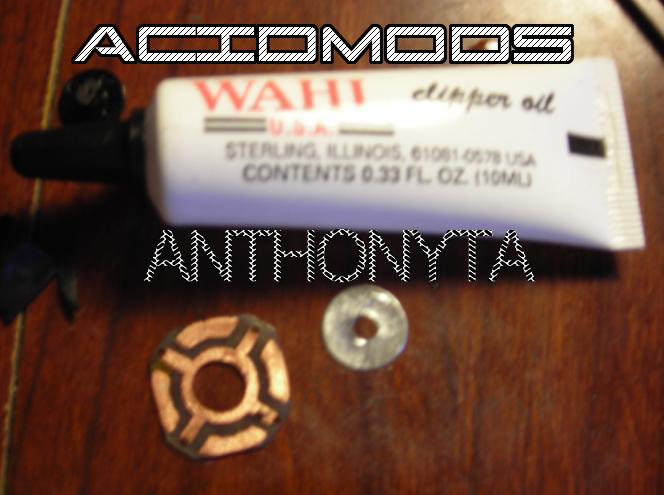
- Clipper oil (from hair cutting clippers)
Tools Needed - Dremel (sharp bit and engraving bit)
- Soldering iron 15wat
Difficulty rating: 3/5
Average Time to Complete: About 45 minutes
Notes: What makes it difficult ie small soldering high dexterity
Step By Step Tutorial1- So first i print out the picture with my laser printer you can find the print in this dual nub section so search =] (for some reason my iron didn't have the silk option so i just ironed it on enough to see the shape on the pcb than i had to sharpie it out)
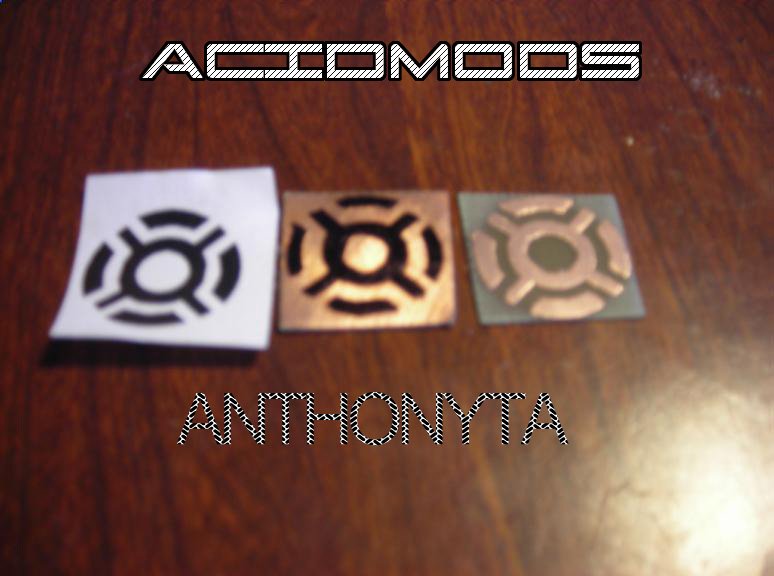
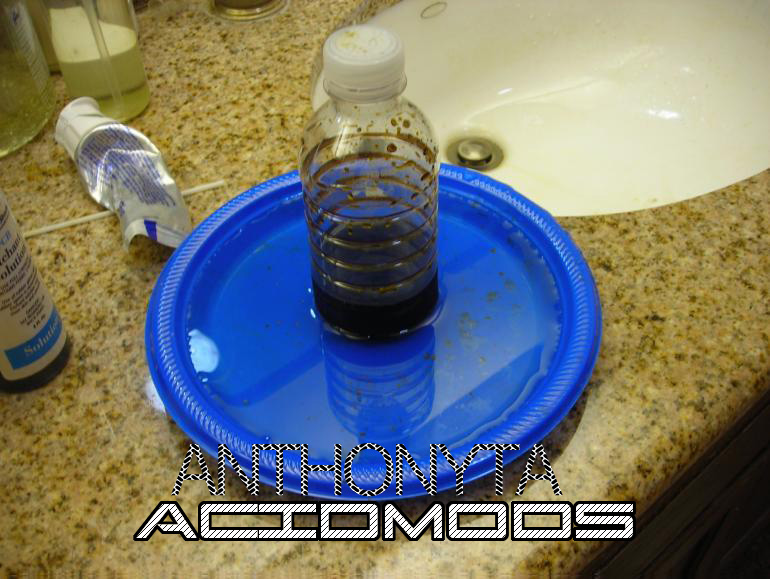
2- When i first got the pcb kit at radio shack i was frustrated because it took forever to completely take out the excess copper. Then I found out that you have to agitate (shake) it and its good to do it in hot water.
So I did it this way and just shook the bottle. Worked flawless got my pcb in 15 mins. (Hot water in the plate. After i ended up just filling up my sink with the hot water and did the same shaking in the bottle method while it was in there.)
3- You also want to draw some dots on the back of the pcb (well this is what I did) I guestimated the 5 dots. Then I used this engraving bit with my dremel to make holes next to those dots (Note: I didn't make the holes go all the way through, I went down until I saw copper.)
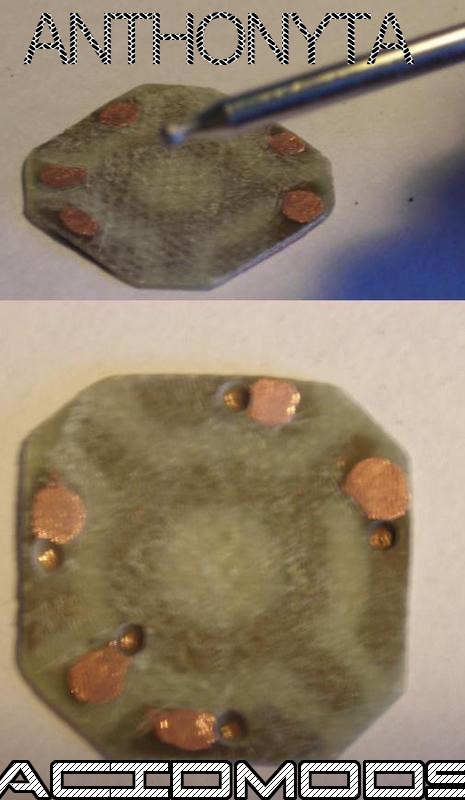
4- After I put some soldering paste in the "holes" and the extra dots I drew and added solder to it. (I connected the hole with the "dot" I drew)
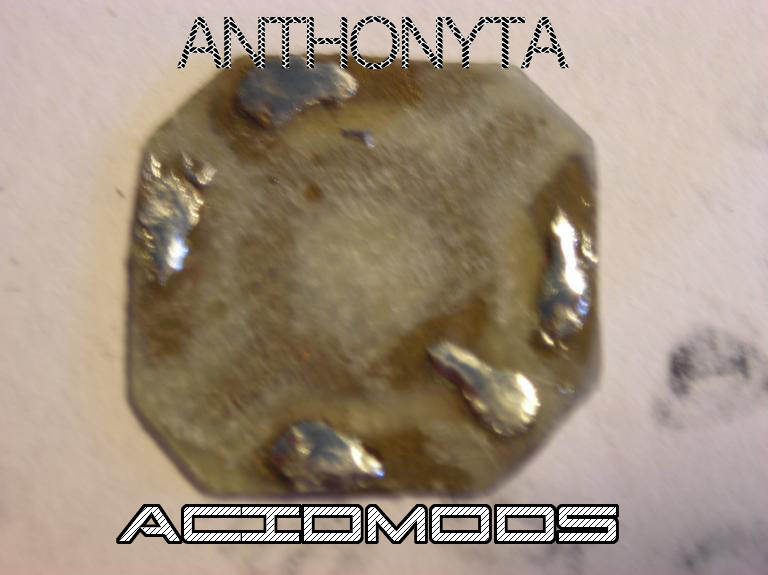
5- Solder to the dots that I drew instead of the hole. nice and easy kinda like a double sided yea? hhehe
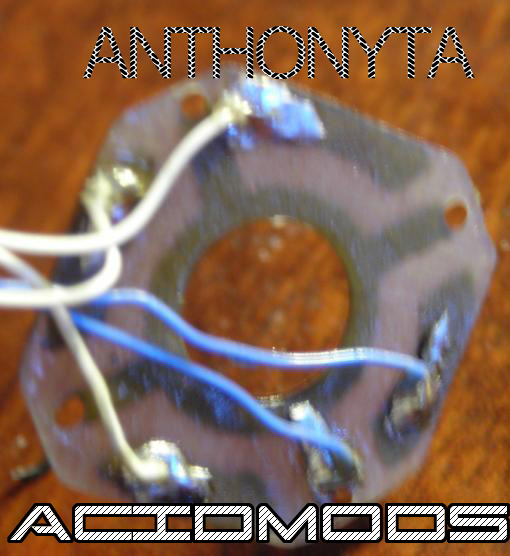
6- As you can see it doesn't bother the other side of the board(so no stops!)
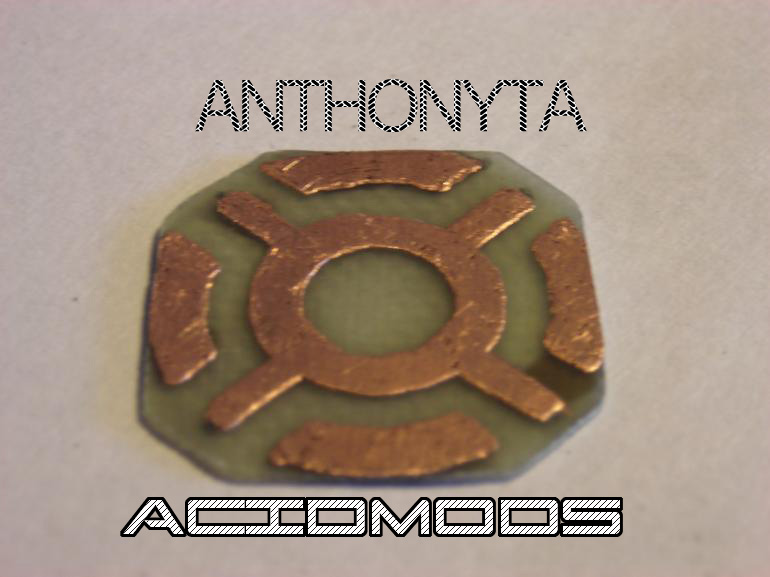
7- After that I put the original pcb of the analogue over my razer and got a pencil to draw out the 4 points I have to drill for the top cage to fit perfectly. I used the sharp bit)
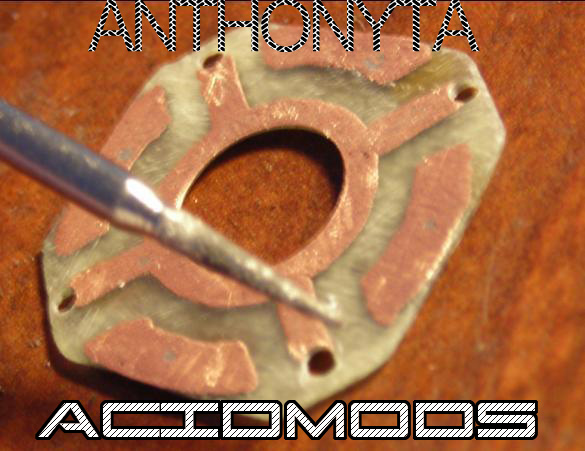
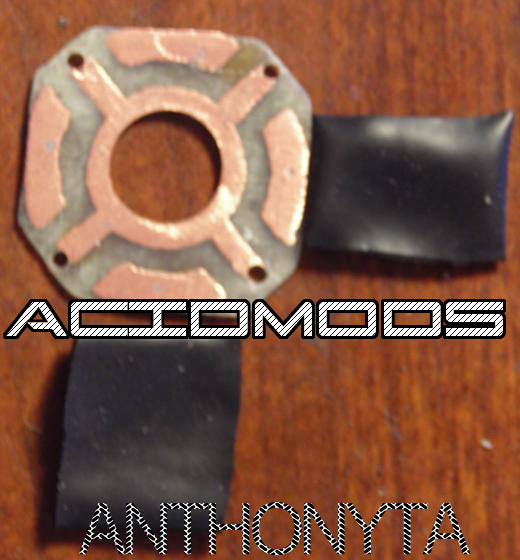
8- Then I cut my balloons to the size of the side of the pcb so I the top cage can still fit like the picture under. (I cut the sides of the cage like that so it can fit flush even with the water balloons under
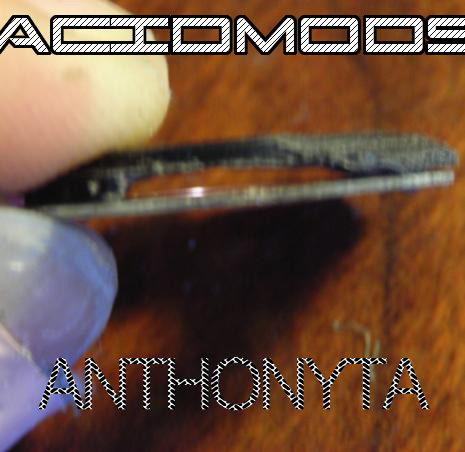
9- How I made my washer is by cutting a circle out of an aluminum sheet that I had. (their easy to find and cheap.) After I drilled a hole through the center of it and put it on the sand wheel bit. Screwed it tight and got another sandwheel bit. I ran the bit with the aluminum on against the red sandwheel so it would spin a perfect circle out.
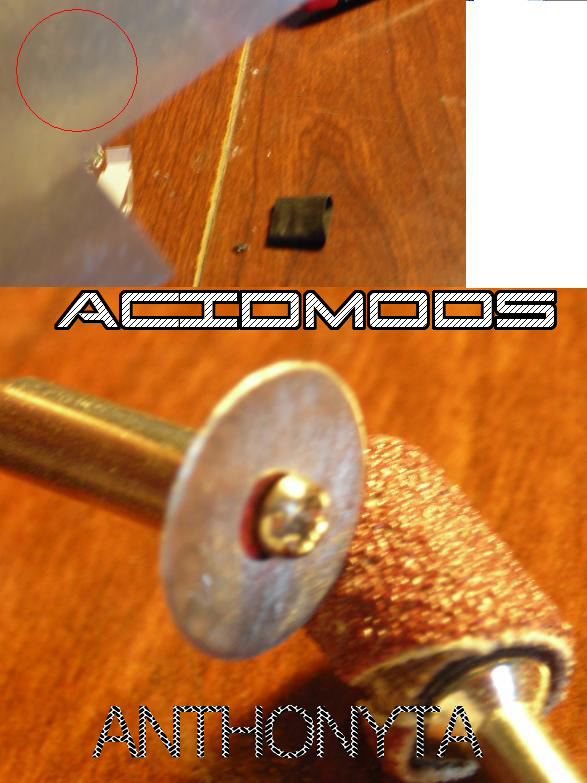
10- after I took the analogues axle and made the hole on the washer just big enough to fit the bottom of the axle tightly. then I used my soldering iron to melt it down so the washer cant leave. then cleaned it up with the dremel.
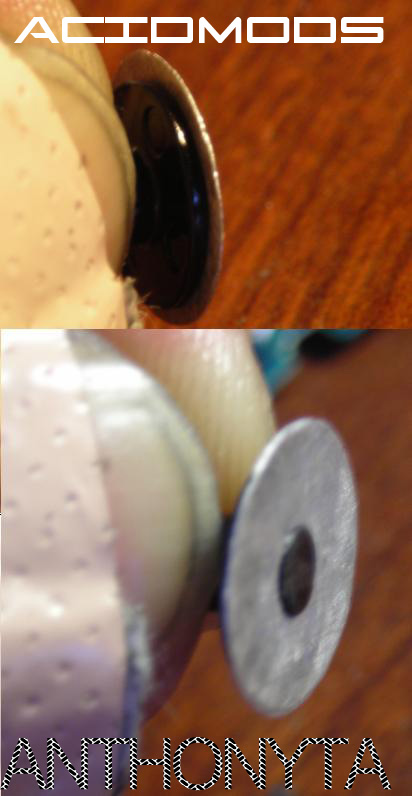
11- First I'd put on one of the balloon strips on and poke a hole and place the axel and washer in like the first picture. After I poked a hole in the second one and place it over making sure everything is still centered. (Note how the holes are still showing)
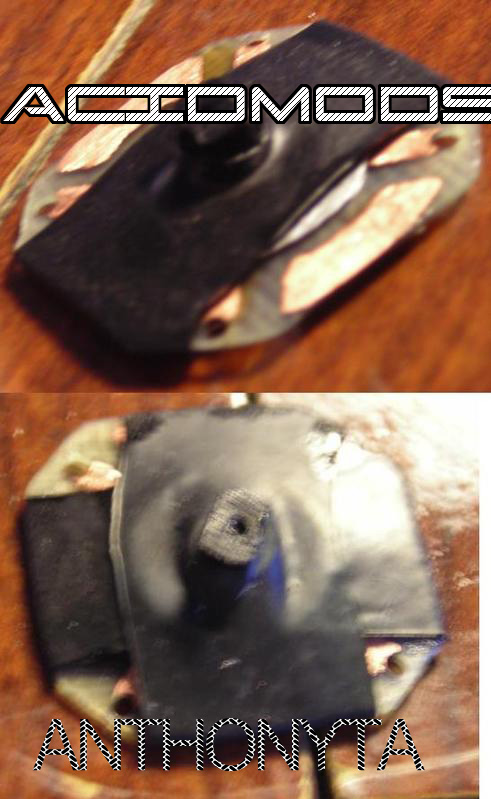
12- I used the clipper oil to grease up the washer and razer. (Make sure you wipe it down so it doesn't drip. Also when oil drys on the balloon it makes it weaker so try not to use so much.) Vasaline works too.
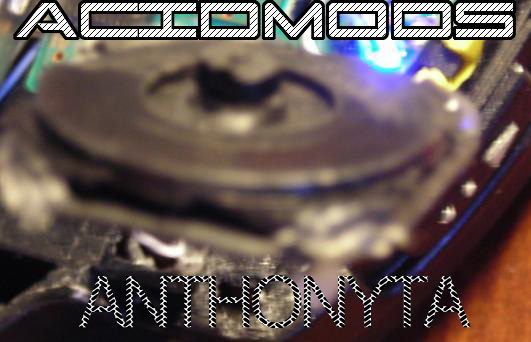
13- Last I put the analogues top cage over making sure that the balloons have there space. The top analogue cage has 4 "bars" that come out the bottom from each corner. DO NOT CUT THOSE. put it straight through and melt them straight down with your soldering iron so the cage will stay nice and tight ( NO GLUE REQUIRED) Although I glued it anyways.
14- I hope this helps you guys. This is the first tut I've ever written. Next time I'll make the essay (reading) shorter =] and maybe more pics.
FAQ/ Troubleshooting- Not Reacting as well as id like it too- Tin the pads to make them more reactive
- Case wont close fully with it in- Make sure to dremel away all the un-needed plastic
- Other- Ask us in the forums for help!