DS trigger leds by rocky
Parts Needed Tools Needed - 1. triwing Screw driver
- 2. Tweezers
- 3. Scalpel
- 20Watt Soldering iron + paste
- LED's
Difficulty rating: 2/5
Average Time to Complete:20-45mins
Step By Step Tutorial1.In this mod I added leds to my L and R buttons. First you must open it Once the screws are removed you can start working.

2.Connect your LED up to some long 30 gage Kynar wire and glue your LED to the motherboard on the right side with some glue, used hot glue. Then run the wire along the side of the wifi cable under the DS slot and through the other side.

3. On the right side glue your LED up under the R button and run your wires next to your other wires for the right side down to the area right above the headphone jack (see picture). Connect the positives and negatives on each and solder them together. Then attach a wire to each of them to go to the power source...

4.Then connect the positive power cord to the hole in the picture. If you look on the other side it is the power source to the original LED before the resistor. The negative needs to be connected to a negative spot there are many on the board I choose the one next to the R button. Also watch the power switch when you put your system back together so you don't break it like I did.

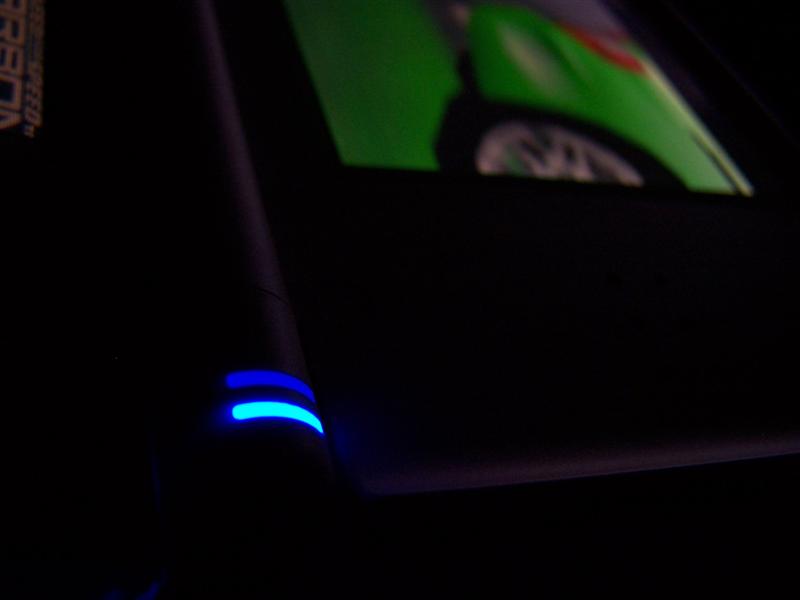
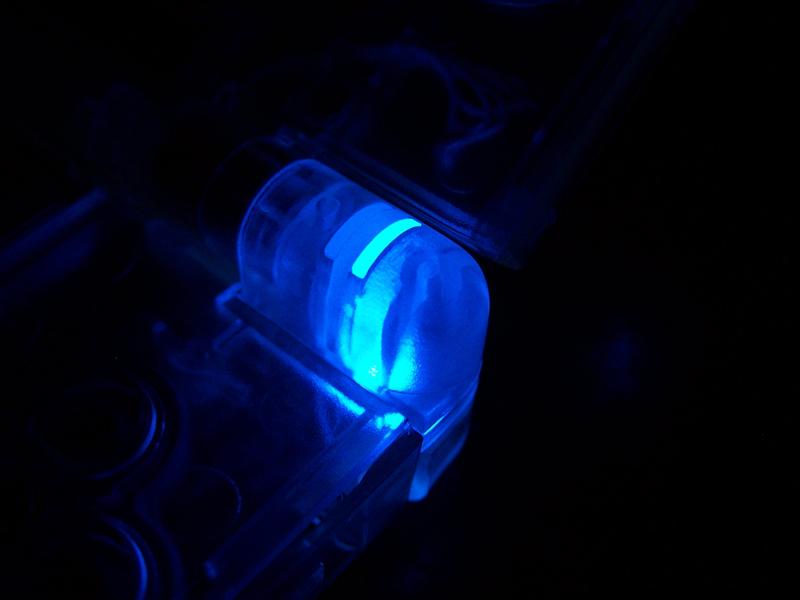
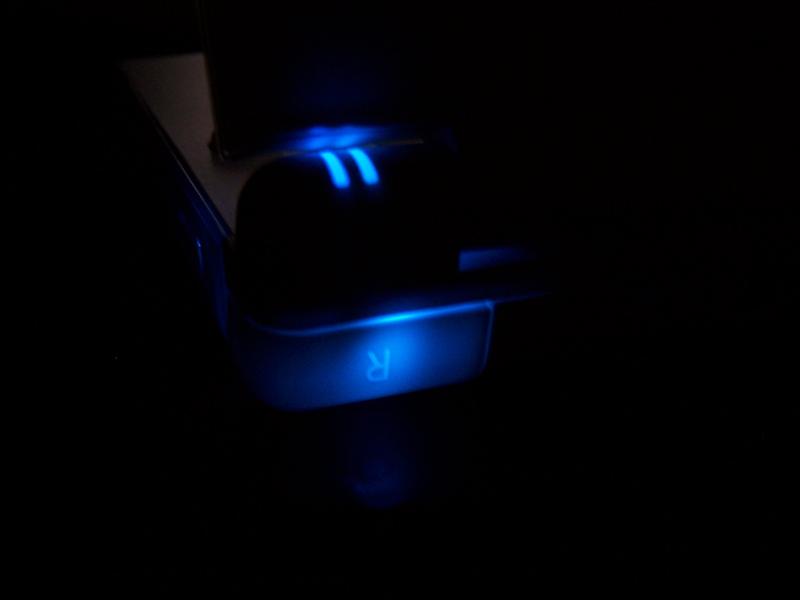
5.Here is what your system should look like when your done.

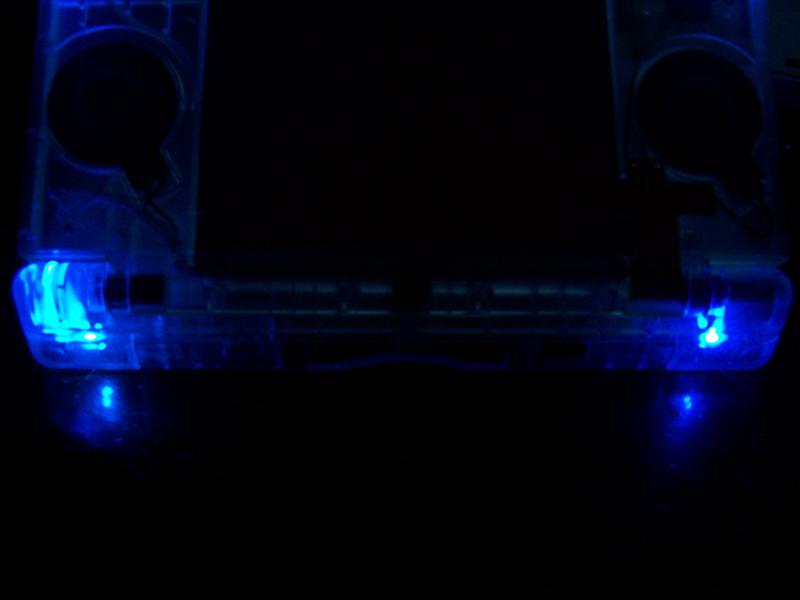
If you add a clear case from
www.coolmods.co.uk it will look like this...
Brought to you by Rocky @ Acidmods.com
[/list]