First off, I'm Vergel, or Verg for short if you prefer. I have been lurking around these forums for about a month and a half and fell in love with modding. I use to play with legos alot as a kid and I just love building things (hell, I even work at an engineering firm lol) The first mod I attempted was the "standard" trigger mod. I didn't order any 0603 leds at the time, and just tried to use 3mm red leds from Radioshack with a 10ohm resistor...and I failed horribly. Something happened (prolly too small of a resistor, since the 3mm red leds use 2.25v) and I screwed up my power board/blurnt out the leds. I also accidentally melted part of the home key ribbon

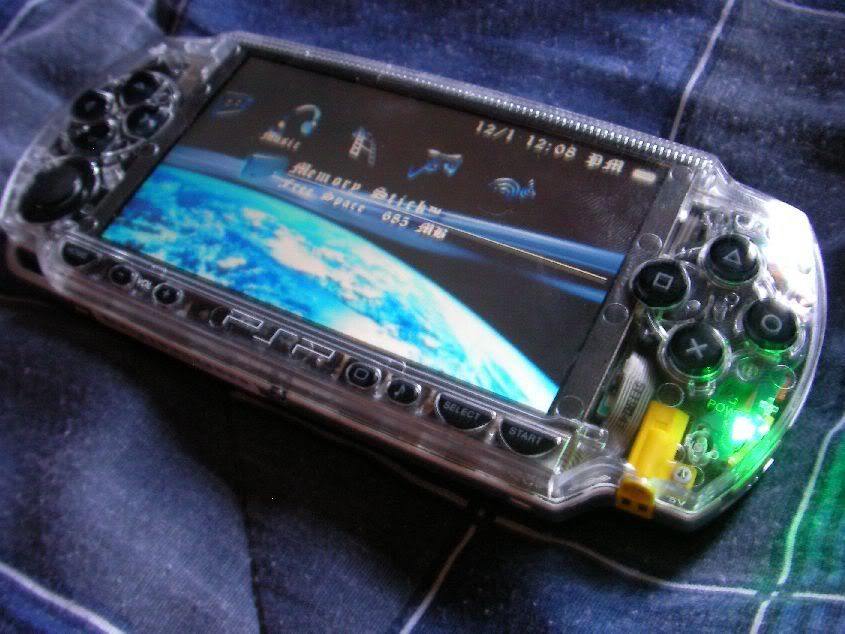
. So after I bought a clear ghost faceplate and a broken PsP off ebay, I restored my PsP to original condition, minus the awesome faceplate, which you can see below.
I still really wanted to do something awesome to my PsP. After more lurking through the forums, I ran into dubbledutch's Ring of Light mod. That was so awesome I knew I was gonna attempt that as my next mod. Problem is tho, I was afraid of

up another powerboard, so I came up with an idea: why not put a tiny battery in the PsP to solely power the leds? I didn't see anything like that in the tutorials or in the forums, so I got to work. After several hours of tedious work and about $30 for more modding supplies, I came up with this badboy:
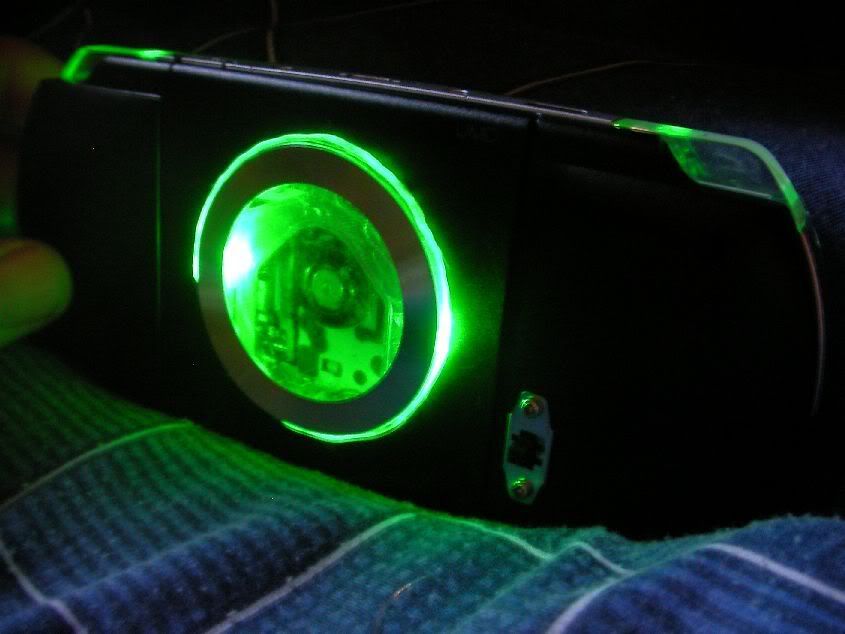
I used a CR2016 Energizer battery to power the 4 0603 green leds (2 in acrylic disk, 1 in each trigger) and a minislide switch to toggle the leds on and off. I'll post some more stuff later on what exactly I did later for you guys to oogle at, cuz I know I'm still basking in the glory of my creation

Edit #1:
Here is a play-by-play breakdown of how I went about modding my PsP.
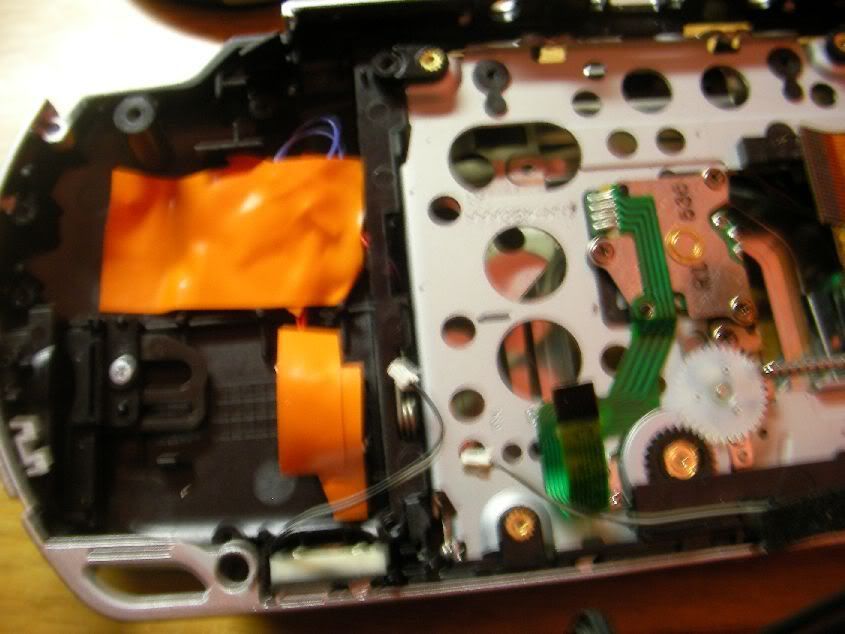
Well first thing of course was strip the PsP down to its skivvies and find a place to put the guts for the mod. Turned out the perfect place was under the ms/wifi board.
<img src="
http://img.photobucket.com/albums/v161/KurtamusMaximus/psp%20mods/SANY0009.jpg ">
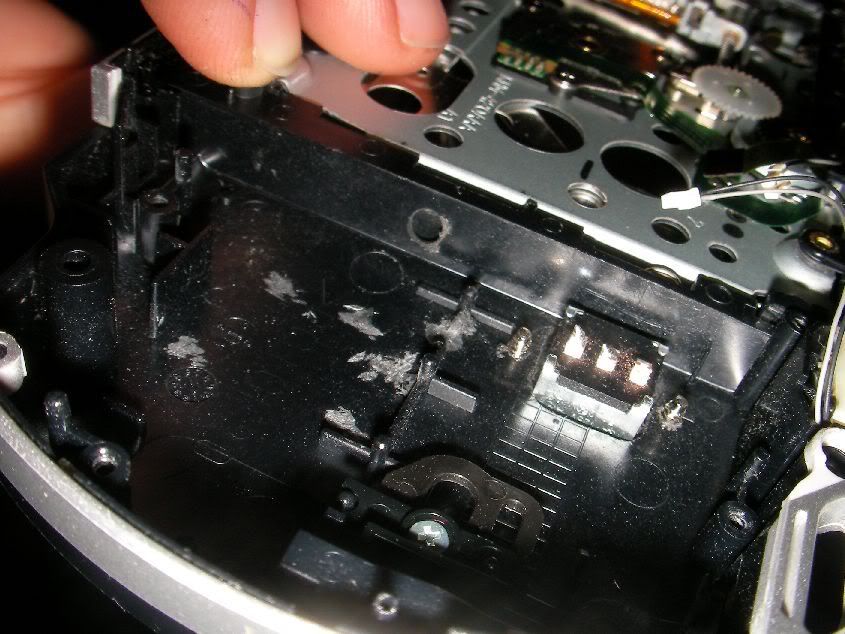
Broke out the dremel and got to work. I had to cut a place for the switch to go, as well as grind out the little black posts to get a flat area for the battery to lay on.
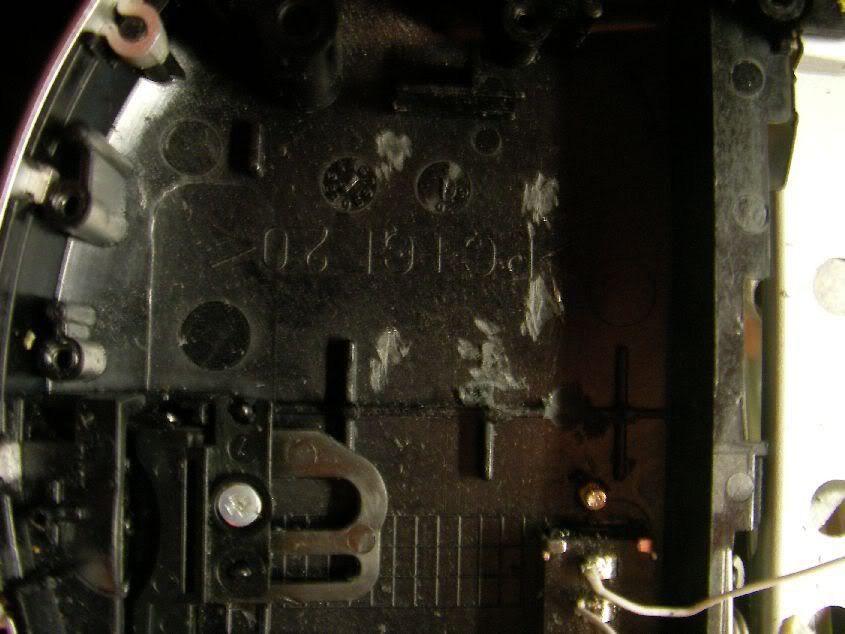
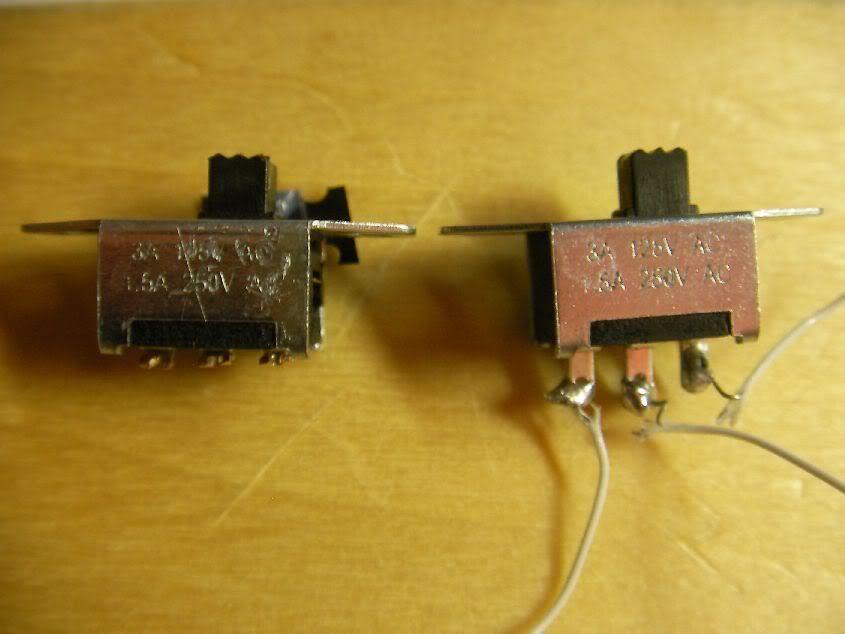
While sizing up my space to work with, I decided to grind down the posts on the switch a bit. Those feelers were pretty long lol. (those white wires on the right switch was from a test circuit I built to get a feel for things)
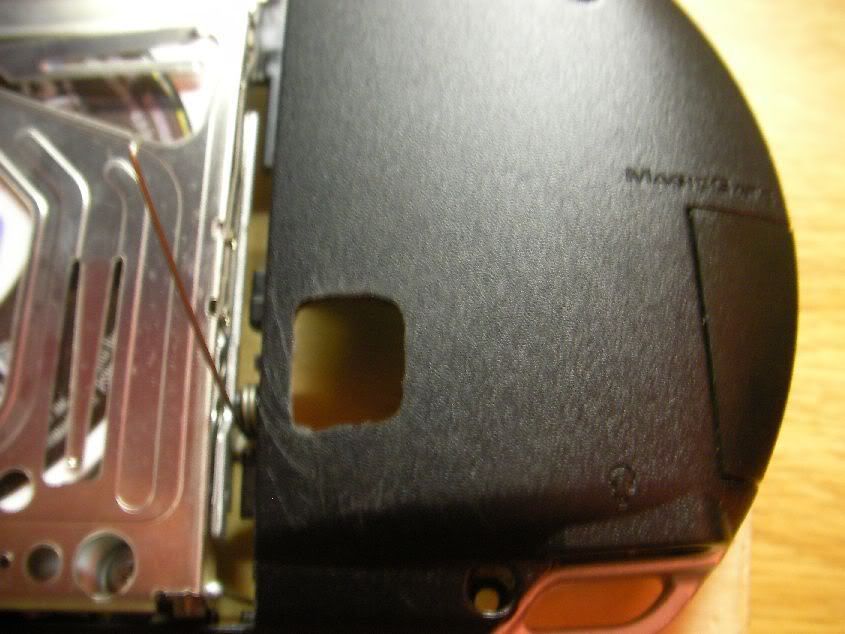
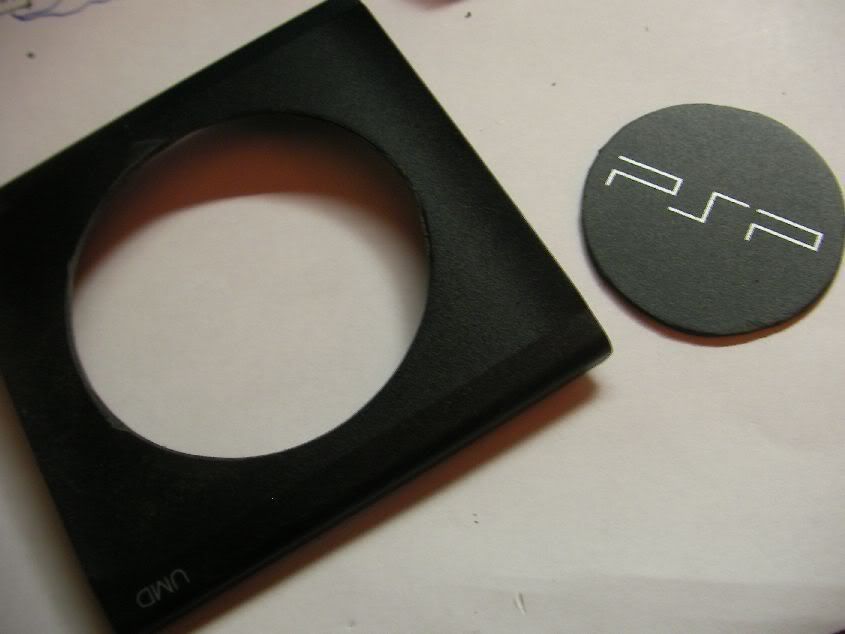
Was a little scared prying the door off. Sometimes I don't know my own strength and break things >< . Here is a pic of the cut door and PsP symbol. I originally planned to use it, but I screwed up when trying to round the edges and it is more of an oval now :/
Figured the best way to get the wires to the door was drill a hole to the UMD slot, which I later routed the wires through and works perfect.
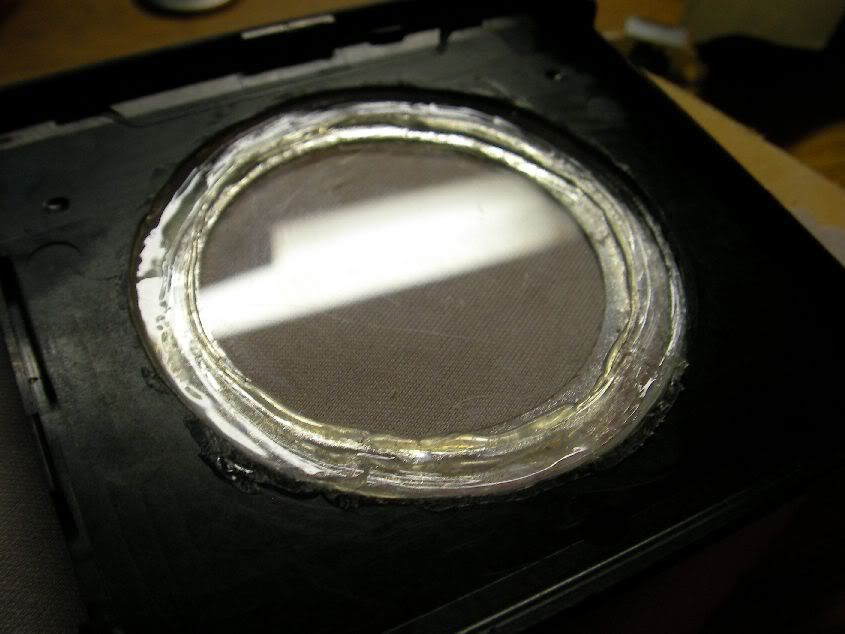
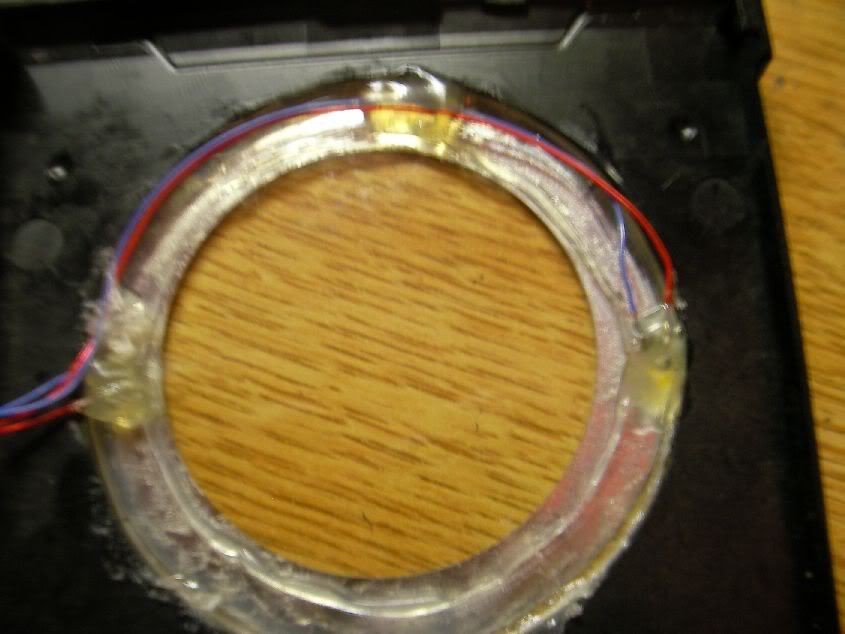
I read alot of people having trouble with hot glue being too thick when it came to gluing their acrylic/plastic to the door. I centered my acrylic disk on the outside then taped it in place. Then I just flipped it over and ran a bead of hot glue around the crease where the acrylic and plastic meet. Ran the tip of the gun over it a couple times, giving it a nice thin spread.
Here is how I set the battery for testing. It fit pretty nice so there it stayed! lol
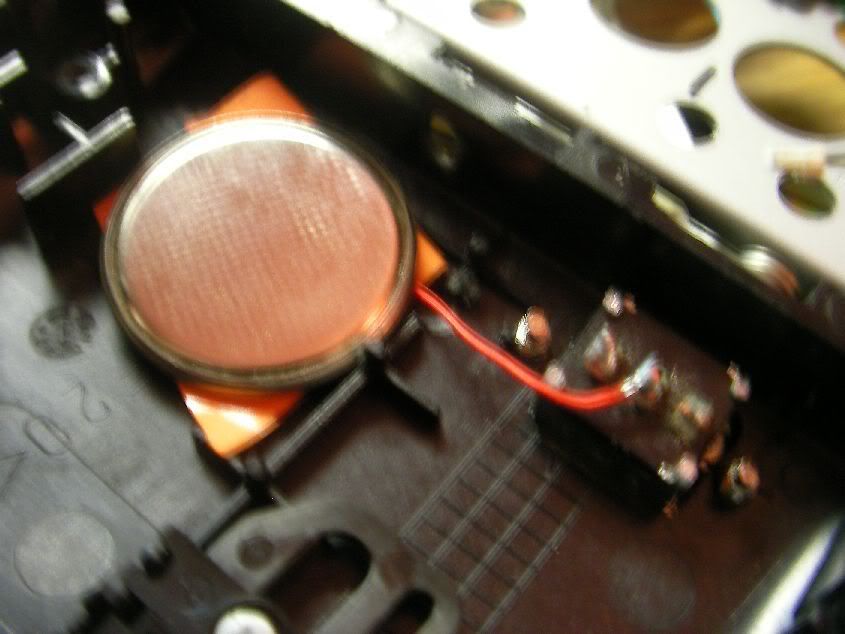
I bought 25 0603 green leds, and destroyed almost half by the time this project was done
This is how I ran the led wires for the door. Nice and easy.
I originally just layed a piece of electrical tape on top of the battery (kept the one on the switch to prevent it from hurting the ms/wifi board) but the negative ends of the led wires had trouble staying put, thus flicking my leds everywhere. I ended up having to wrap about 6 inches of tape around the
to keep it steady. I also didn't take a pic, but I did not drill into my shoulder buttons to attach the leds. I just put a drop of hot glue on them and lodged them right under the shoulder buttons
...and Duh Nuh Nuh Na! Here is the money shot:


