This was a tut made for smashgfx by me and Robin has given me permission to post it here, also
this section will be updated with all smashgfx tuts and thanks to robin will be able to be viewed by all members.
This tut will show u how to make a quick and easy background for your sig, using photoshop.
step 1: make a new page and place your render on it, make sure it touches the top and bottom edges of your page
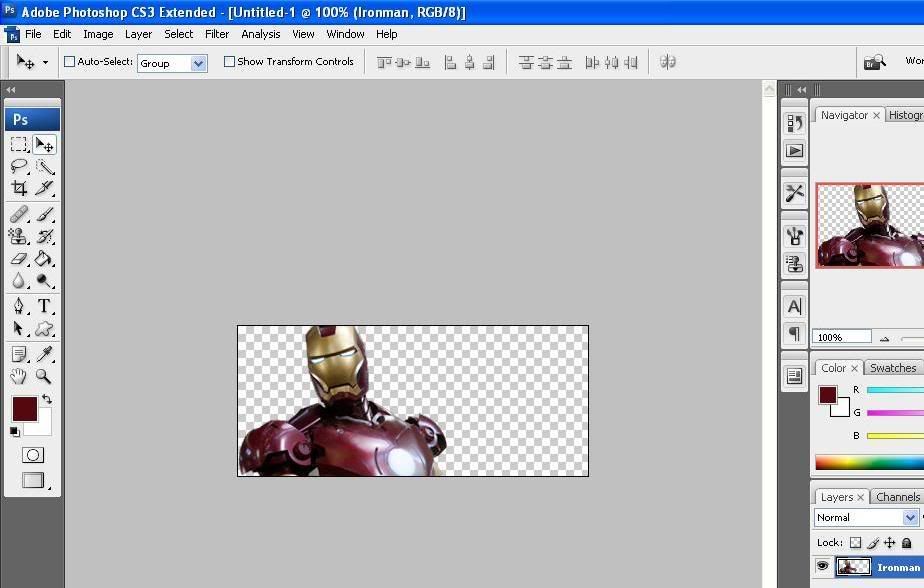
step 2: choose the rectangular marquee tool and select a thin section of your render like this:
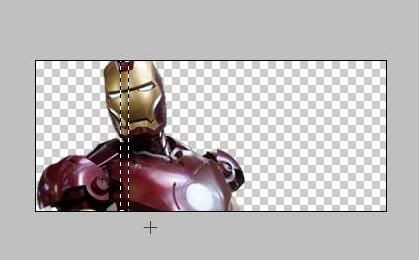
step 3: press ctrl+J and then hide the render layer
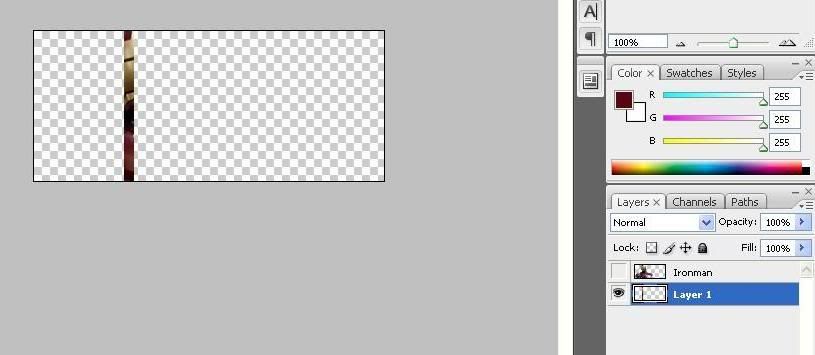
step 4: press ctrl+T and stretch the selection to fill the entire page and press enter. we will call this the background
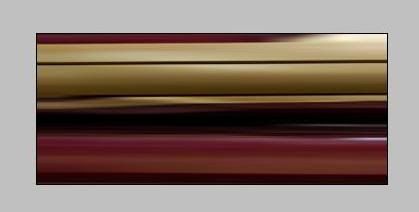
step 5: unhide your render layer and move it ontop of the background layer. then make new layer
ontop of everything and fill it ,using the fill tool, with a colour suited to your render, i chose a deep red. set it to overlay in the layers palette and reduce opacity accroding to what looks good.
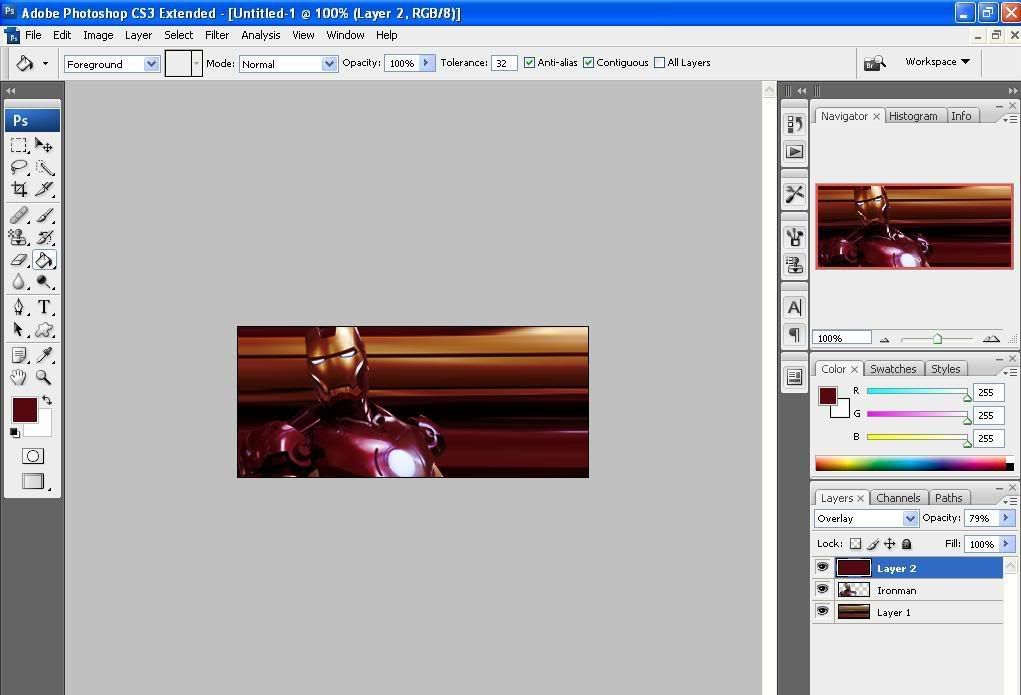
You're done!
You can add more effects to your render to make it look better, heres what i ended up with:
