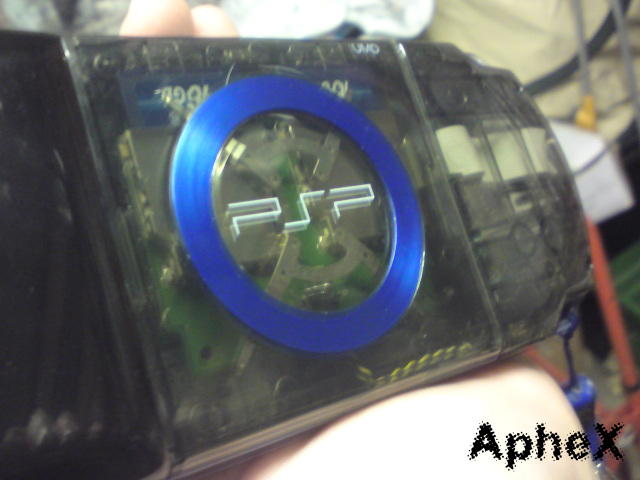
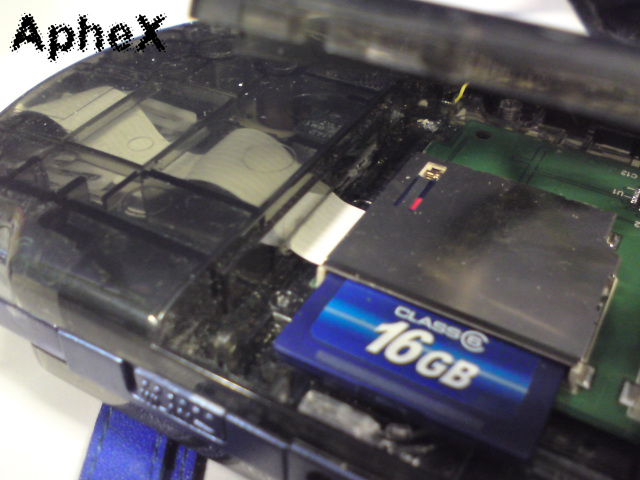
CR-3100 INTERNAL MOD TUTORIAL BY APHEX
IntroductionOk, I've heard a few people would like to make this for there own psp, so I decided to make a tutorial to help others out (this is my first Tut, so feedback would be welcome). This tut is based on the PSP Slim, I’m sure this is possible to make this for the phat version and later on (when I have time) I’ll make a tut for that. Compared to other mods of the same type, this is very Noob freindly, No soldering is required which is great for some people who may not want to mod there psp memory port directly. Also, I'd like to thank brentbizzle for the picture of the CR-3100 adapter!
 Parts Needed
 -PSP Slim,
-1 Photofast CR-3100 sd(hc) adapter
Click HereTools Needed -Screwdriver
Click Here-Flat blade (like a table knife/pen knife)
-Tweezers (small enough to open the ldc latches,
Click Here-Hot Glue Gun
Click Here (makes the job a lot quicker),
-Dremal
Click HereDifficulty rating: 2/5
Average Time to Complete: 2-3 hours
Notes: This is great mod to make. Its simple and can be done in a day, however i would say if your new to modding and you would like to do this, start with something easier like making an trigger mod, just to get used to dismantling the console. The hardest part of this mod is getting the memory stick adapter plugger into the mobo, if that or anything else stops you in your tracks, I'd be happy to take any questions you may have in regards to making this for your known psp.
However for the moment i would not recommend this for the PSP (phat) 1000. you can use the adapter for the phat but the cable is too short to reach the memory port. You could desolder the cable from the adapter board and extend it with some wire and i will be testing that out when i next get another adapter (or someone beats me to it, lol).
Step By Step Tutorial1- First off we need to break down the Adapter. The case it very chunky but easy to dismantle. Turn the adapter on its back, so you can see the four rubber pads. Now you should see the cable coming out from the left of the unit. This is where we are going to start from. I found that if you put a flat blade in the hole where the cable starts from that you can just carefully twist it and the back should pop off. (I used my finger to pop off the back, but some people have said they have found it a lot harder so be careful when doing this, last thing you want to do is cut the cable).
2- So now you have the back of the adapter case off you should see the adapter board, it's a lot smaller than the shell it was in. just take it out and place it on the side for now.
3- Now then, we need to take the psp apart. If you need help doing this, please check out Ken's Tutorial on how to dismantle a PSP Slim
Click Here. you will need to pretty much dismantle most of the psp (remove the homebar, screen, d-pad block, UMD drive, UMD door and trigger blocks). Once you have done that, turn the psp over so you can see the umd bay. Take your adapter and place it in the bay to give you an idea as to where you’re going to place it and where you’re going to cut a hole for the cable.
4- The hole should be cut on the right hand side of the bay so you can feed the cable through the hold under the Memory port on the mobo and wrap it around to the port. Use a dremal (or something equivalent) to make a small slit big enough to slide the cable into. When you cut your hole, do it as close to the motherboard side of the wall as possible (as opposed to the outside side). Doing this will keep the ribbon cable from interfering with the UMD door. Some people have cut into the side of the UMD door to rectify this, but as long as you cut the hole right you won't have to mess with the UMD door at all.


5- Here's the tricky part. Getting the mobo, d-pad block and adapter card to fit. After you have fed the cable under the mobo and have it hanging out the side if the psp, you can start rebuilding it. now I had some trouble doing this as the cable isn't long enough to simply rebuild the psp and plug the adapter in. what you have to do is feed the d-pad block past the cable (as if you were going to plug in the memory stick), plug the adapter in and then place the d-pad on the mobo. So you should have the mobo with the d-pad block already placed on top.
6- Now you need to put the mobo/d-pad back into the case. Push the cable back into the case to get rid of any excess, then fit the mobo into the case. You will find that the end of the cable might get a little pressed down by the d-pad block where you plugged the memory stick in, make sure to take care while doing this.
7- Now you can fix the adapter board in place with hot glue, you can use double sided tape, but hot glue will last longer and be more secure.
Make sure to give the adapter enough place to remove the memory cards, or you'll have trouble later on when you need to upgrade them or just change them out. I did this and found that the top of the UMD bay was in they way of the sd ports, so make sure to leave yourself with space.
If you have done that correctly, then you can go ahead and rebuild the rest of the psp. And there you have it, you have a internal CR-3100 psp!
I hope this was a useful tutorial and good luck with the mod!
FAQ/ TroubleshootingQ: I've made the mod but the memory cards don't show on the XMB?
A: Check the memory cards are placed in the adapter correctly and check the memory stick adapter is fully inserted in the psp memory slot.
Q: When i shut my umd door, it sticks out a bit. what can i do?
A: Check to see if the cable is causing the problem, you may need to redrill the hole closer to the mobo side of the case.
Q: Can take out one of the memory stick and put it into my psp?
A: No, if you take out one of the memory sticks and try and read the information, it will be corrupted. use the USB function on the psp.
Q: Can i mix the memoey cards with different sized ones?
A: Yes you can. as long as its a SD/SD HC card then it would be fine (Example, 4GBsd card-16GBsd hc card = 20GB)