Dualshock3 LED SwapsIntroduction Anyone get bored of the normal red leds? Don't like them red?
Well lets change em!
Enjoy, LONG LIVE AM!
-Chris a.K.a Jumbo
Note:
Also just under 3 volts come off the leds, so low voltage leds look better

Note2:
This mod is honestly HARD. Not the swapping that's easy, Sony made this controller so hard to disassemble and reassemble D:
Parts Needed --PS3 Controller
--4x SMD 0603 LED
Tools Needed -- 15-30 watt Soldering Iron
-- Solder
-- Philips Screwdriver (I used #00)
--Flat head
-- Flux
Picture of things needed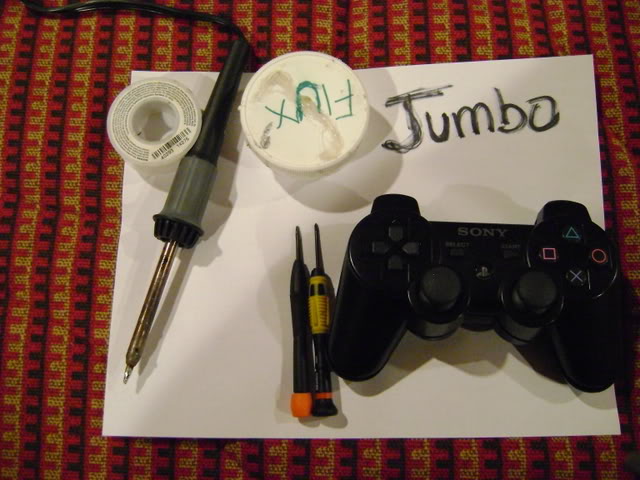 Average Time To Complete-
 About 30 Minutes
Difficulty Rating-3/5 (PS3 Controllers are a PAIN)
Step By Step Tutorial-Ok so get all your supplies ready and grab your Philips screwdriver. Now I used a #00 but a #0 or #1 should be fine.
Take out all the screws in the back-

Then after all the screws are out take the bottom off. CAREFULLY. You can use the flat head to pry here but not to hard.
Then take the bottom off and set aside.
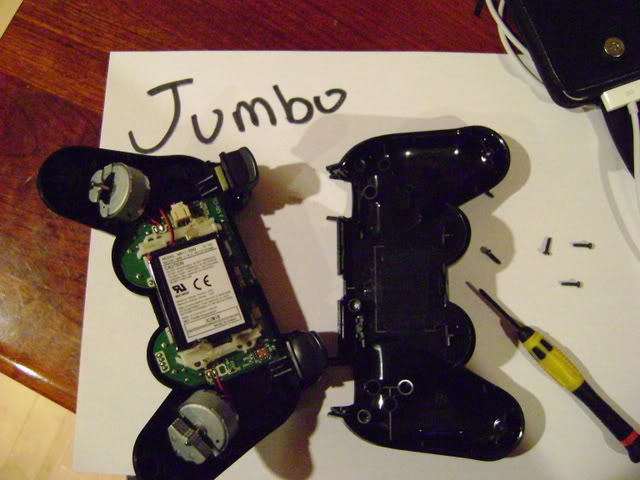
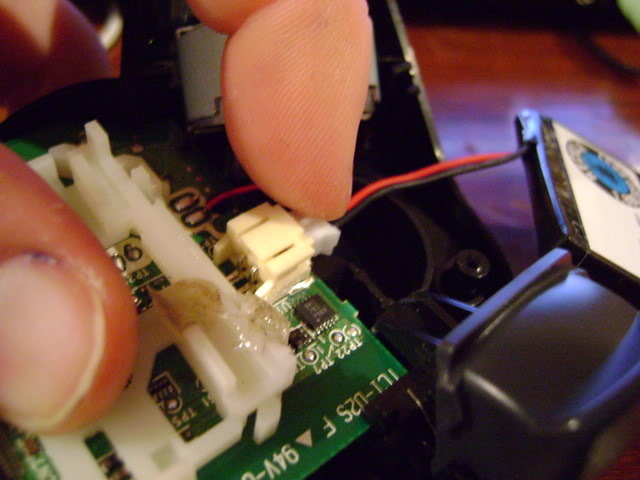
Now take the battery out of its bracket and disconnect the plug.
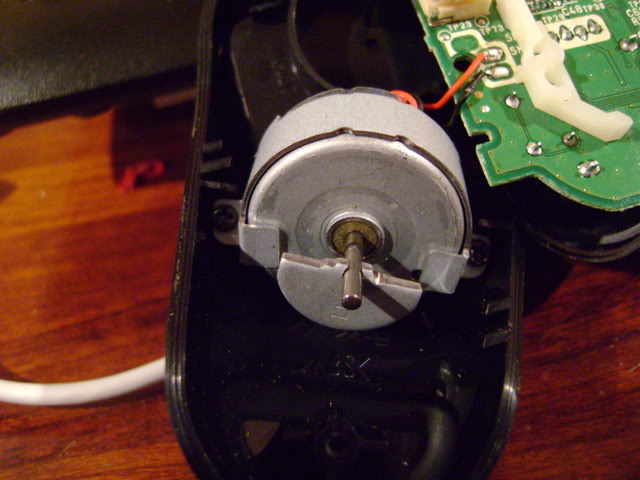
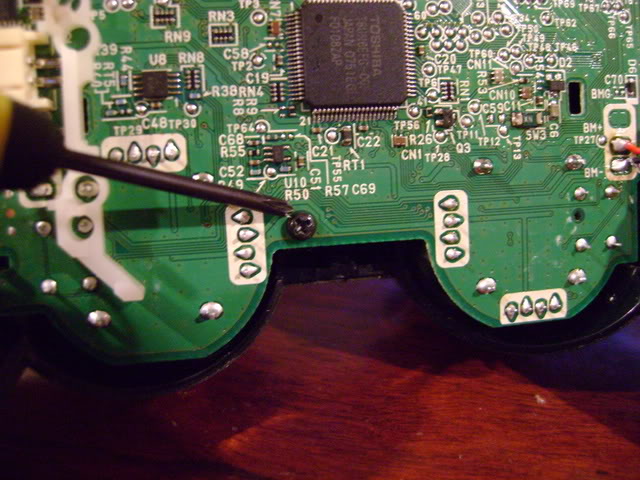
Then take out the mobo screw(1) and vibrator screws (4)
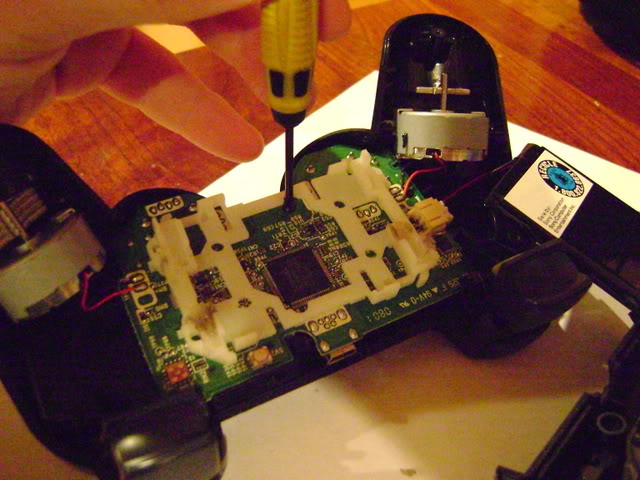
Now that thats over with, Take the whole thing out-
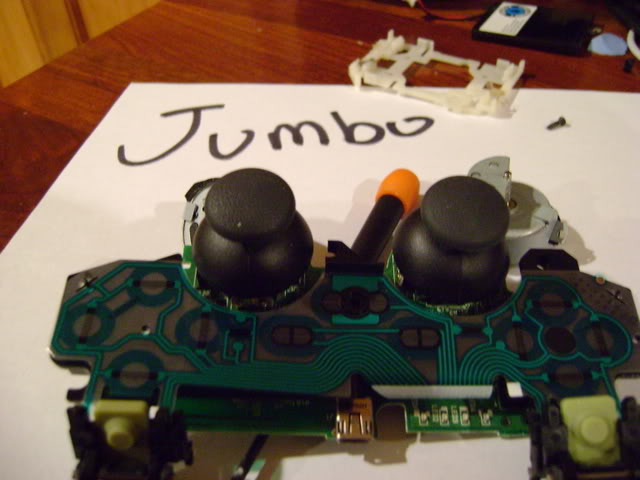
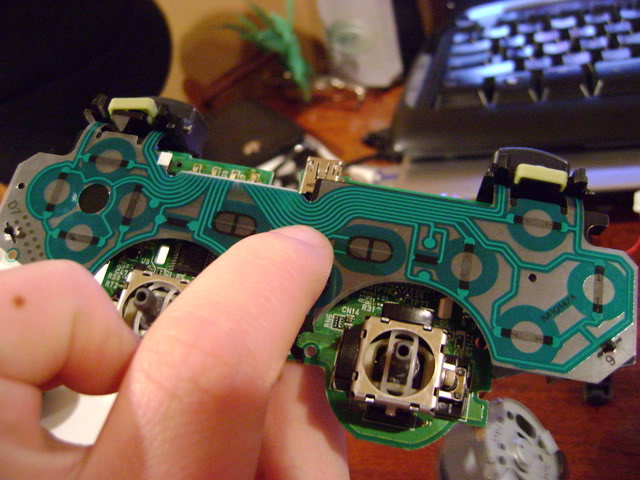
Carefully remove the membrane and analog toppers (So iron dont hit them on accident)-

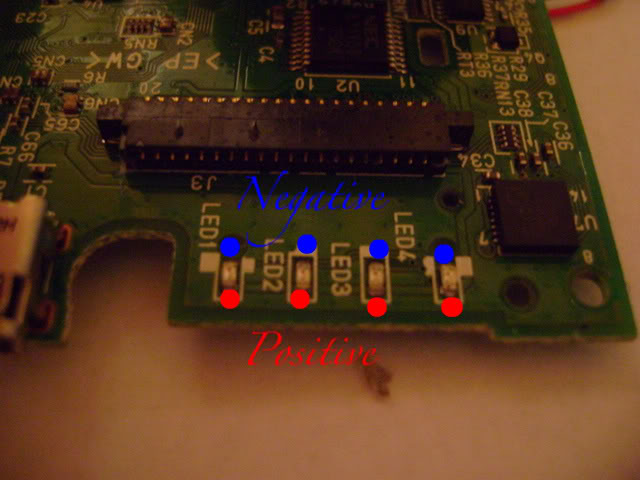
LED Pinouts-

Remove the leds and solder on your new ones according to the pinout-
(Orange LED's FTW!)
Put your membrane and analog toppers back on-
Put that setup back into the controller top and screw in the mobo and vibrators

Plug in battery-
Lay battery in its brackets-

Screw the controller back together-

FINITO!-

PS: I have limited leds but a load of random orange (LAWL) so i used em.


