Xbox 360 Messenger Kit Disassembly and Led Swap
IntroductionHere's a tutorial for disassembling your Microsoft Messenger kit for the xbox 360 and an LED diagram if you wish to swap the color of your leds!
Parts/Tools Needed -Messenger kit
-Small Flathead Screwdriver
-Small phillips head screwdriver
-Torx T6
Optional-Soldering iron
-L.E.D.'s (0603 or 0805 work best)
Difficulty rating: 2/5(for disassembly) 4/5(for led swap)
Average Time to Complete: 5-10min(disassembly) 30-40min(for led swap)Notes:
Sometimes you will/might get frustrated, but just keep going and you will figure it out !
Step By Step Tutorial: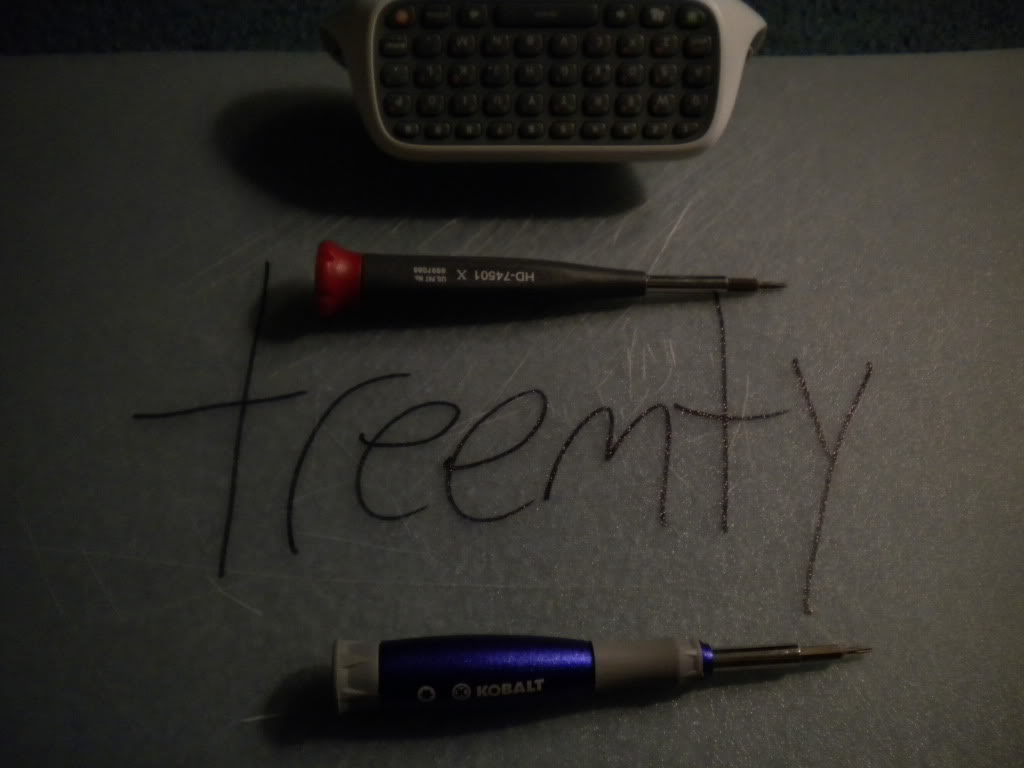
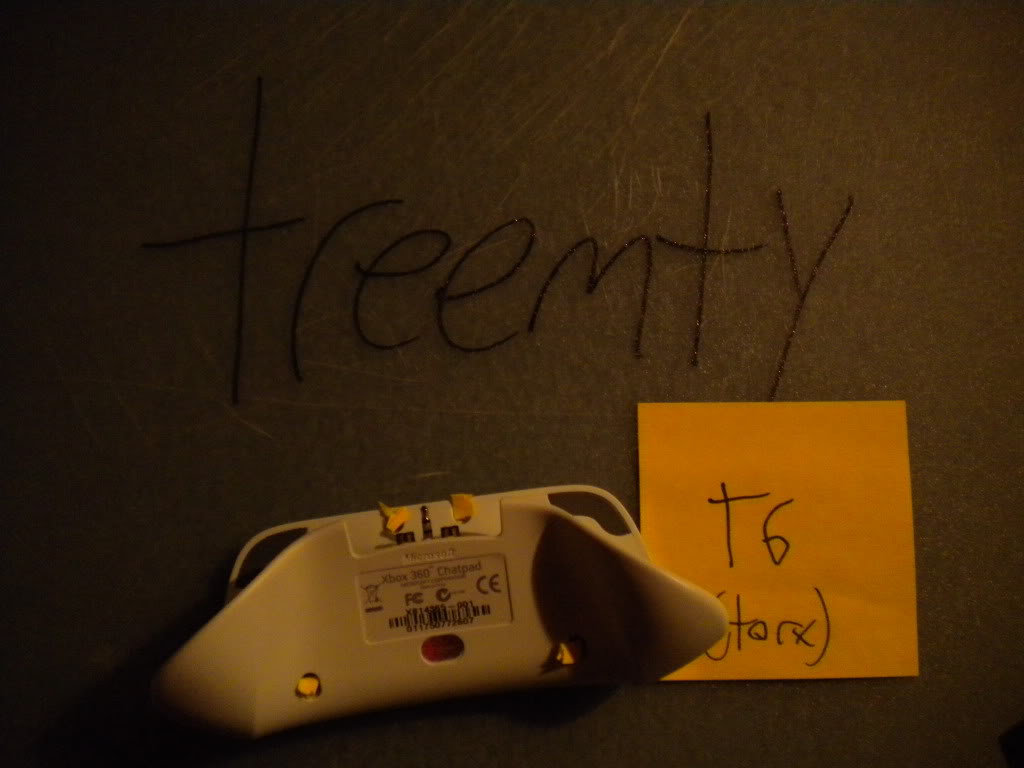 Use a torx T6 screwdriver to remove these 4 marked screws (under sticky note pieces lol)
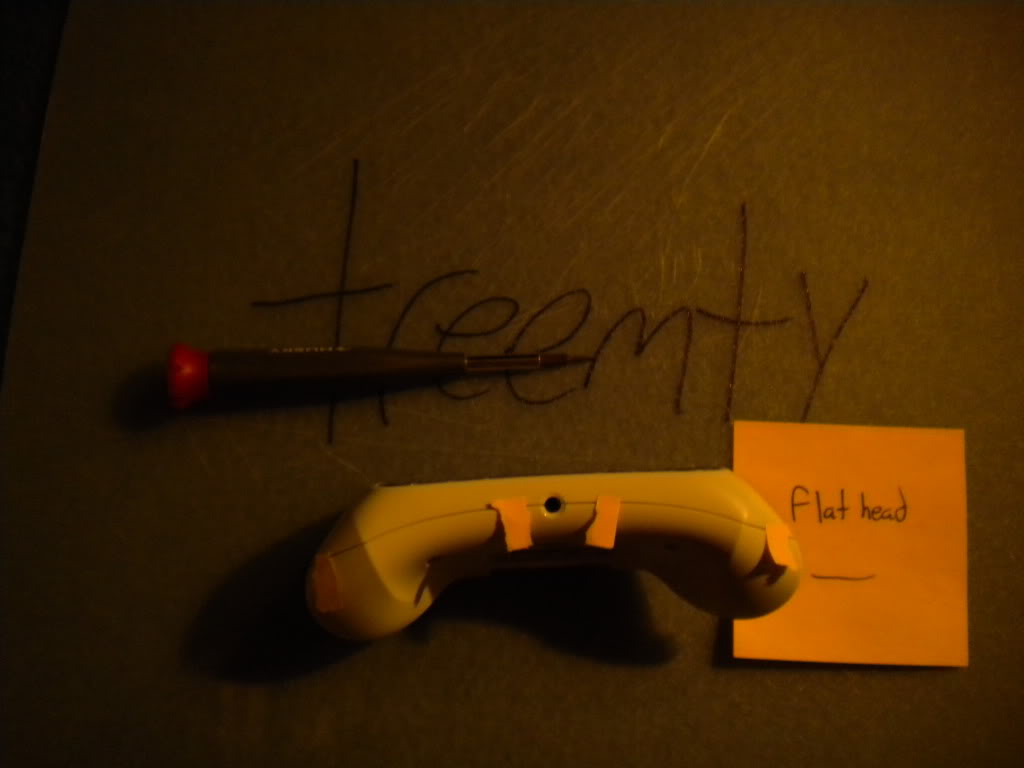 Use your small Flathead screwdriver to release the 4 pressure release pegs under the crack in the case. These may cause frustration.
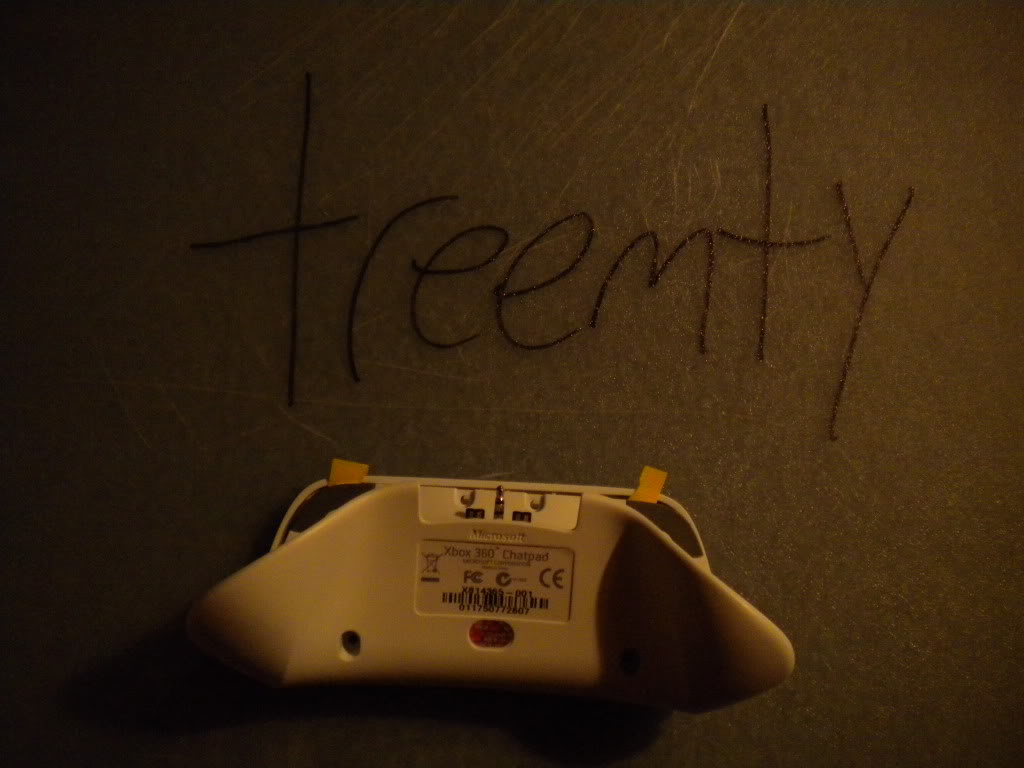 Pull the Bottom piece of the shell away from the top part, at these rubber pieces.
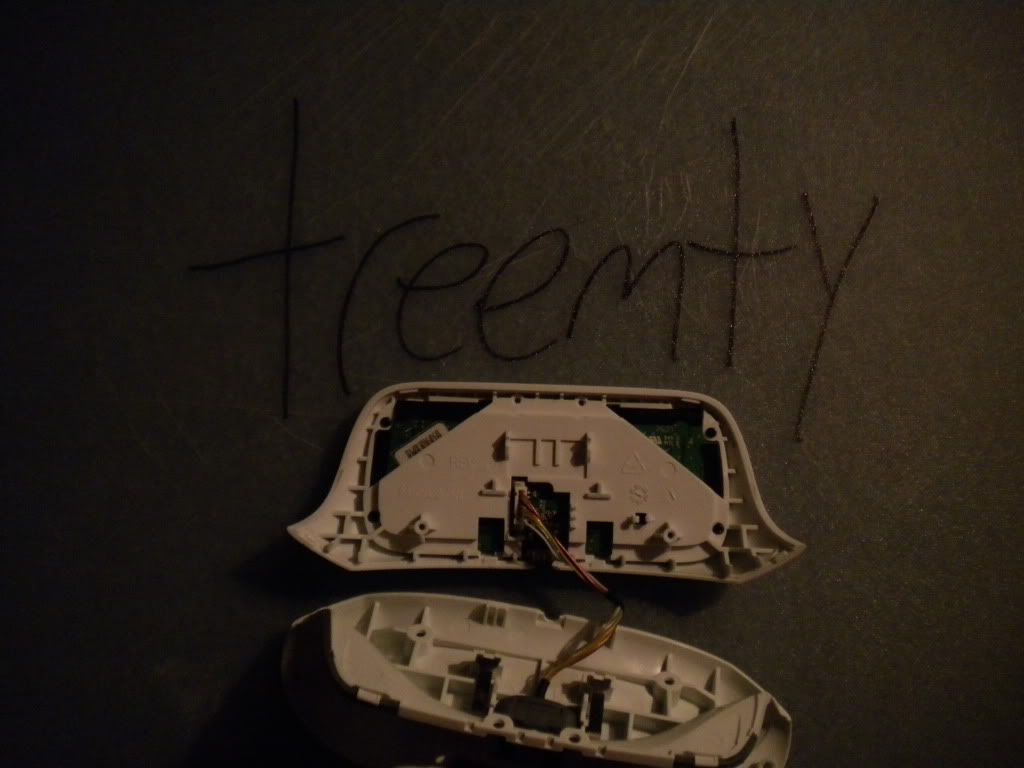 Now the Case is open!! yay
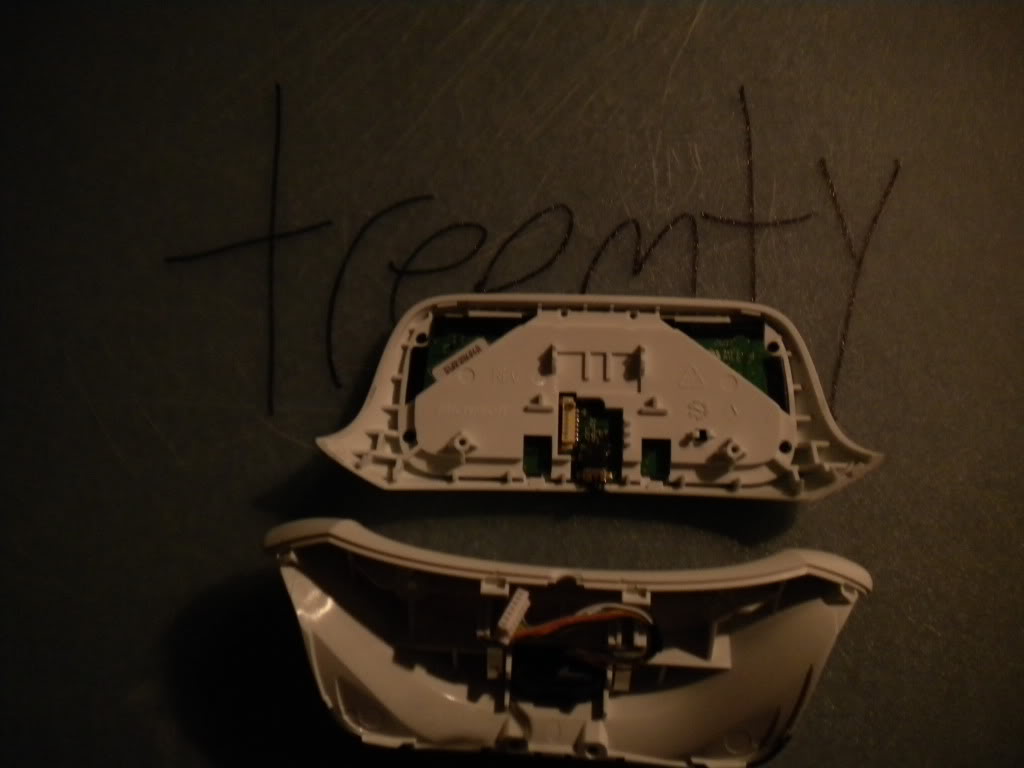 Disconnect the cable connecting the top part of the shell to the bottom part.
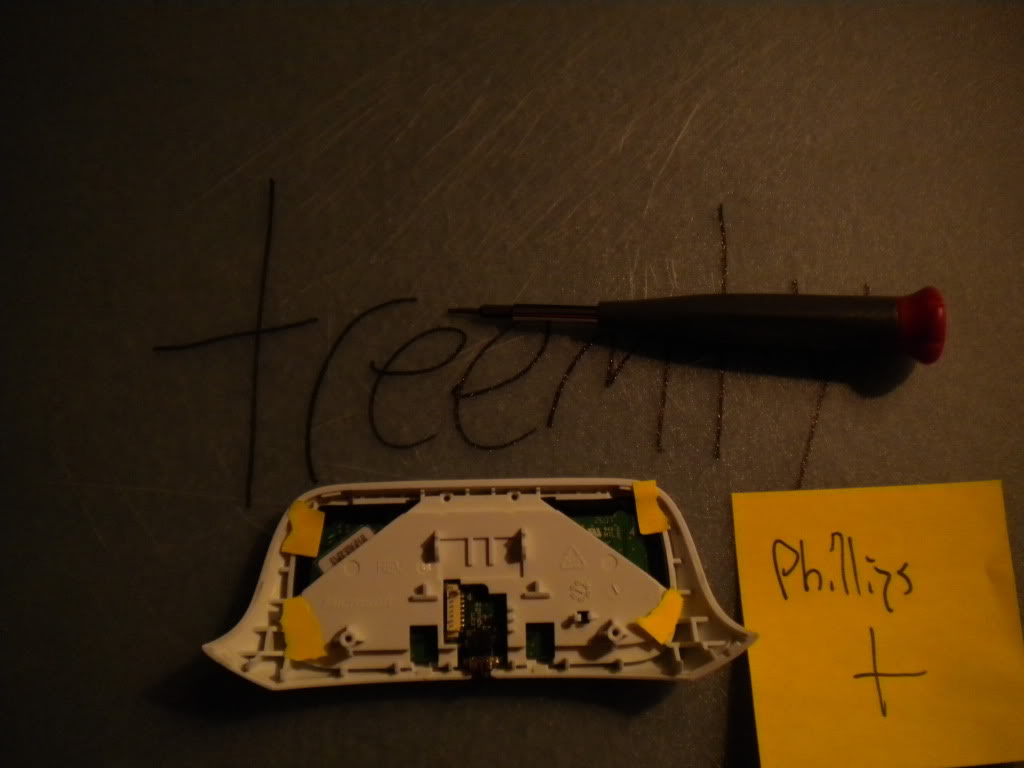 Remove these 4 Phillips head screws with your small phillips screwdriver.(marked under sticky notes again.)
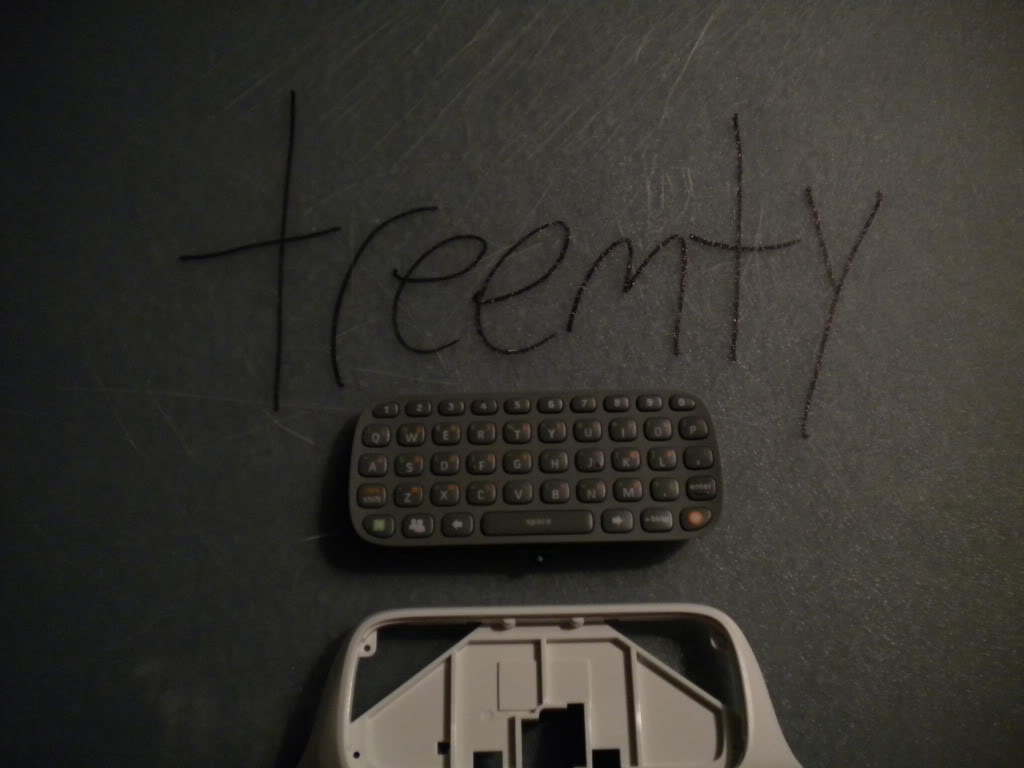 Pop the keyboard assembly out of the front
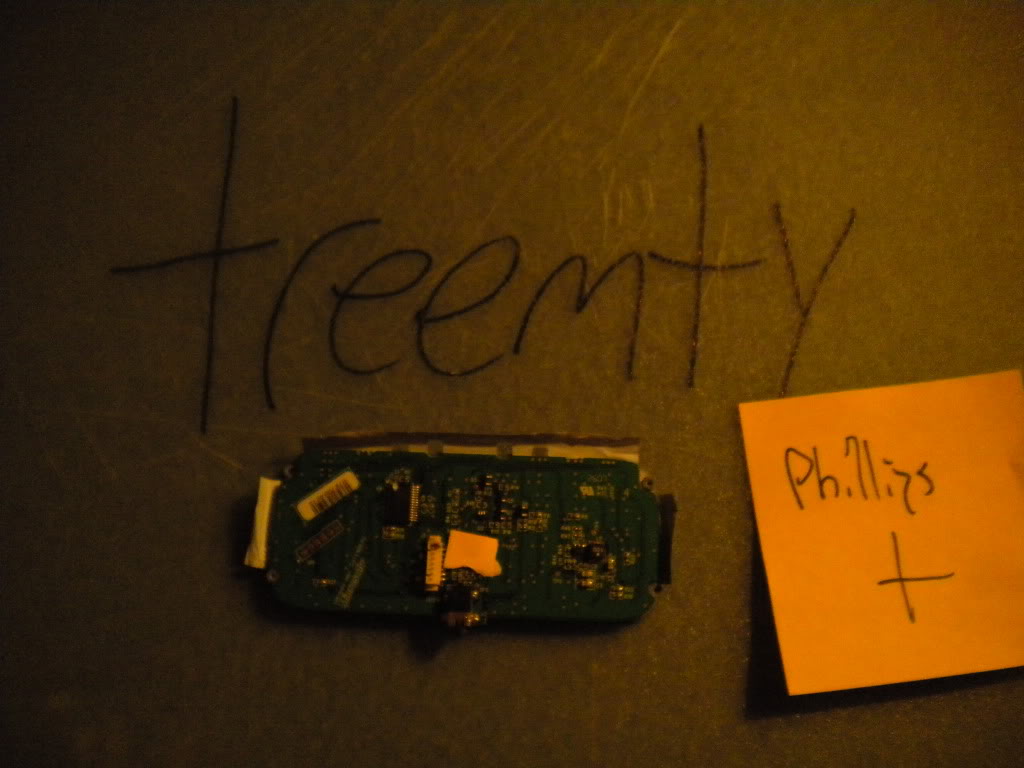 Unscrew the very last screw with your phillips screwdriver(once again, marked under the yellow sticky note)
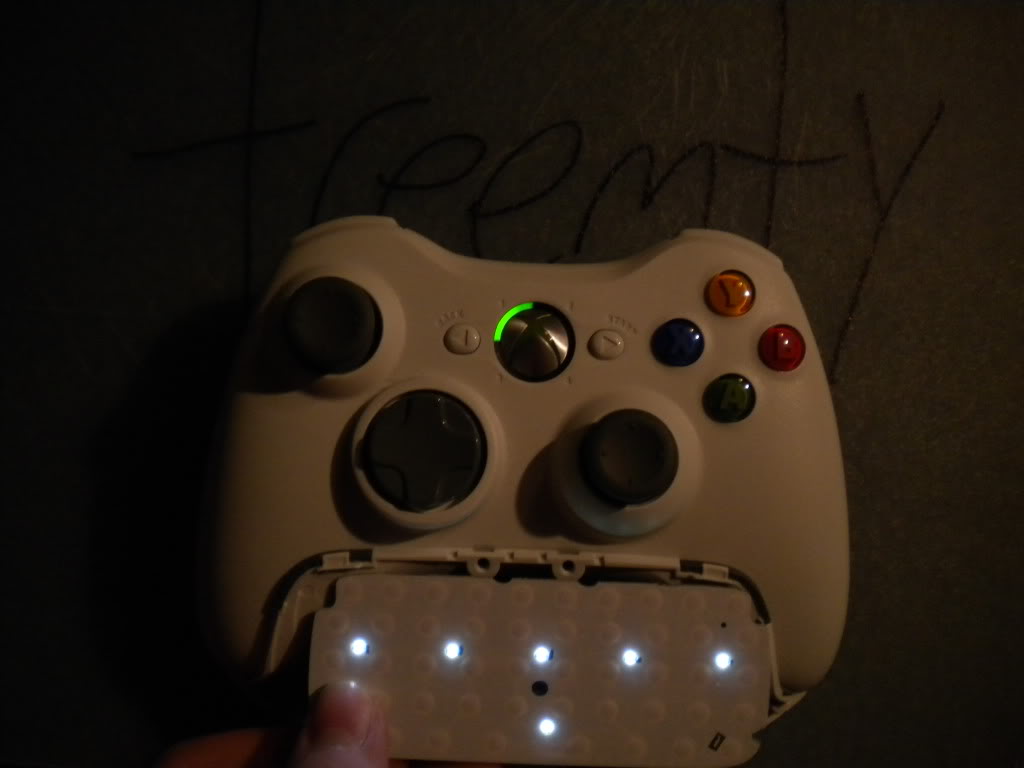 Me showing that it lights up lol
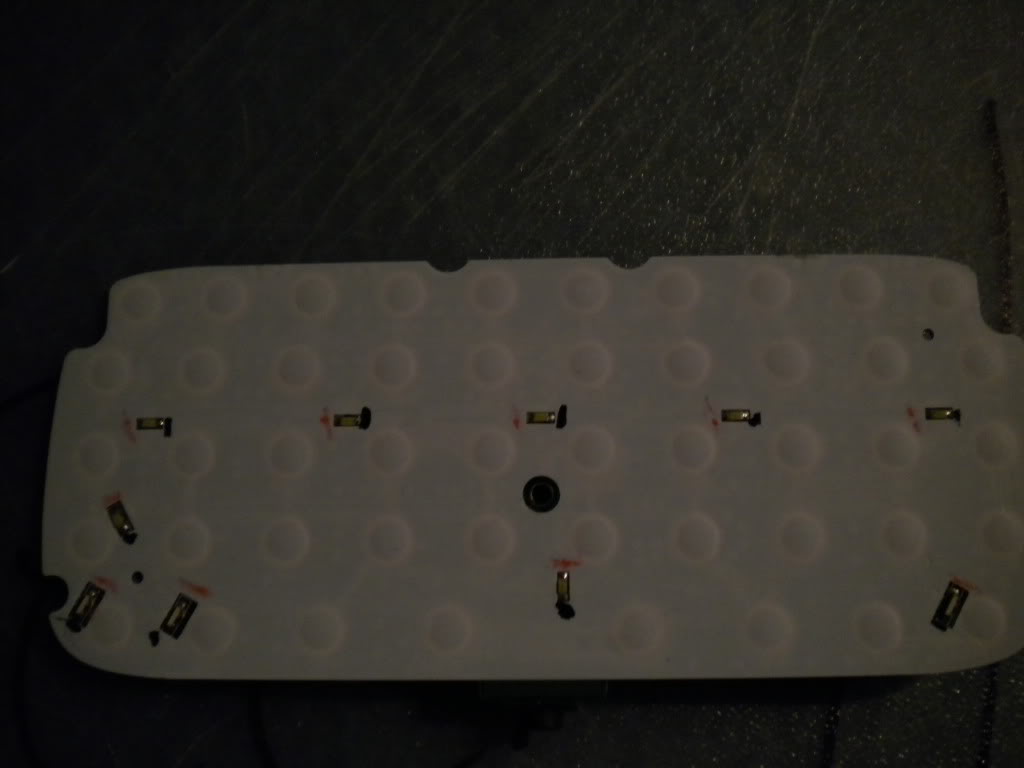 LED PINOUT FOR THE MESSENGER KIT!! RED IS POSITIVE, AND BLACK IS NEGATIVEThanks for Looking!


