Xbox 360 Controller L.E.D. Swap
IntroductionThis is a very easy tut that was made for anyone who wants to swap leds in a Xbox 360 controller, while minimizing the chances of messing up.
Parts Needed - 0603 Led
- Xbox 360 controller
Tools Needed - Torx security allen wrench (Try to find one on ebay, look up xbox screwdriver
 ))
)) - Solder
- Soldering Iron (I used a 20 watt)
- Small Pliers
Optional - Helping hands (Or a magnifying glass)
- Knife
Difficulty rating: X/5
Average Time to Complete: i.e 30-45mins
Notes: What makes it difficult ie special screw needed to open
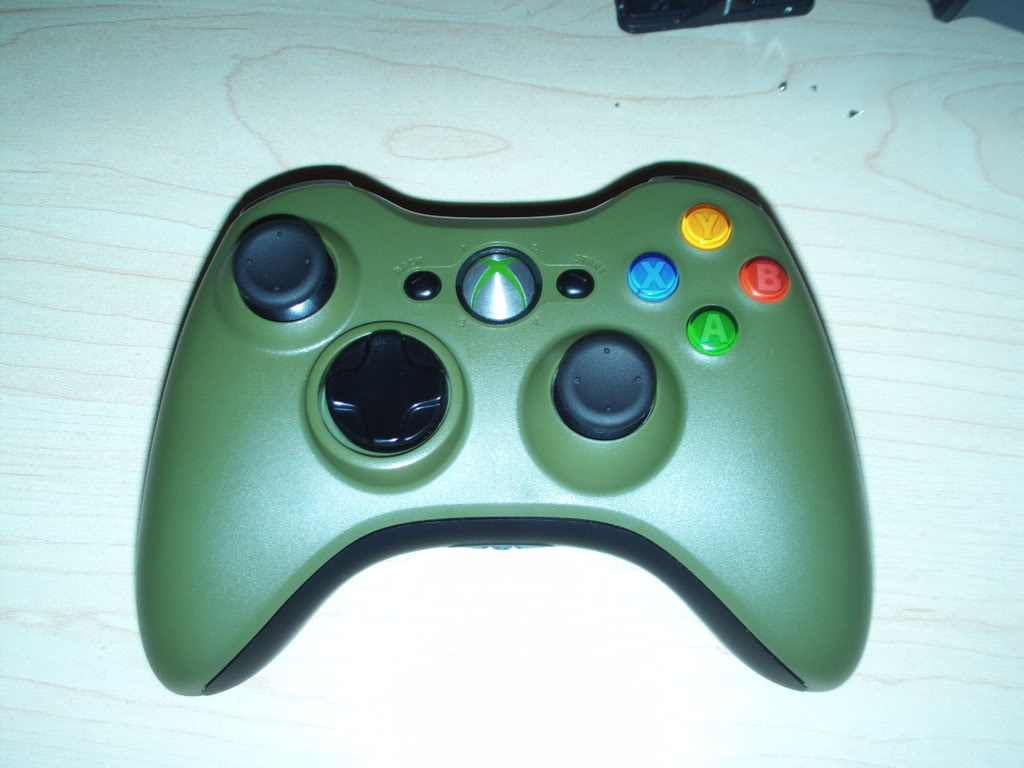
Step By Step Tutorial1- First get your controller that should look something like this...
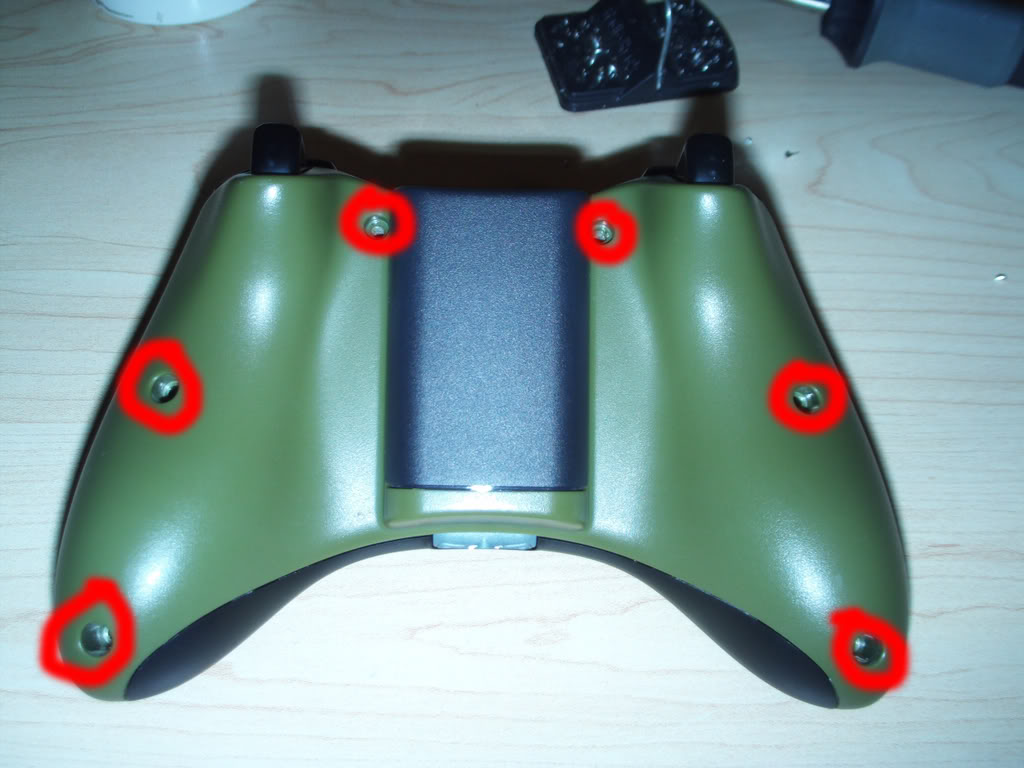
2- Now take out the battery and take out the obvious screws
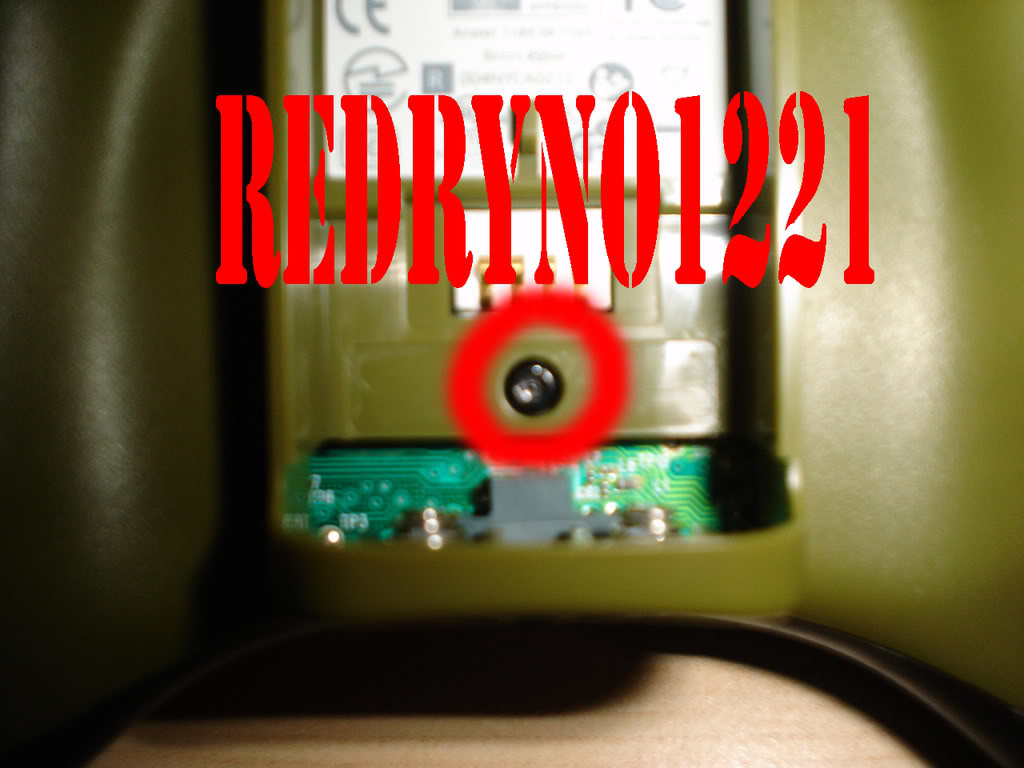
3- Then find the hidden screw found here...
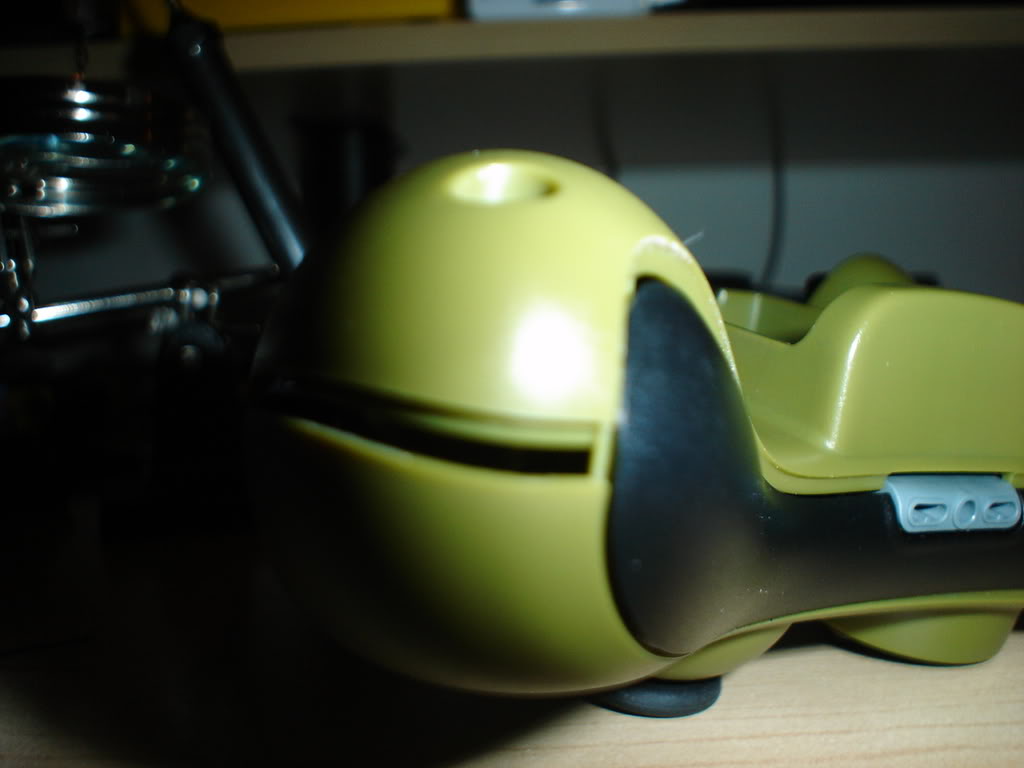
4- After that open the controller from the very tip of the handle (slowly)...
5- And slowly pick it up towards the Left and Right triggers...
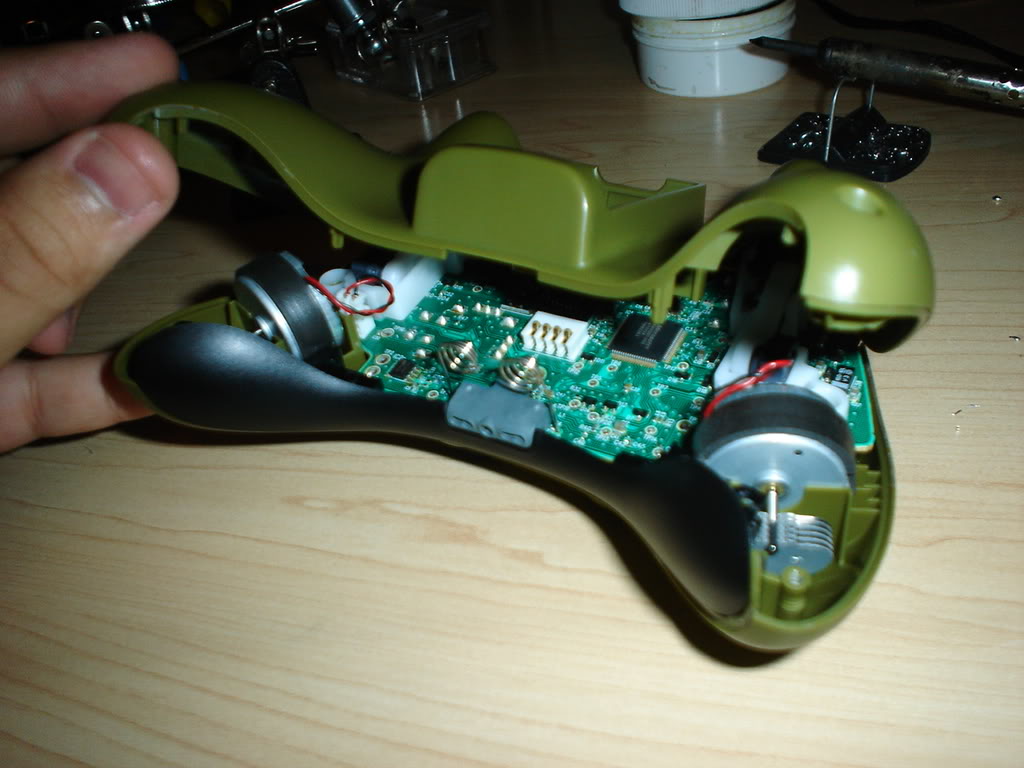
6- Once uncovered you'll need to remove the rumble motors...
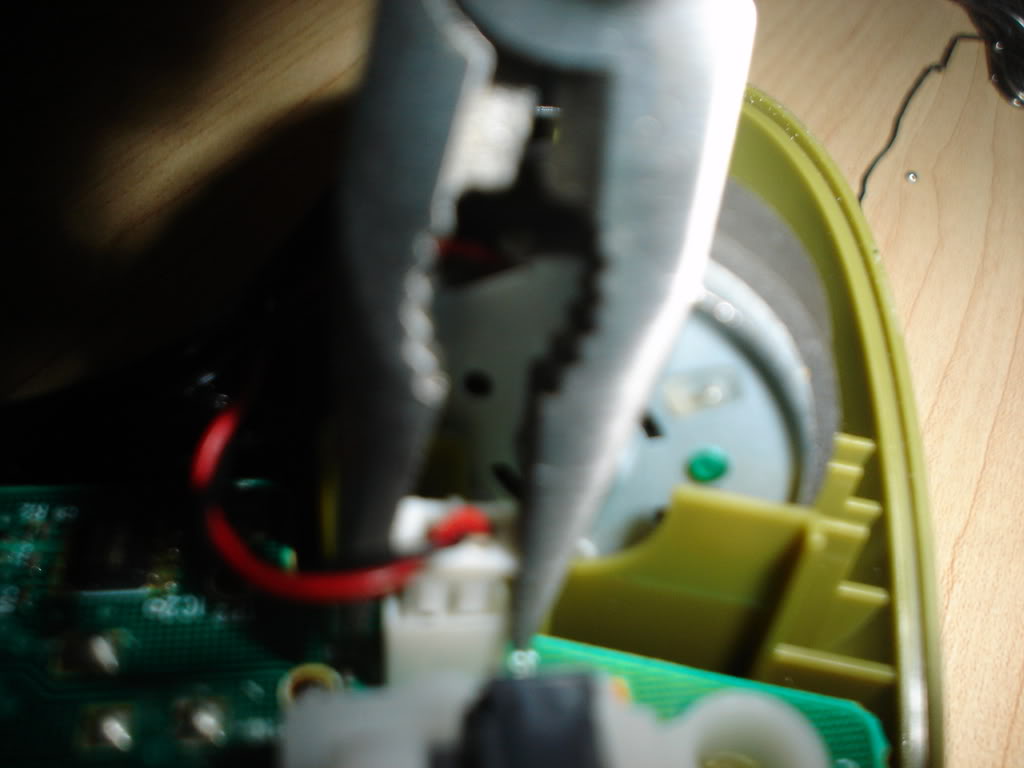
7- Set the motors aside and hold the charging port and headset jack and wiggle it until the board comes off...
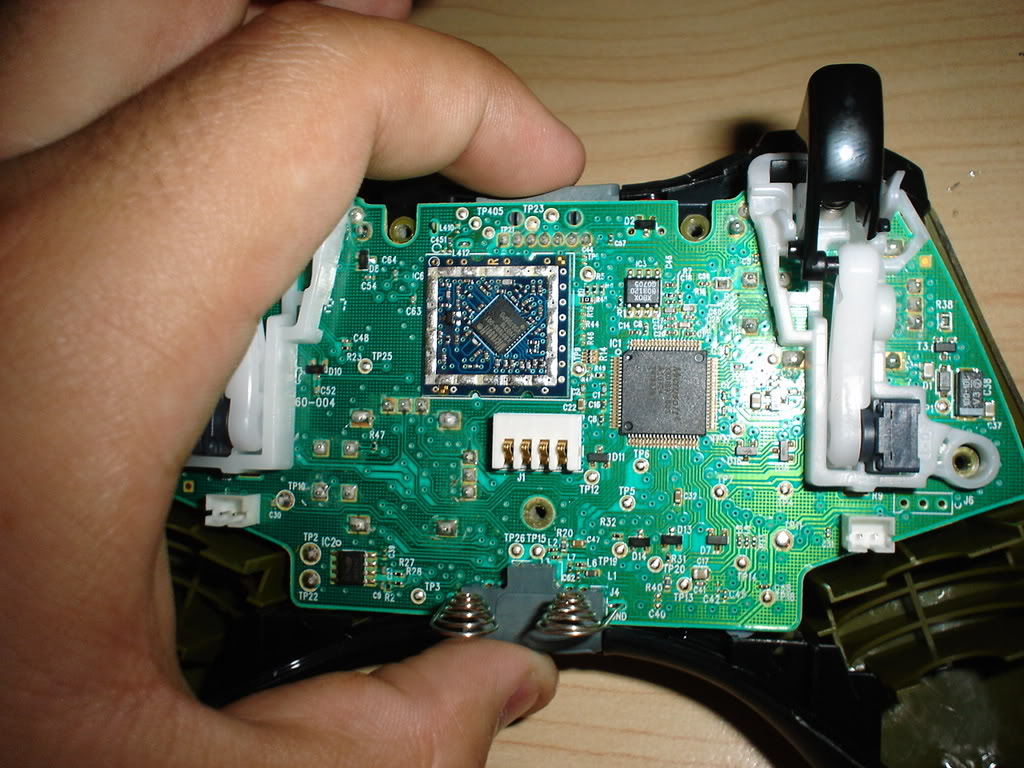
8- Then set the cover aside and should look like this...
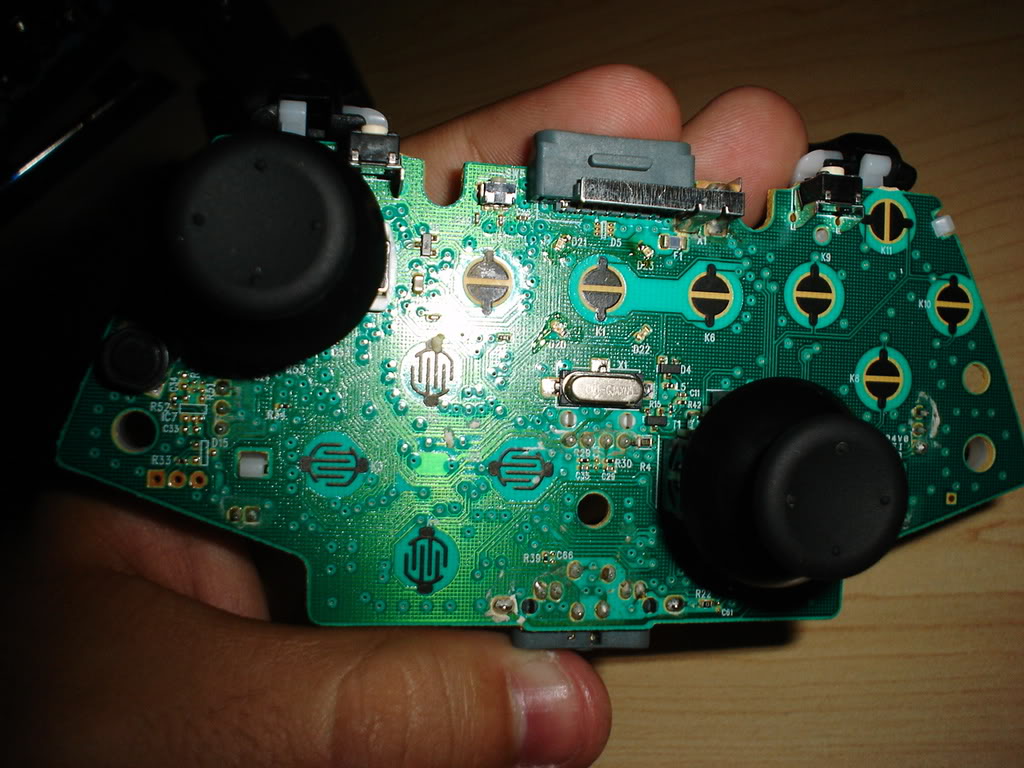
9- Now remove the joystick grips...
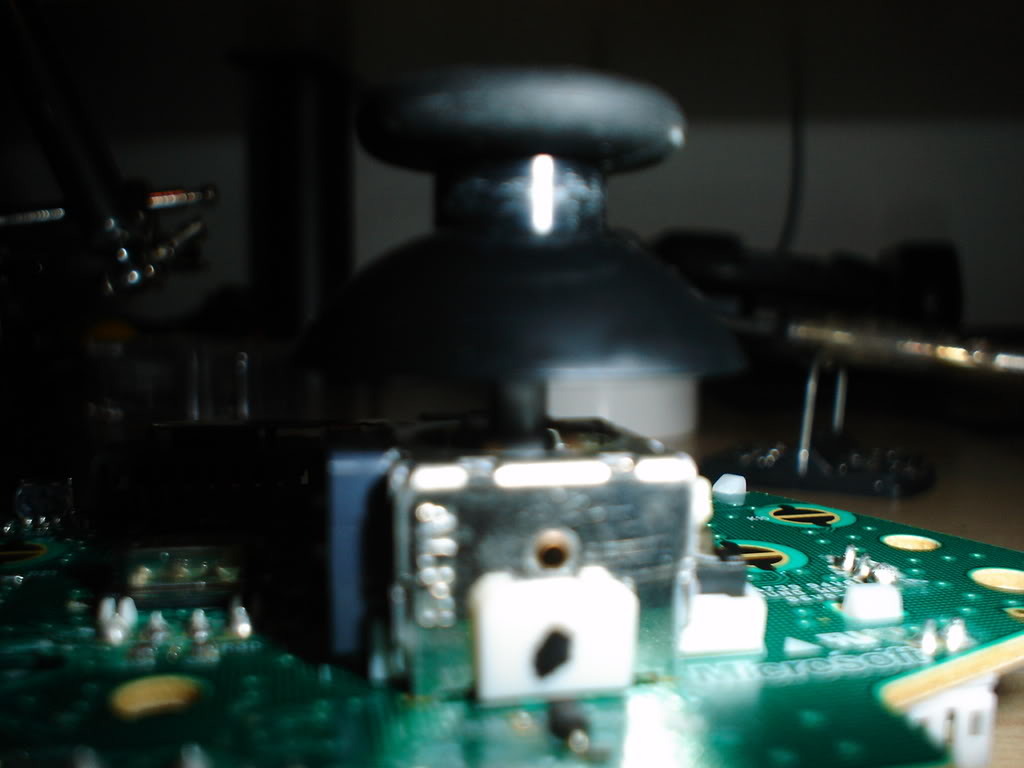
10- VERY CAREFULLY melt the solder on both sides of the led you are going to swap
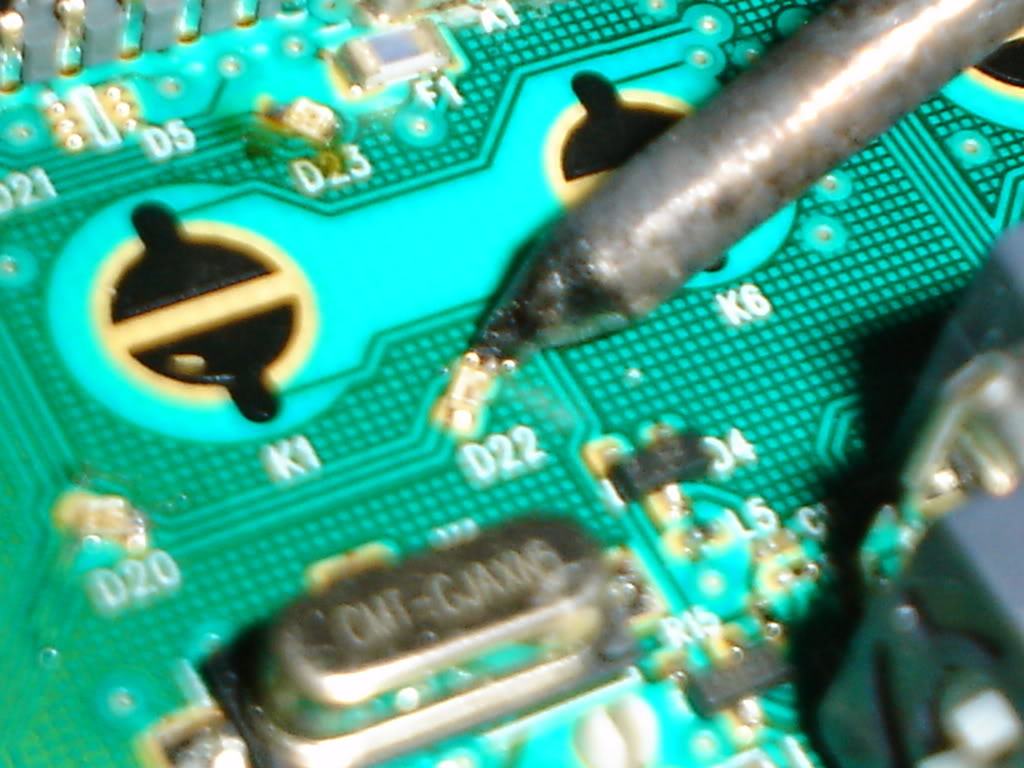
11- After a couple times put
very little pressure on one side then the other until the led slowly comes off of the contacts...if you put too much pressure you can/will completely take the contact off...

13-Test it. Swap the rest off the Leds and follow the directions backwards to put the control back together and enjoy!!!
FAQ/Troubleshooting