PS3 sixaxis ps led
Introductionnice color in your ps button
the start of pimping your controller out
 Parts Needed
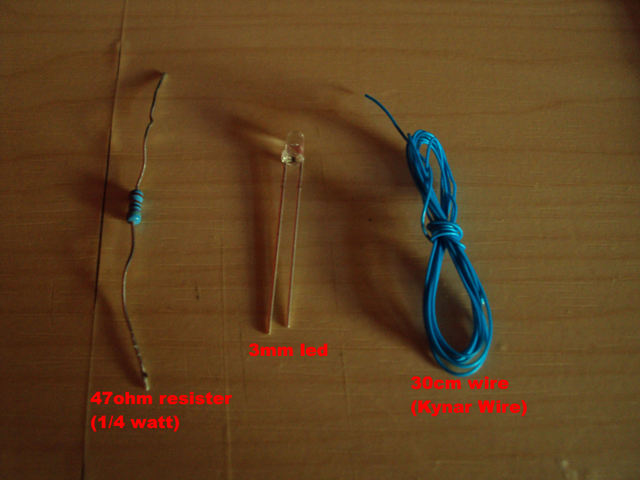
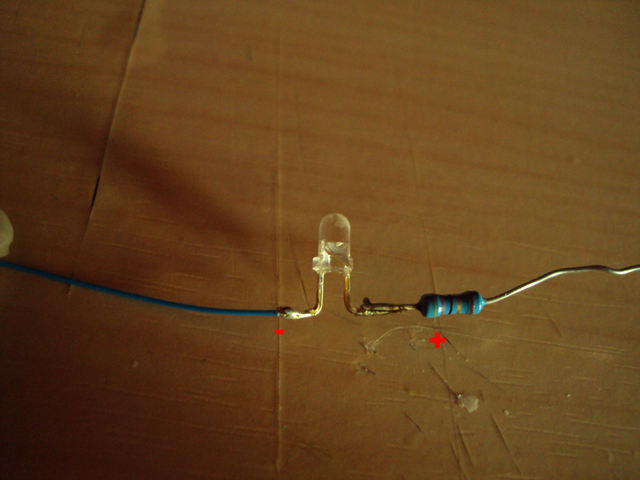
 - - 3 volts LED - (3mm recommended) Any color
- 1/4 watts 47 Ohms Resister
- 30cm gauge wire
- PS3 controller
- Tiny Phillips screw driver
Tools Needed - solder iron 15-30 watt
solder
3mm led of your chosen color
flux
30cm wire ( depends were your putting the wire)
Difficulty rating: 3/5
Average Time to Complete: 1hr-2hr(depends on soldering skill)
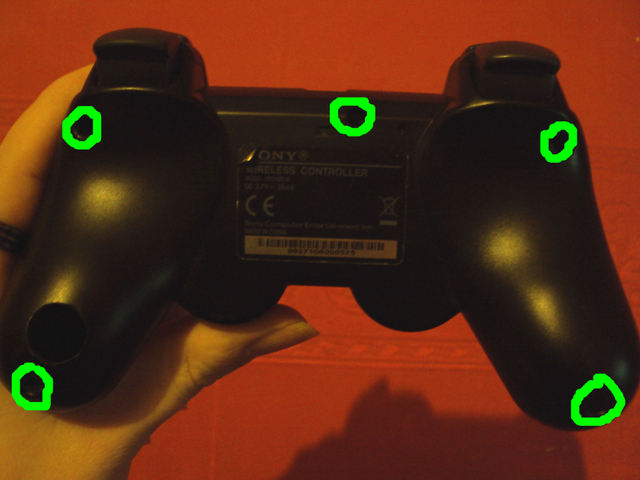
Step By Step Tutorial1.take apart your ps3 controller
1.1:undo the screws
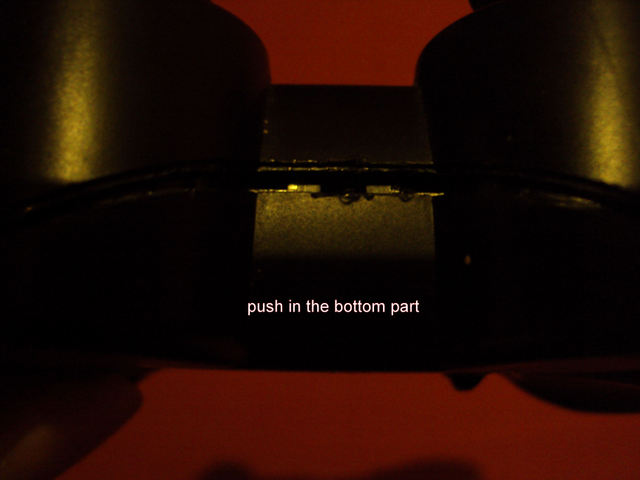
push down the bottom part to unclip
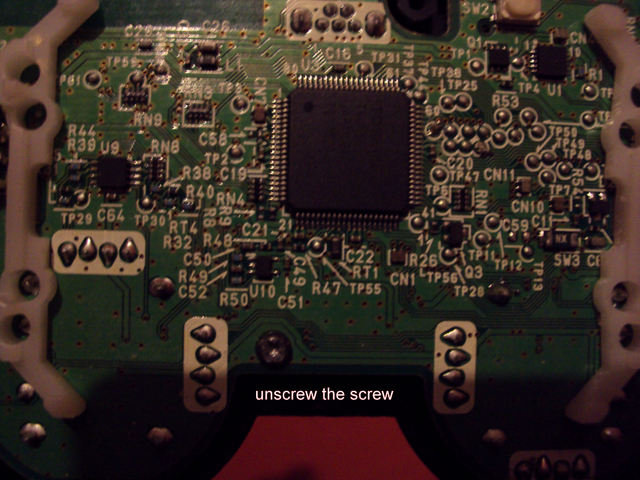
1.2:unplug the battery and pull the board out from the case watching out for the r1 l1 buttons and the spacers by them
pull the thumb sticks off.
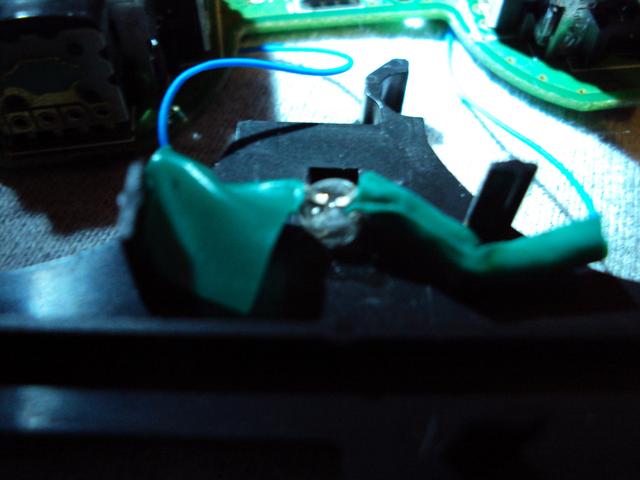
2:
solder your parts
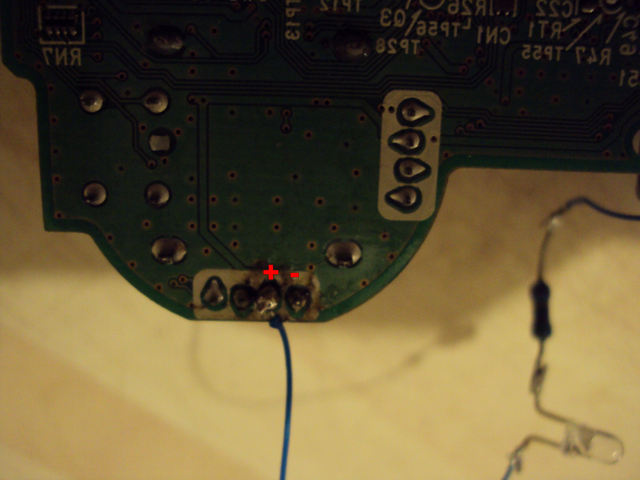
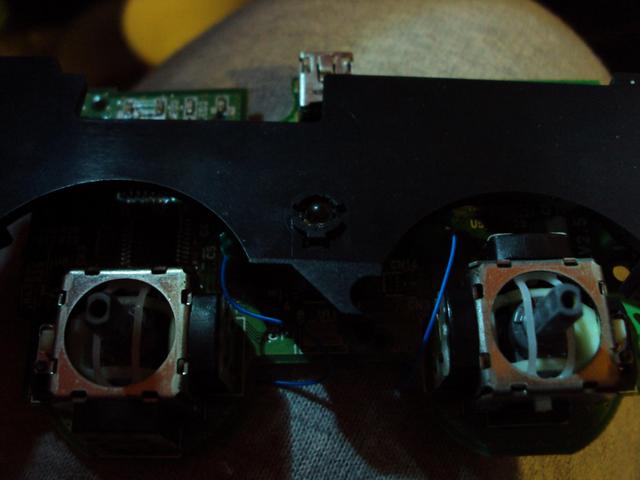
3:ok now turn your board so the back is facing you
and find your power points(these points work on all the controller as from first to the newest )
negative(your mini usb)
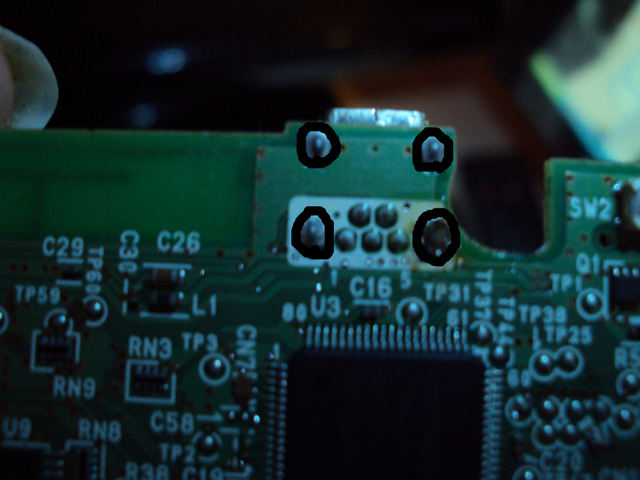
positive(this picture is from the right side thumb stick)
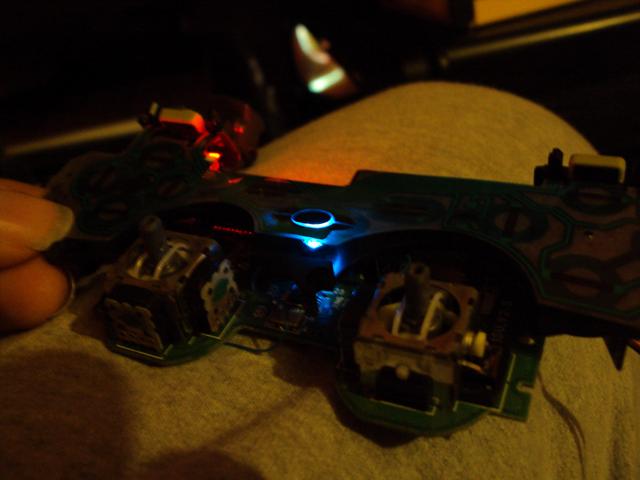
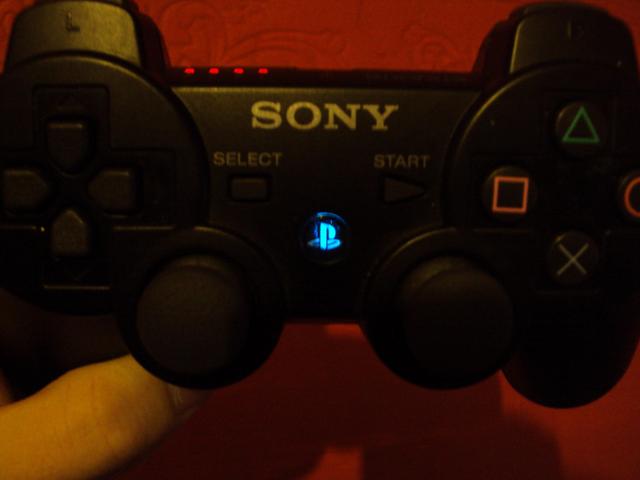
4:now plug your battery in and press the ps button to see if the led comes on if so congrats if o light comes on check to
see if you put the wires in the right place.
5: now get your rubber thing from the front part of your case were the ps button is.
make a hole in it but make sure to not cut past the pads.(this is were the light will be coming through)

6:get your supporter and cut the middle part out this is were your leds going put it in after the cutting and glue it in place.
7:once all this is done and things are ok put your controller back together and try your led installation out to make sure you have not knocked a wire or anything
 FAQ/ Troubleshooting
- wire could come off if not soldered right
- if resisters not put in right can stop you closing the case fully


