3-mode ROL color changer
IntroductionIn this guide, I will show you how to install the 3-mode ROL color changer into your xbox 360 controller.
3-Mode ROL Color ChangerParts Needed [admin] if files go down the hex files will always be stored at acidmods.com
here [/admin]
Tools Needed Difficulty rating: 4/5
Average Time to Complete: 30mins-1hour
Step By Step Tutorial1. Take apart your controller using this video
Xbox 360 Wireless controller dissasembly video tutorial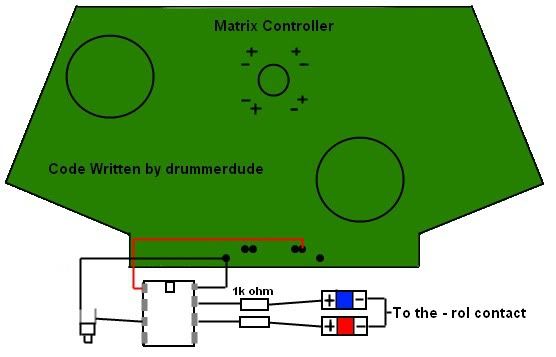
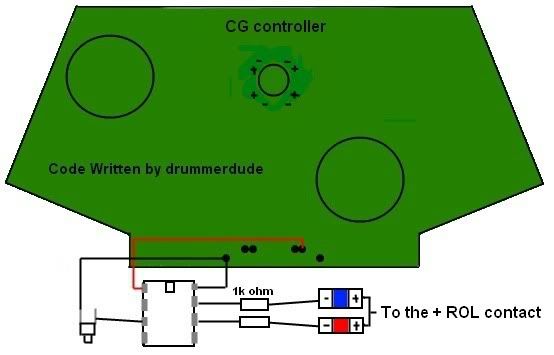
2. Once the controller is dismantled, hot glue a small piece of breadboard underneath the controller. We will be using this to solder your leds to. It needs to be in the right spot or else the controller case will get in the way.

3. Next solder one 1k ohm resistors to each of the sides of the breadboard, since there are 2 different led colors we are using.
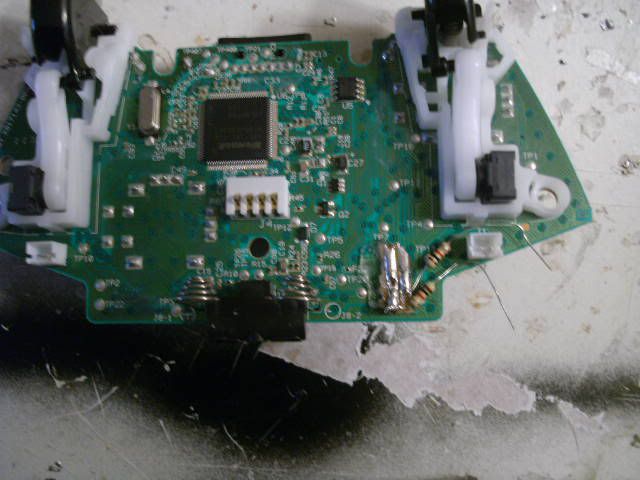
4. Now You need to hot glue the chip in dead bug position and make sure the notch is facing away from the controller. Then bend the resistors to the top of the controller and solder 1 resistor to pin 7 and the other one to pin 6. Also solder pin 3 to the sync button.
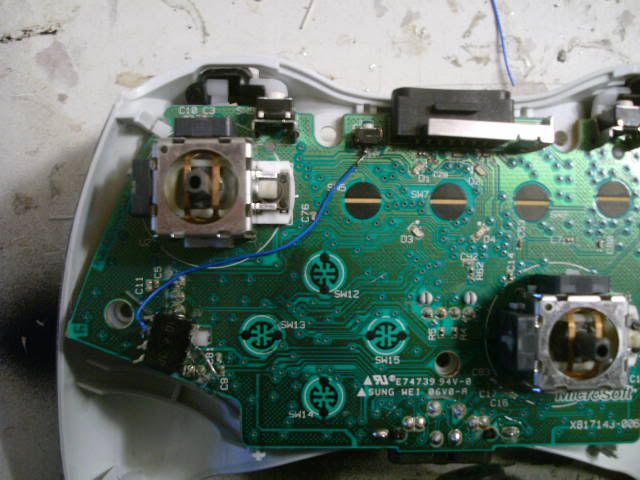
5. Now time to solder the ground and the power. Pin 1 needs to be soldered to the power, and pin 8 needs to be soldered to the ground.
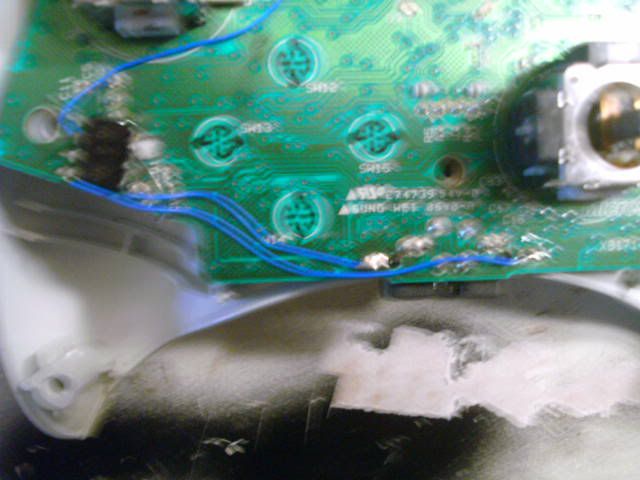
6. Now we need to remove the leds on the controller. Here's how I do it. First get a big blob of solder on your iron and put it up to the led. Make sure the solder is touching both contacts of the led. Then just lightly push the led off, and it should come smoothly off.

7. Now the harder part! Now solder a wire to one of the 0603 leds. Solder it to which ever side it is necessary for that controller. Solder it to the positive for matrix controllers, and the ground for CG controllers. Now I recommend putting a small piece of electrical tape over the contact on the controller that isn't being used, So that way the leds don't touch it. Now solder the led on to the contact. But put it like only half way on, so that we have room for another led.

8. Now once the led is soldered to the pad, loop the wire back underneath the controller and solder it to one of the sides of the breadboard. Make sure you solder all the blue leds to one side, and the red leds to the other. So remember which side is which.

9. Now solder another wire to the color led we didn't do yet. Then solder it to the other half of the pad. Then loop the wire around and solder it to the other side of the breadboard. Now repeat this process for all of the led contacts!
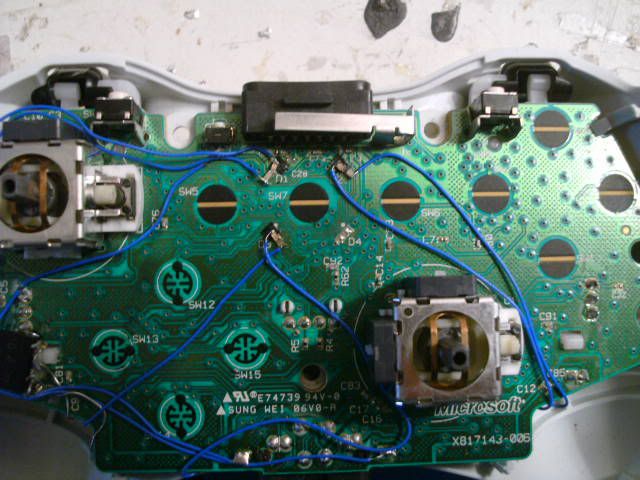
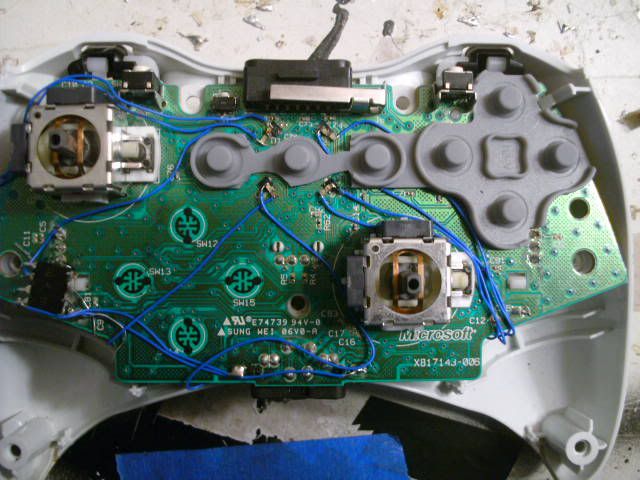
10. You might need to trim the button pad a little bit so that the pad doesn't cover the leds.

11. The controller should look like this when you finish. Now just put the controller back together and you're finished!
 FAQ/ Troubleshooting
- -when using this mod on the CG controller, I noticed the leds are a little dim when they are supposed to be off, but it doesn't affect the colors that much