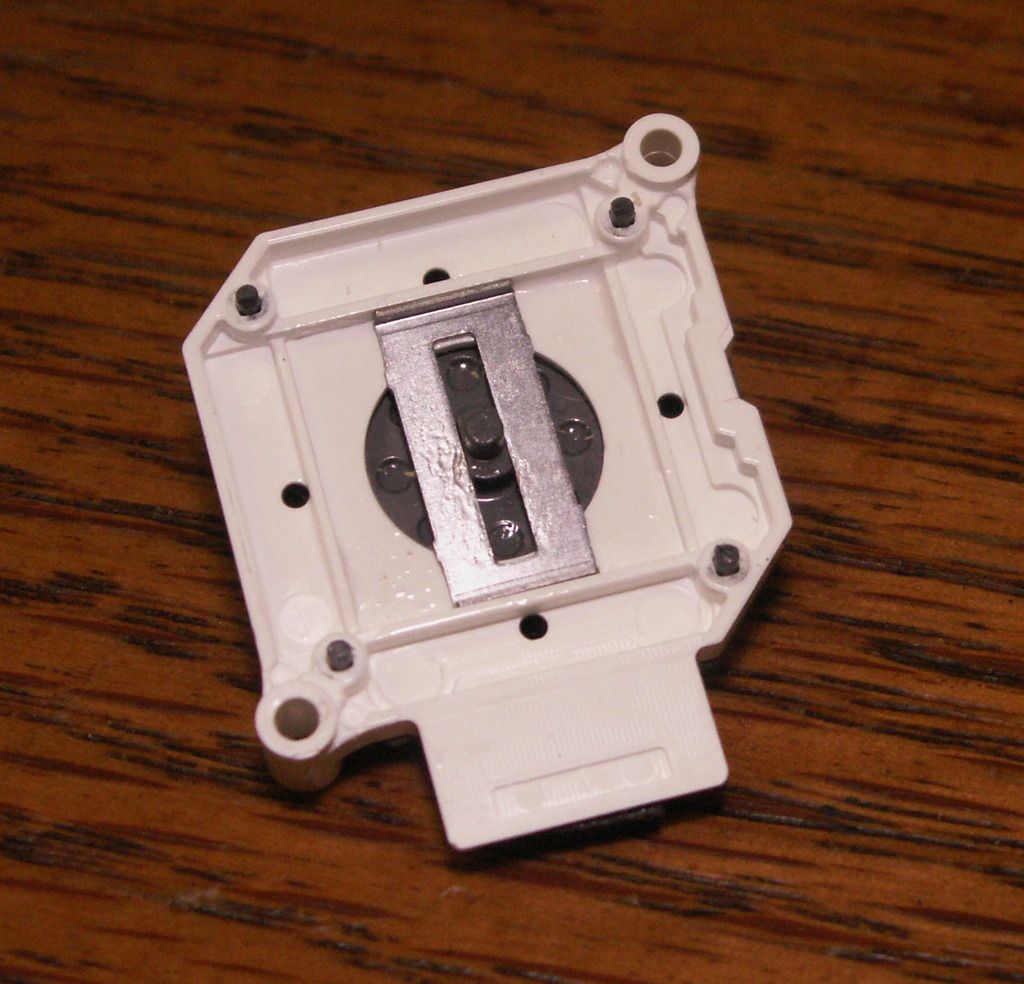
There's pretty much no reason to ever take one of these things apart, which is the main reason I did, but I recommend you don't unless the $9 for a new one is going to break the bank, or you're just looking for some time to kill, but if you do you'll find it quite fun to get back together.
As far as disassembling the thing goes, I'm not going into much detail there, cause it really shouldn't be, and that's always the easy part, right?

There are 4 plastic posts on the back that need to be sliced with an X-acto knife. (think of them like the head on a nail) After that it can be carefully pried apart in layers to let all the goodies out. If you do this be extremely careful to not bend or break any of the 4 posts that are part of the Top section.

Now, if you've seen the above mess before, you already know about the Spring in there, if not and you're tearing one apart, you will, and too get this thing back together without losing the rest of your sanity you'll need to make a 'spring tool' or it just isn't going to happen.
You'll notice the Top and Mid sections of the Slider casing have 4 holes in it, so does the bottom but those are for the 4 posts that hold it all together. The 4 holes int eh Top and Mid sections were the same holes used during it's original assembly to keep the Spring open until the mid section of the case was in place.
I used the leads from a couple of 1/4W Resistors and just soldered them in a + pattern to make the spring tool. An old paper clip or two would make a better one as the leads wouldn't bend as easily...

...which gets inserted into the top part of the case.

After that, you can install the Actuator and the Spring around the 4 'posts' of the tool.

Next the Mid section of the case needs to be installed. It makes no difference which of the 4 directions it can face, just make sure the flat side goes against the spring.

..then make sure the Actuator is centered up and press the Top and Mid sections together.

After that step the spring tool can be removed, and the hard part is done with now.

Install the metal Guide. Note that it's oriented correctly.

Then the Wipers. Also note these need to be oriented and installed correctly, as everything stacks together in here.


After those are installed, the Resistor board can be installed, again oriented properly, with the black Resistive traces facing towards the Wipers.

Then the Bottom section of the case can be installed, flat side facing the Resistor board. After it's all back together make sure to keep a hold of everything so it doesn't try to open itself back up. It should move freely and not bind or snag on anything, if it does then something was oriented wrong and odds are you'd not get this far anyway.
After a test run to see if it works, it needs to be fixed back together. Since the ends of the plastic posts that held it all together were cut off to take it apart, something else needs to be done. The best way to do this is with the soldering iron. Warm the iron up and then just gently press into the center of the post, no more than 0.5mm deep. This will melt and deform the end of the post, and a little bit of the Bottom of the case, so they mold together and it keep everything in one piece again. The reason glue should not be used here is the grease from inside the thing that is on the Spring and Resistor plate is now everywhere at this point, and it will just make more of a mess to try and get everything cleaned to get a good bond, which you'd have to tear it halfway back apart to do anyway, whereas with the soldering iron you'll be done in a few seconds.
